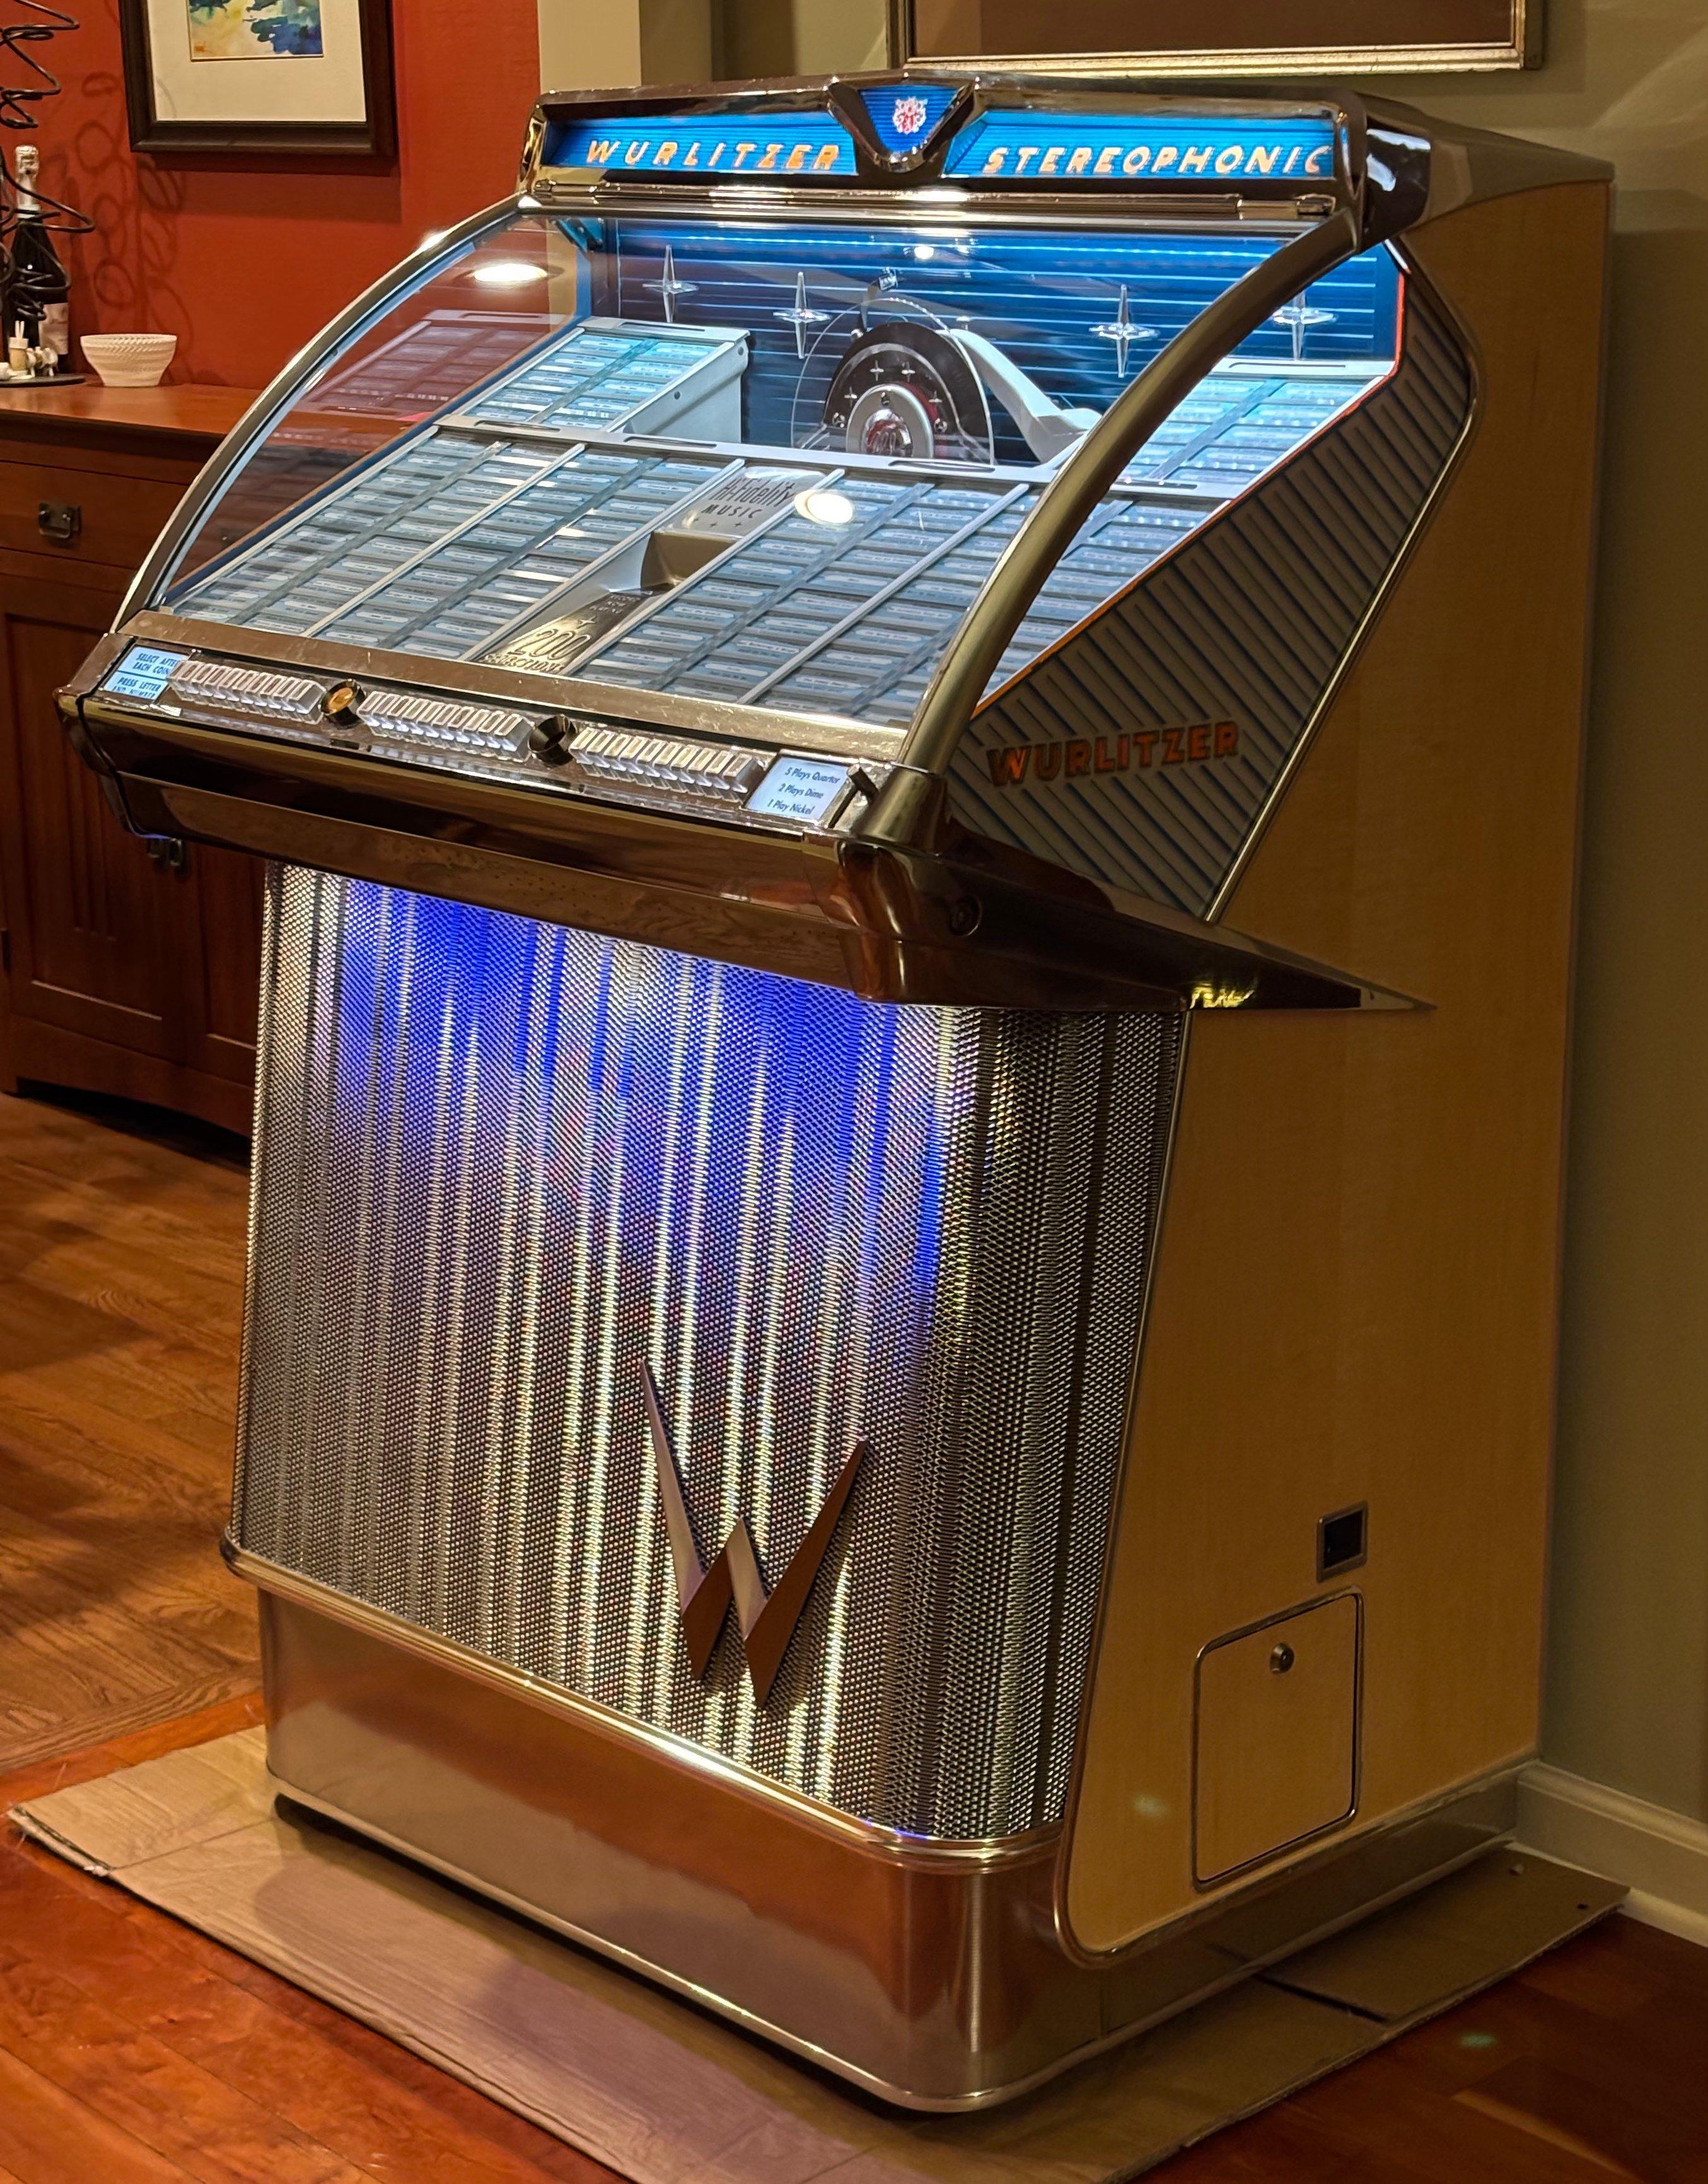
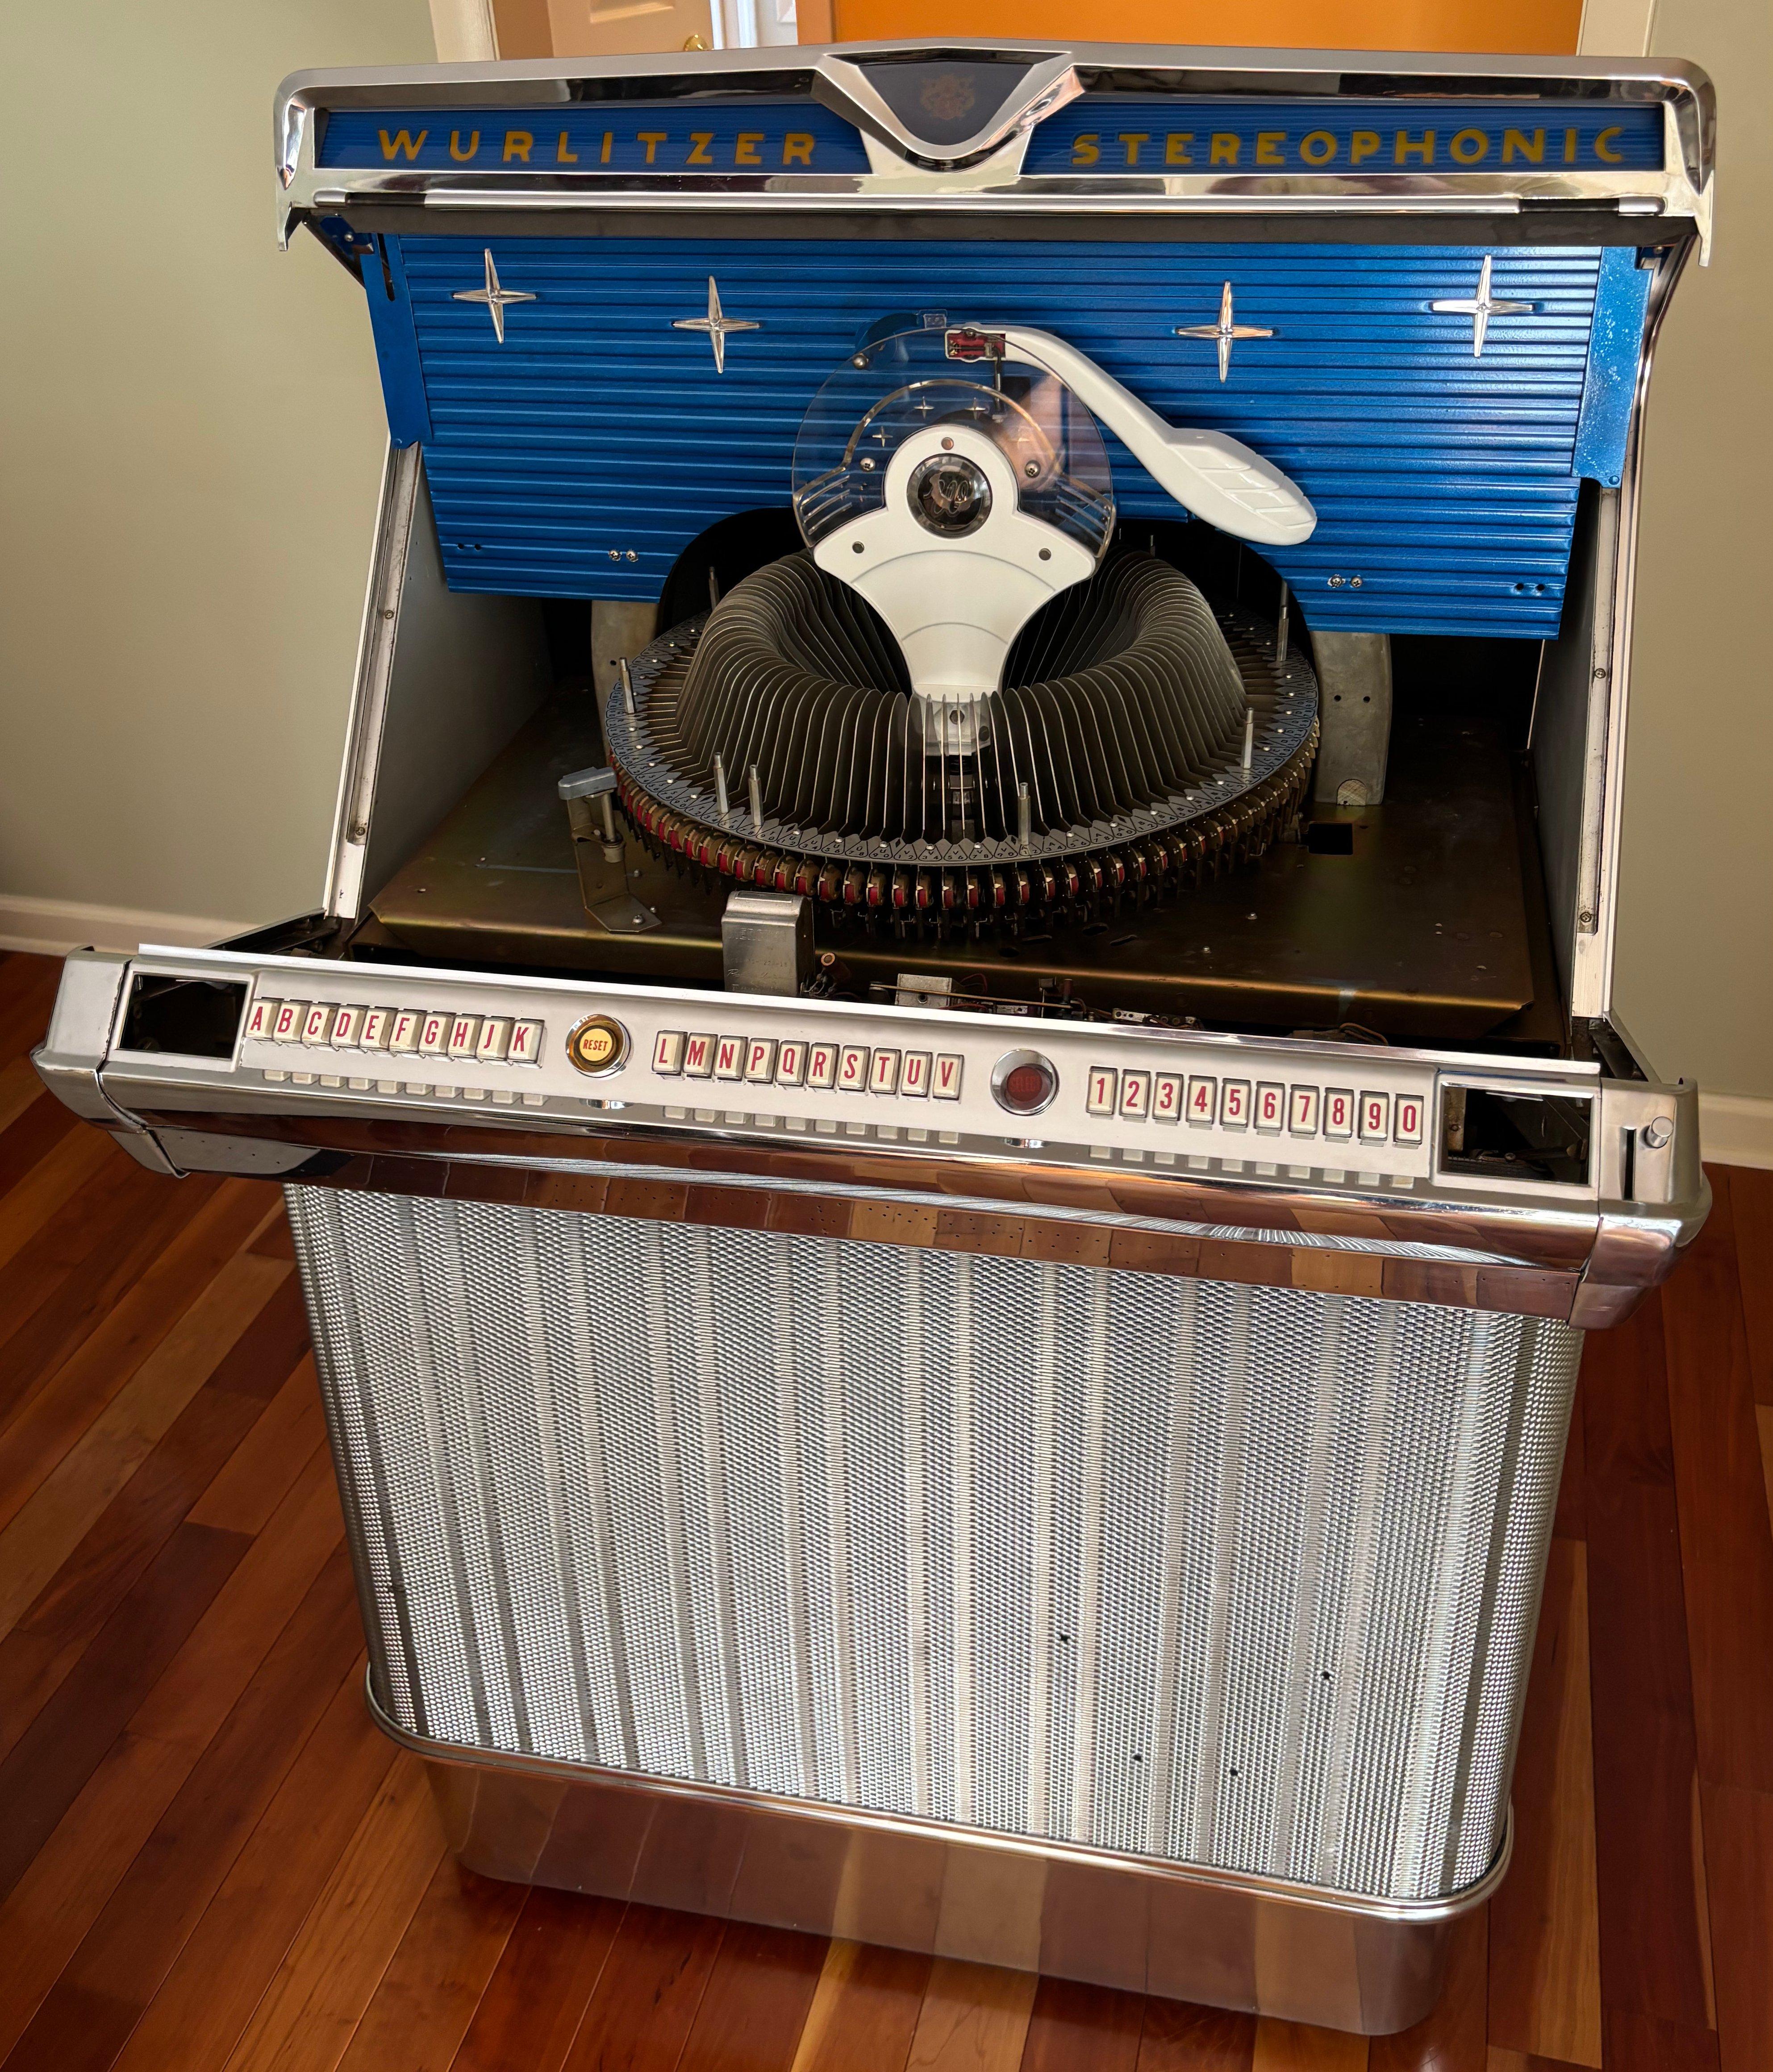
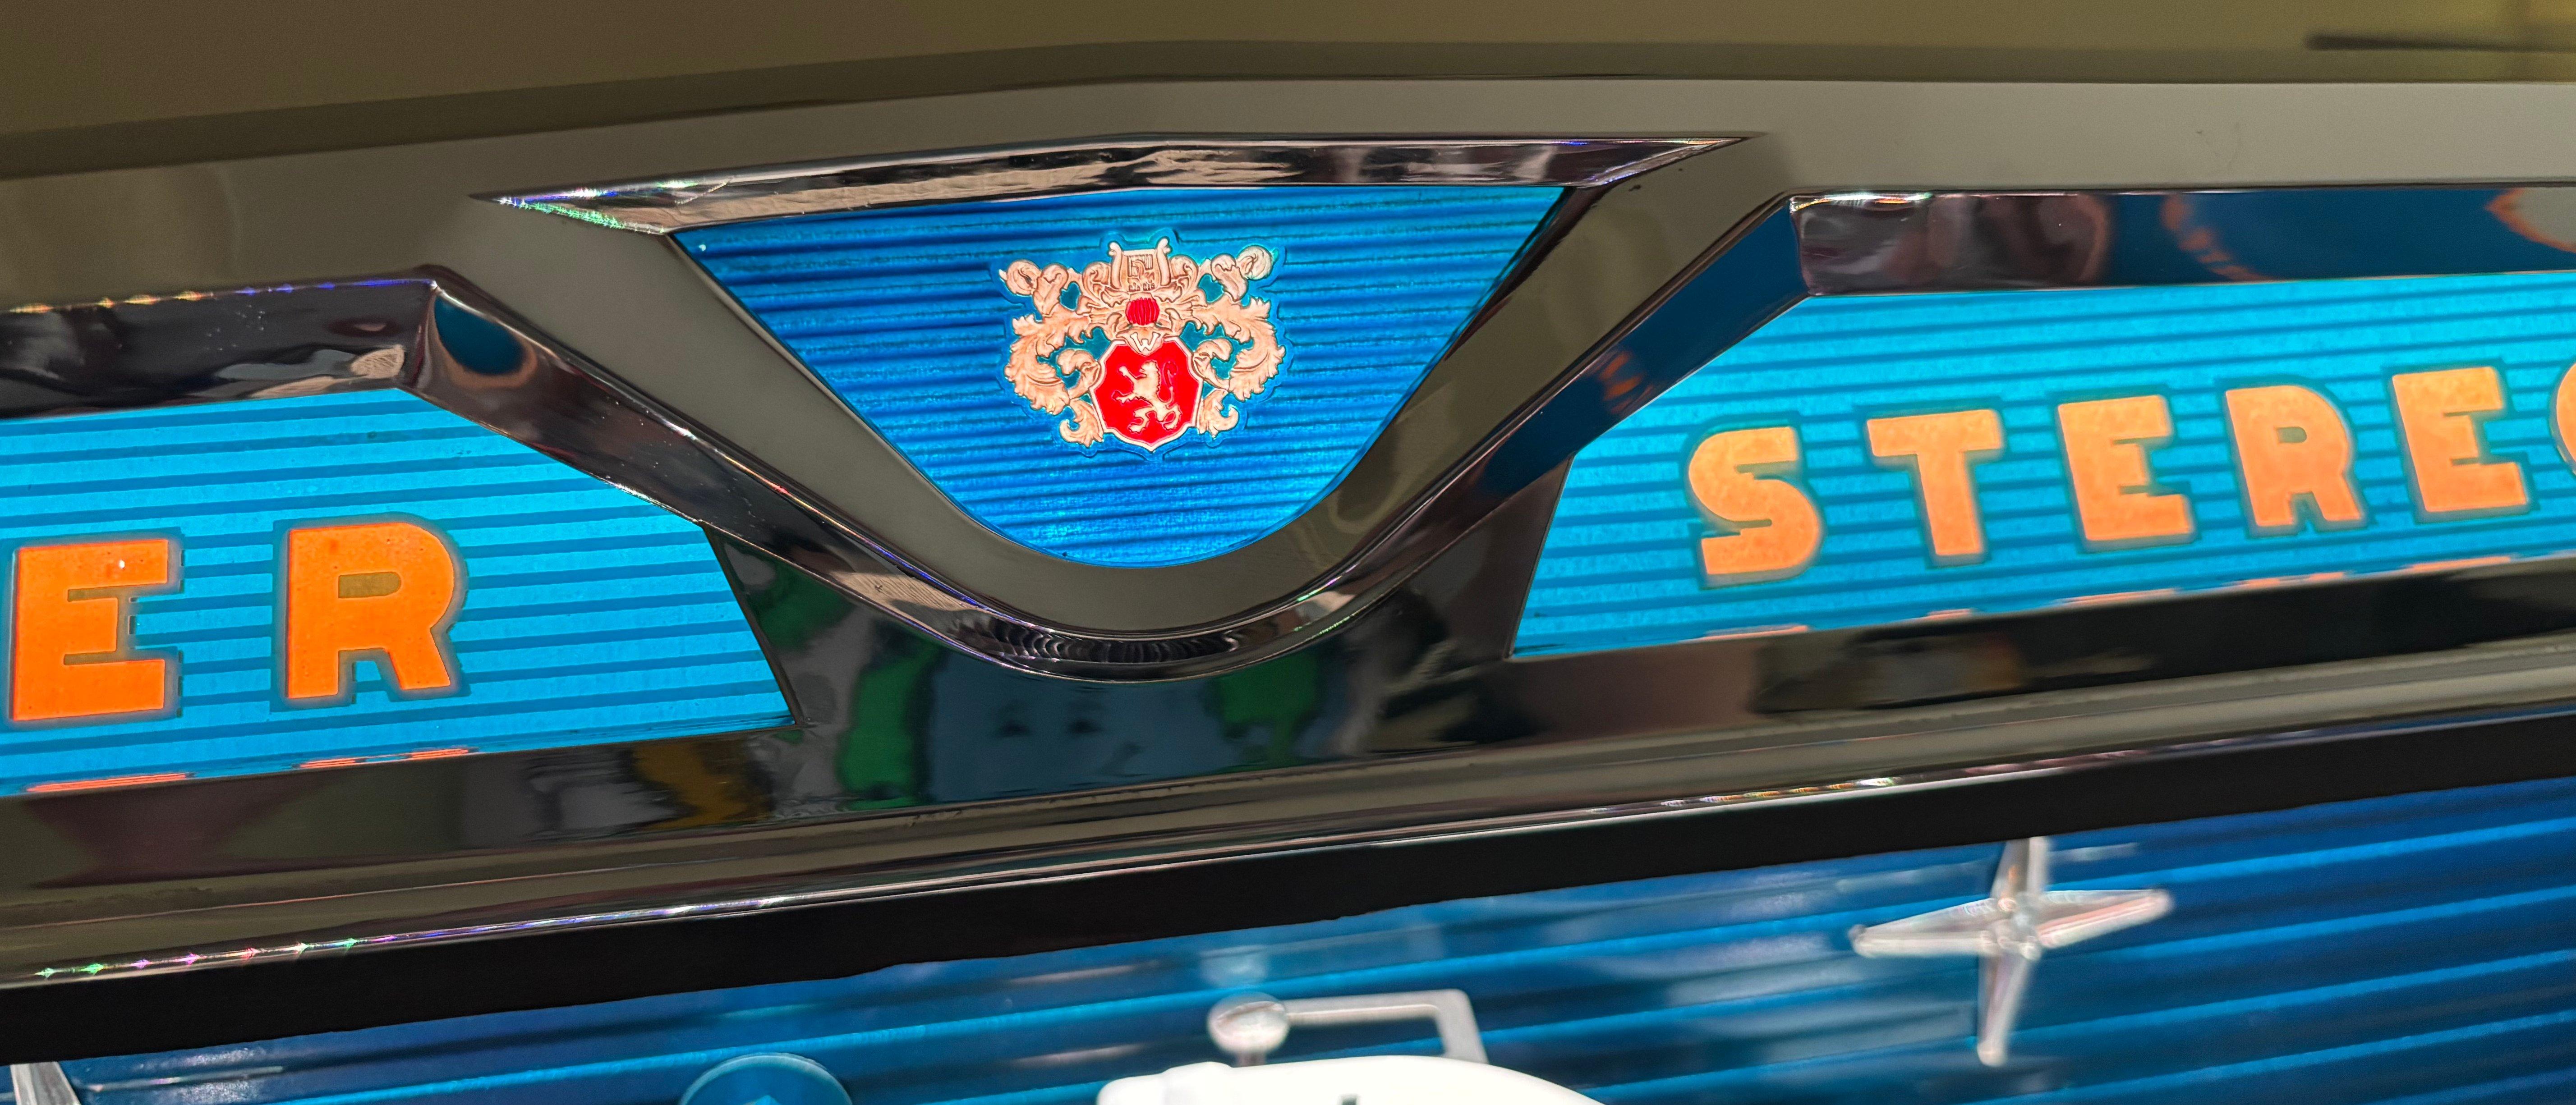
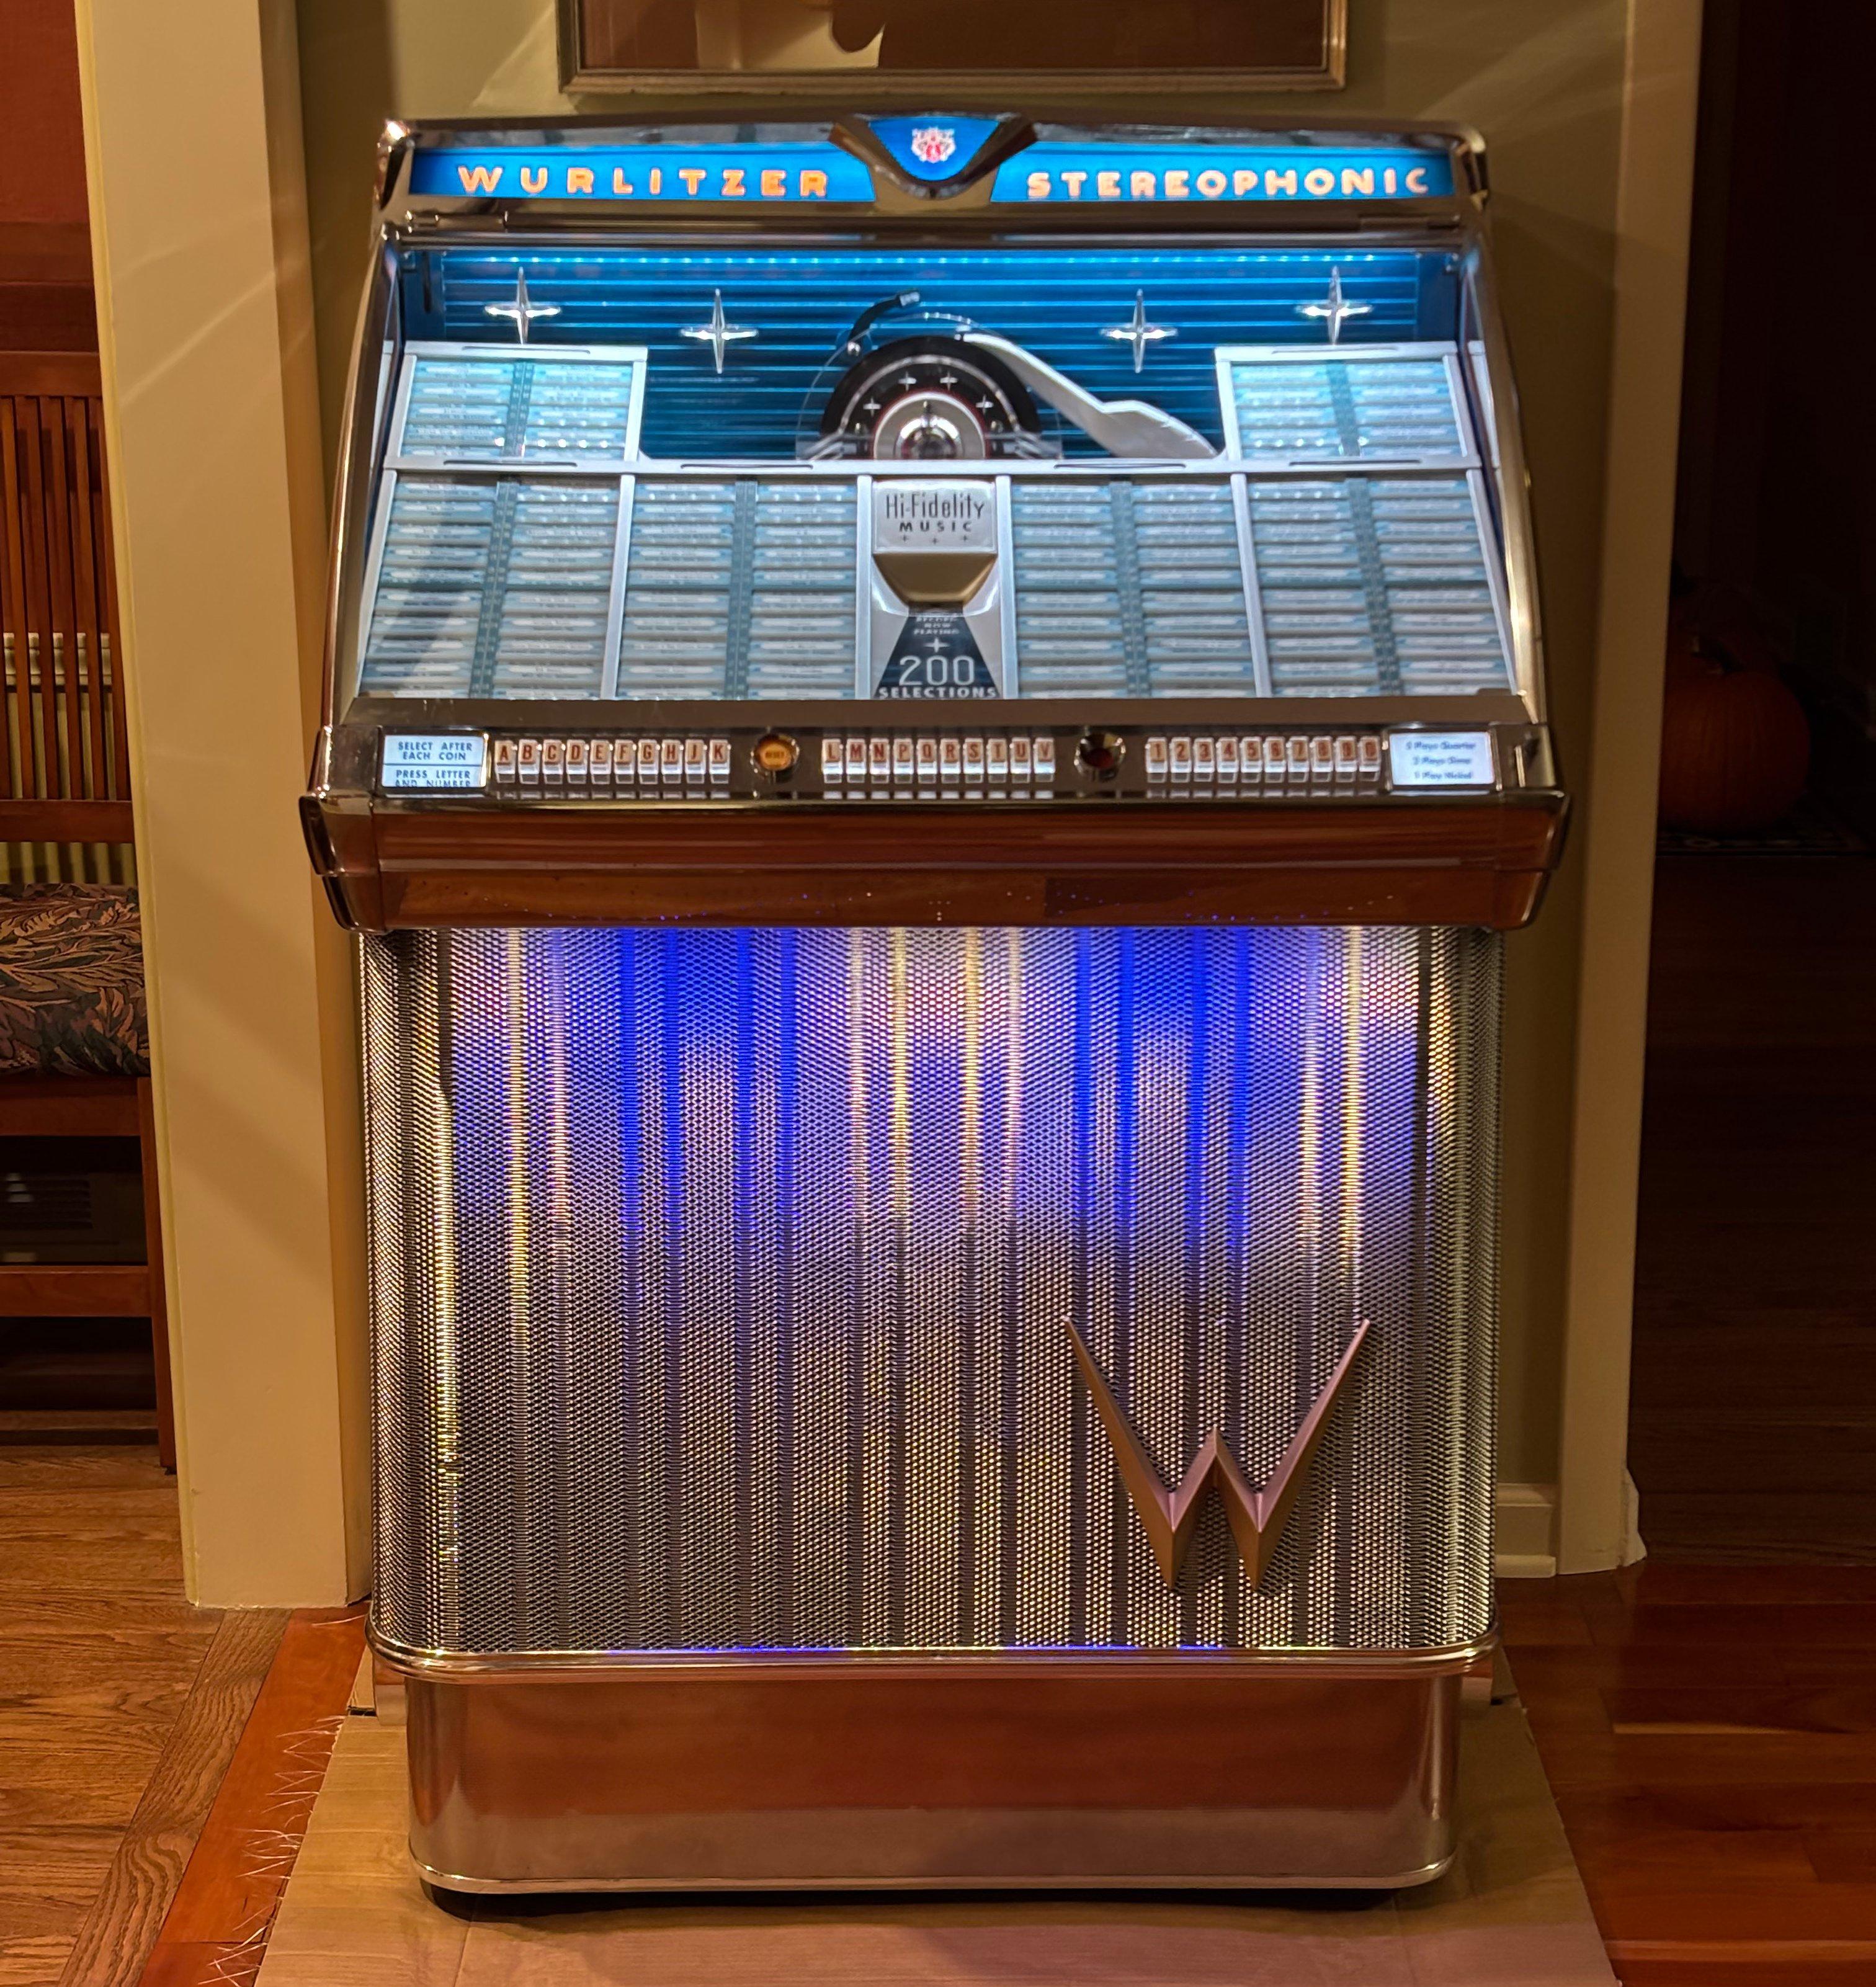
This is a Wurlitzer 2300s Jukebox from 1959 that I restored (and improved in a couple ways).
All associated project files can be found in the Github repo.
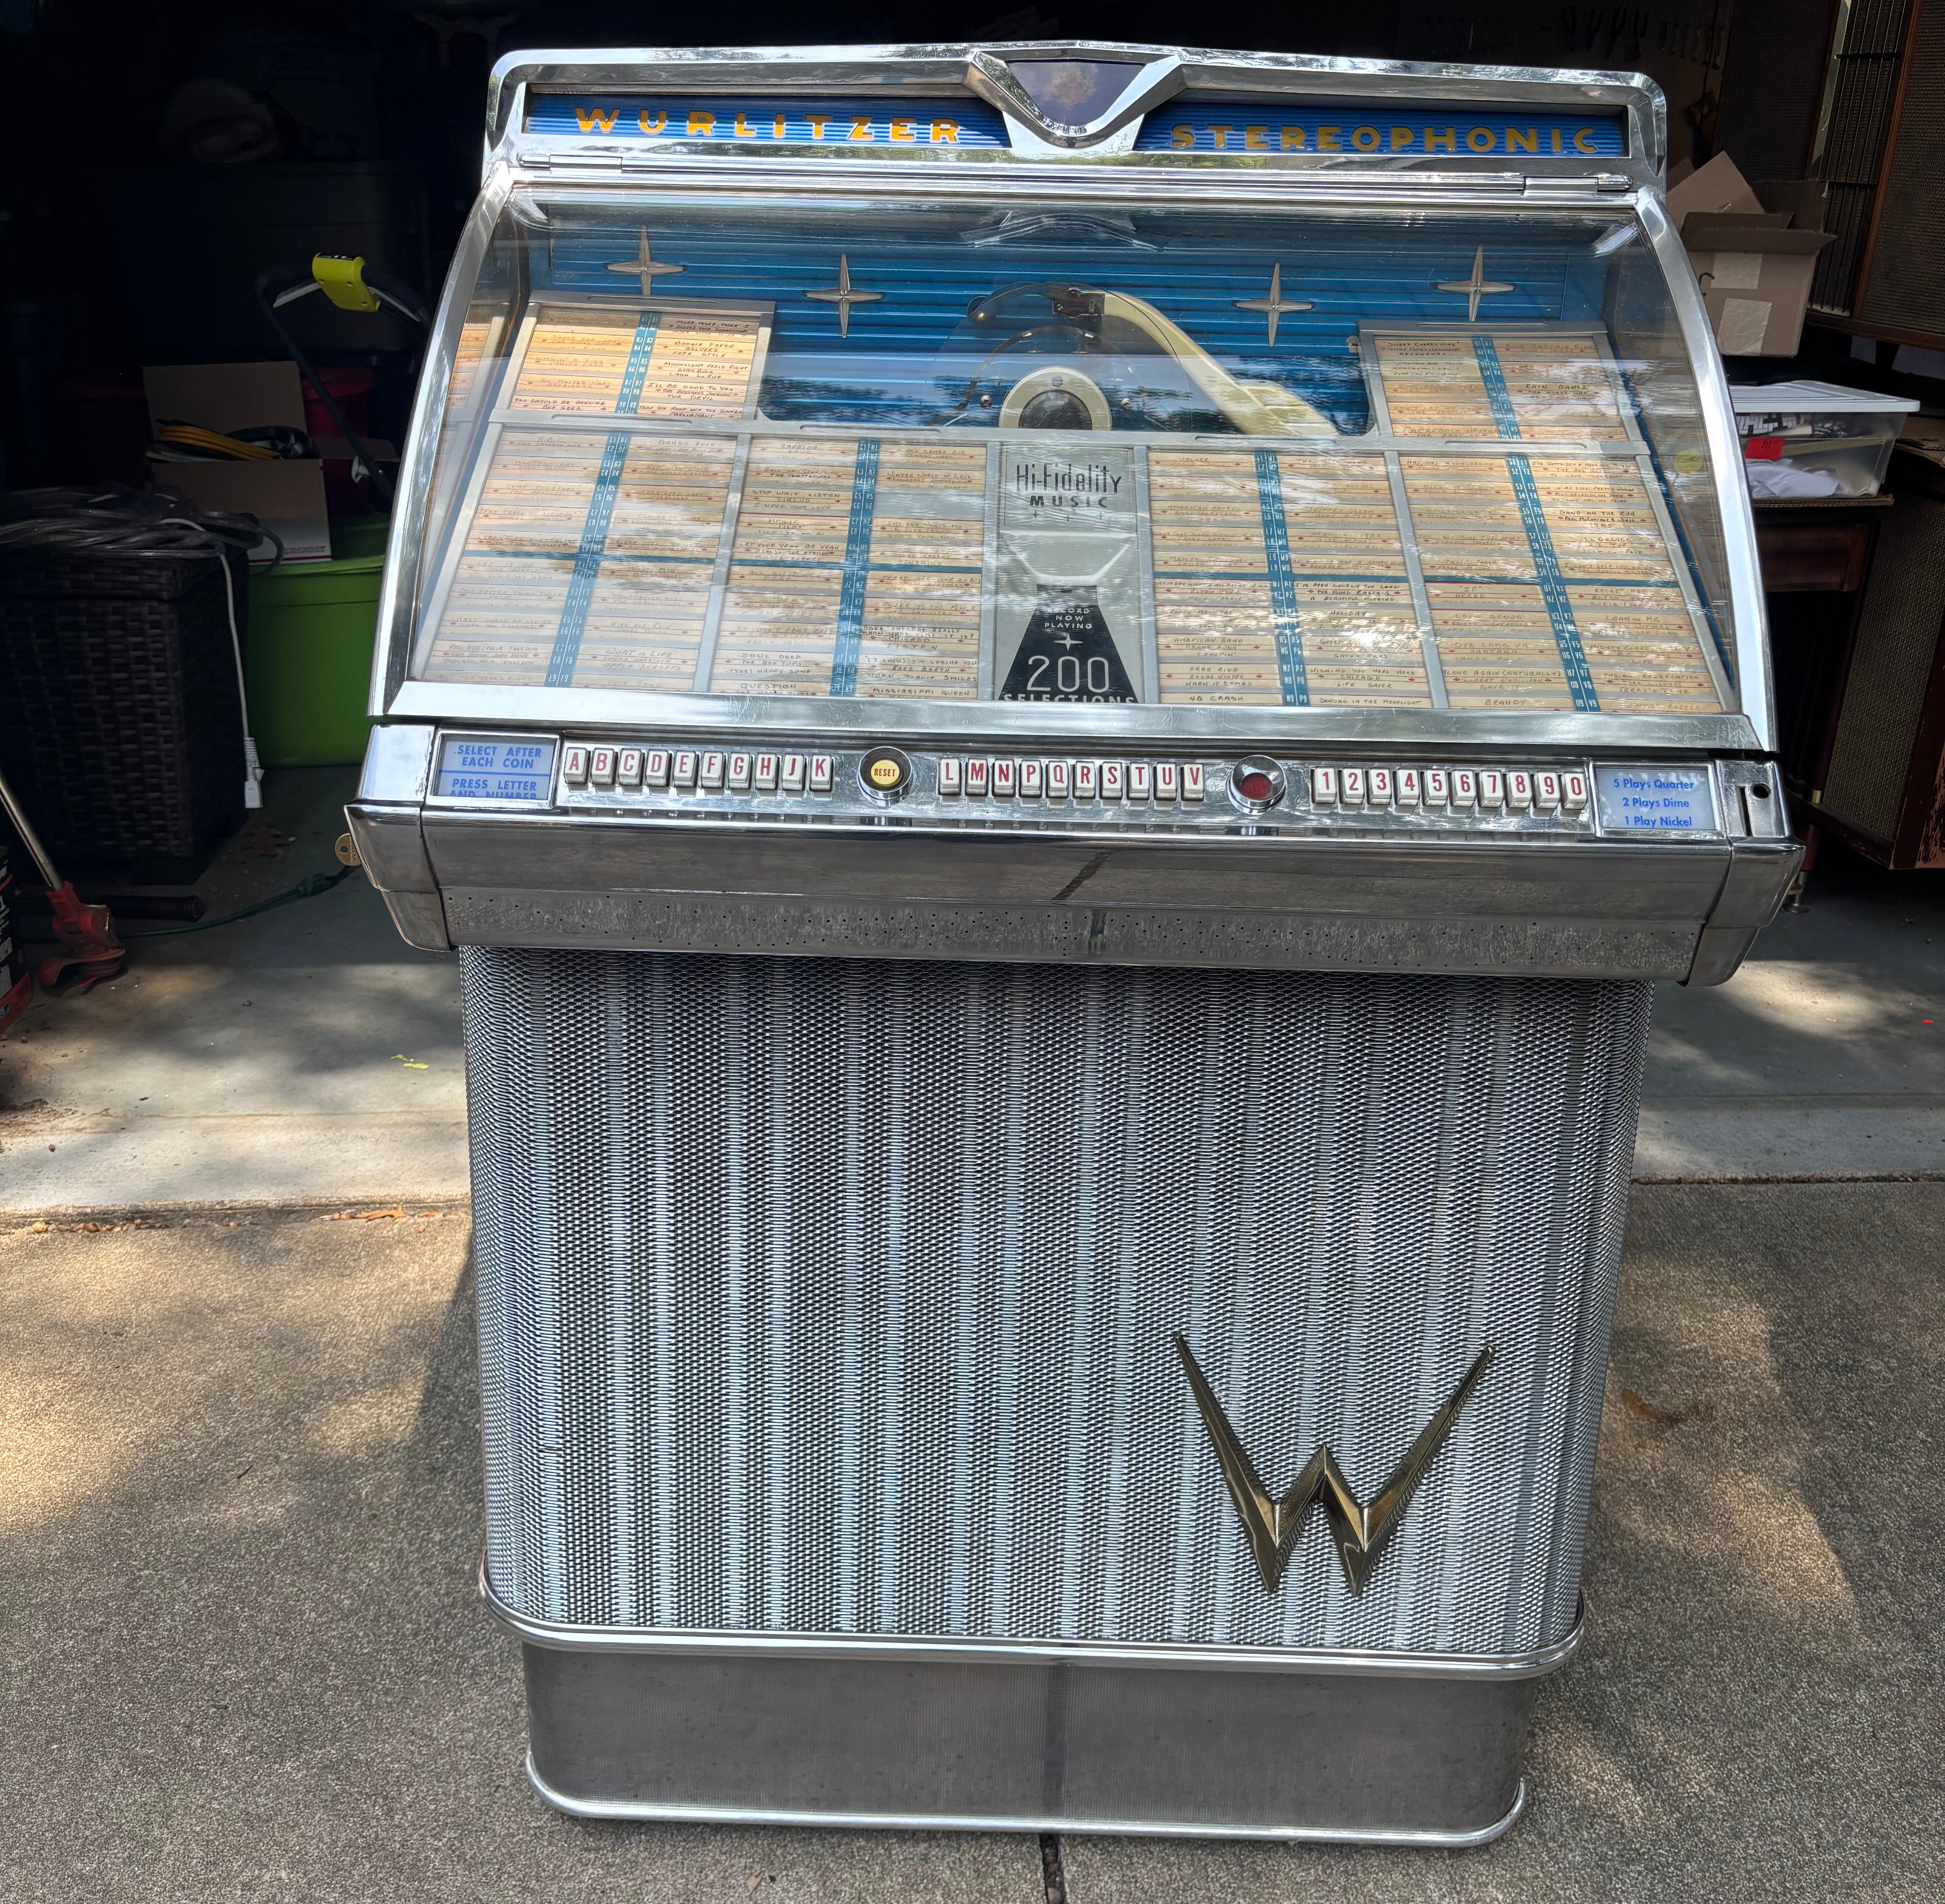
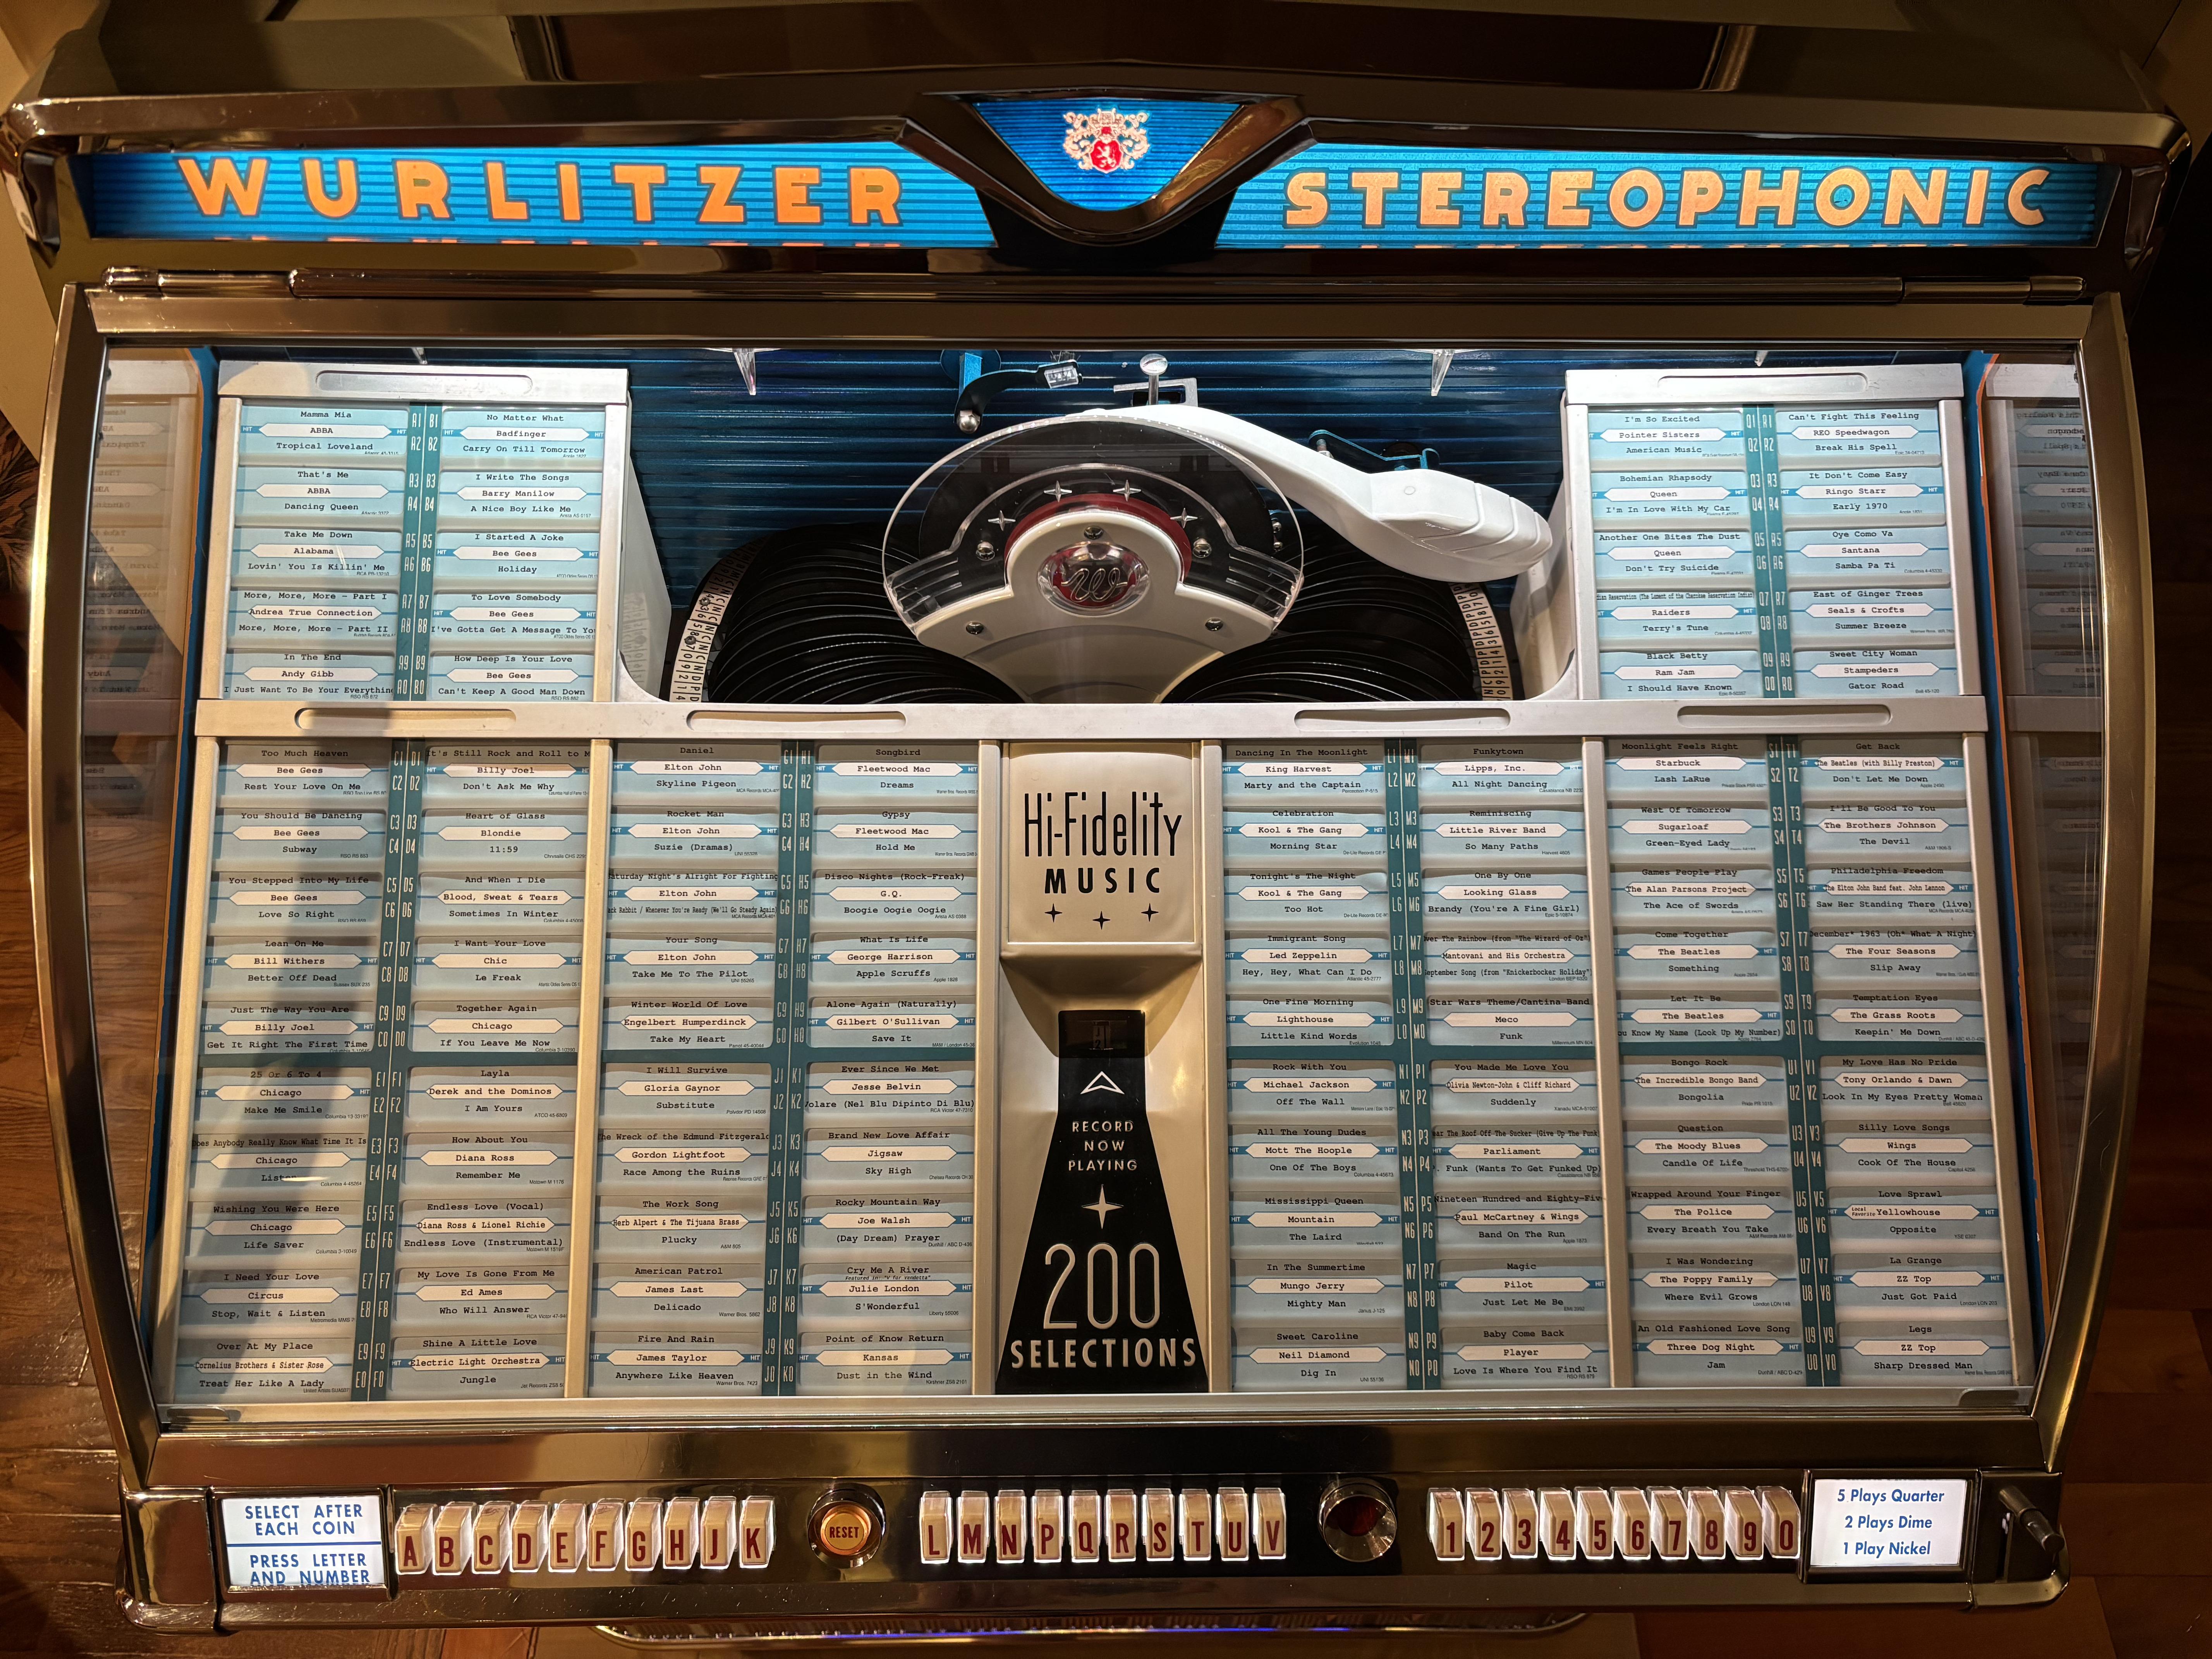
- 200 Selections (100x 45rpm 7in big-hole records).
- First Stereo Wurlitzer Jukebox.
- Featured in V for Vendetta.
- In that clip a selection is made, but no record is loaded.
- V (main character) says that there are "872 songs", of course there are only 200.
- Here is another scene playing "Cry Me A River" by Julie London.
On August 9, 2025, I bought the jukebox in Akron, Ohio for $1,000. The seller had picked it up at an estate sale around 2021 intending to restore it but never got to it. The sale included replacement glass sides, the service manual, 100x 45rpm records (a good selection) and some tubes (though only one 12AX7).
 picking it up
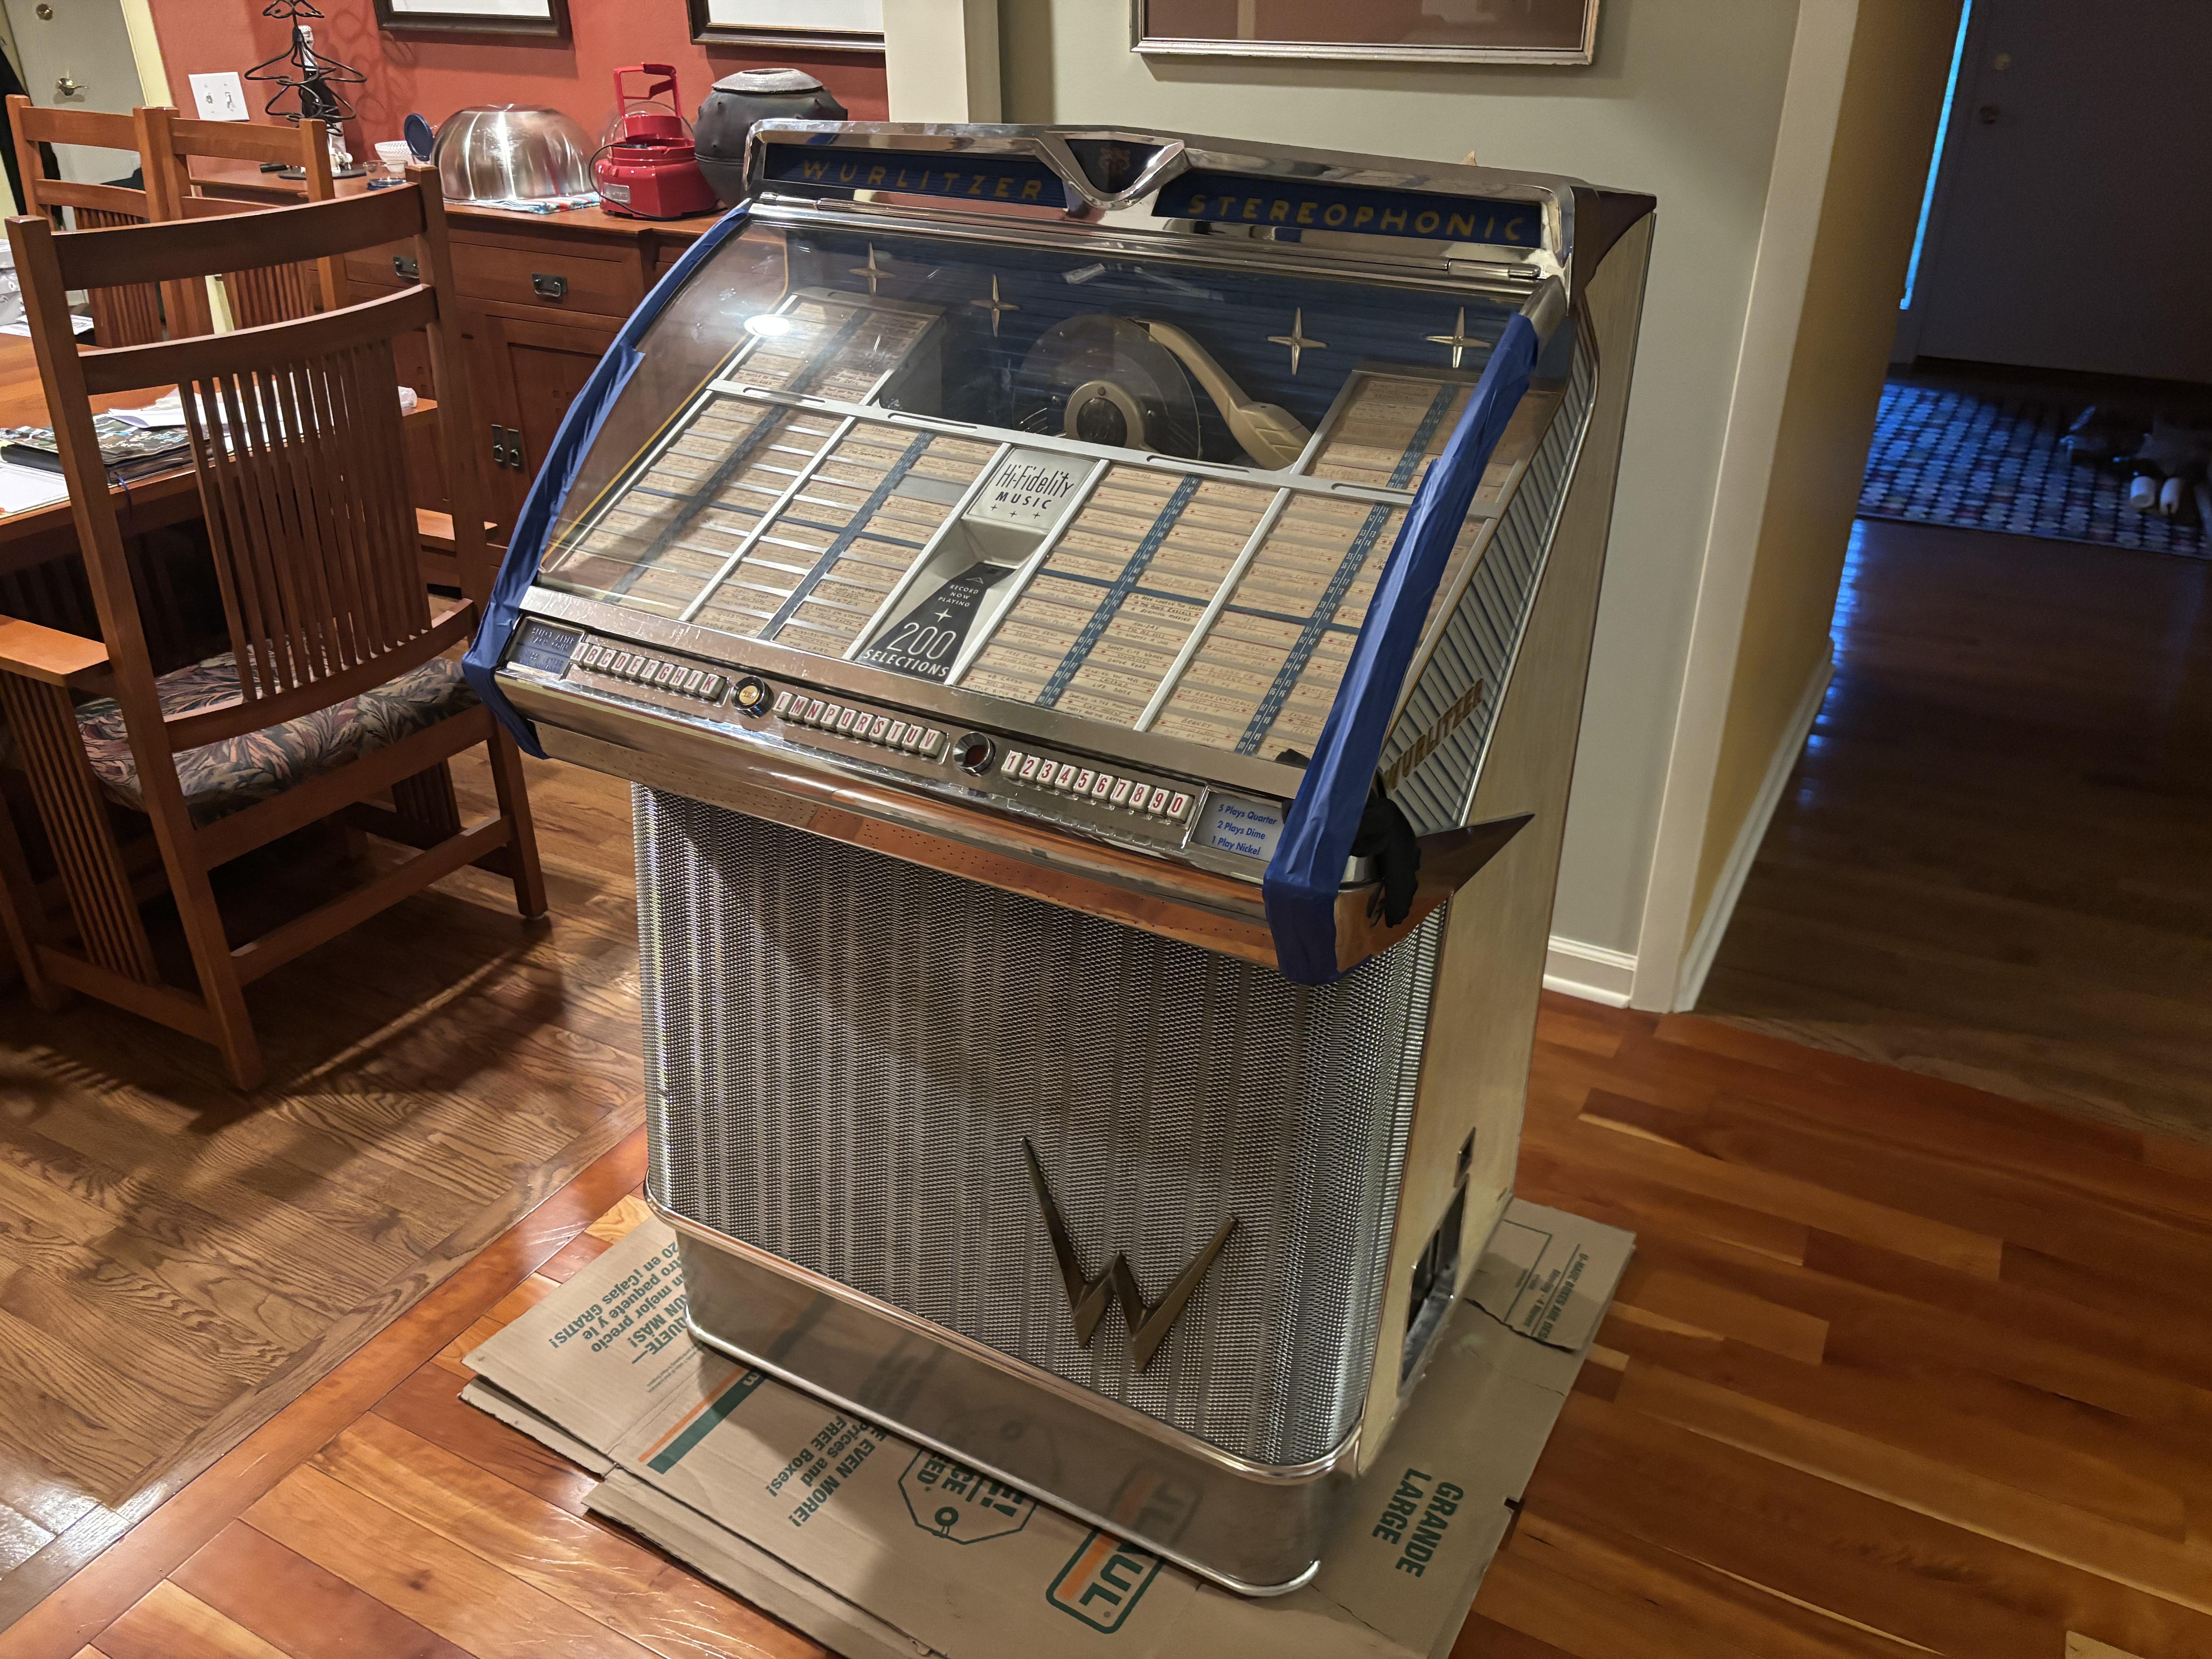
To transport it, I set the jukebox on its back on a moving blanket. In hindsight, I should have tightened down the top mechanism - I didn’t realize the entire mech sits on springs with transport wing bolts. I taped the front glass, covered it with moving blankets, and secured it with a ratchet strap across the grille, plus additional straps at the top and base to limit movement in the trailer.
 Arrival
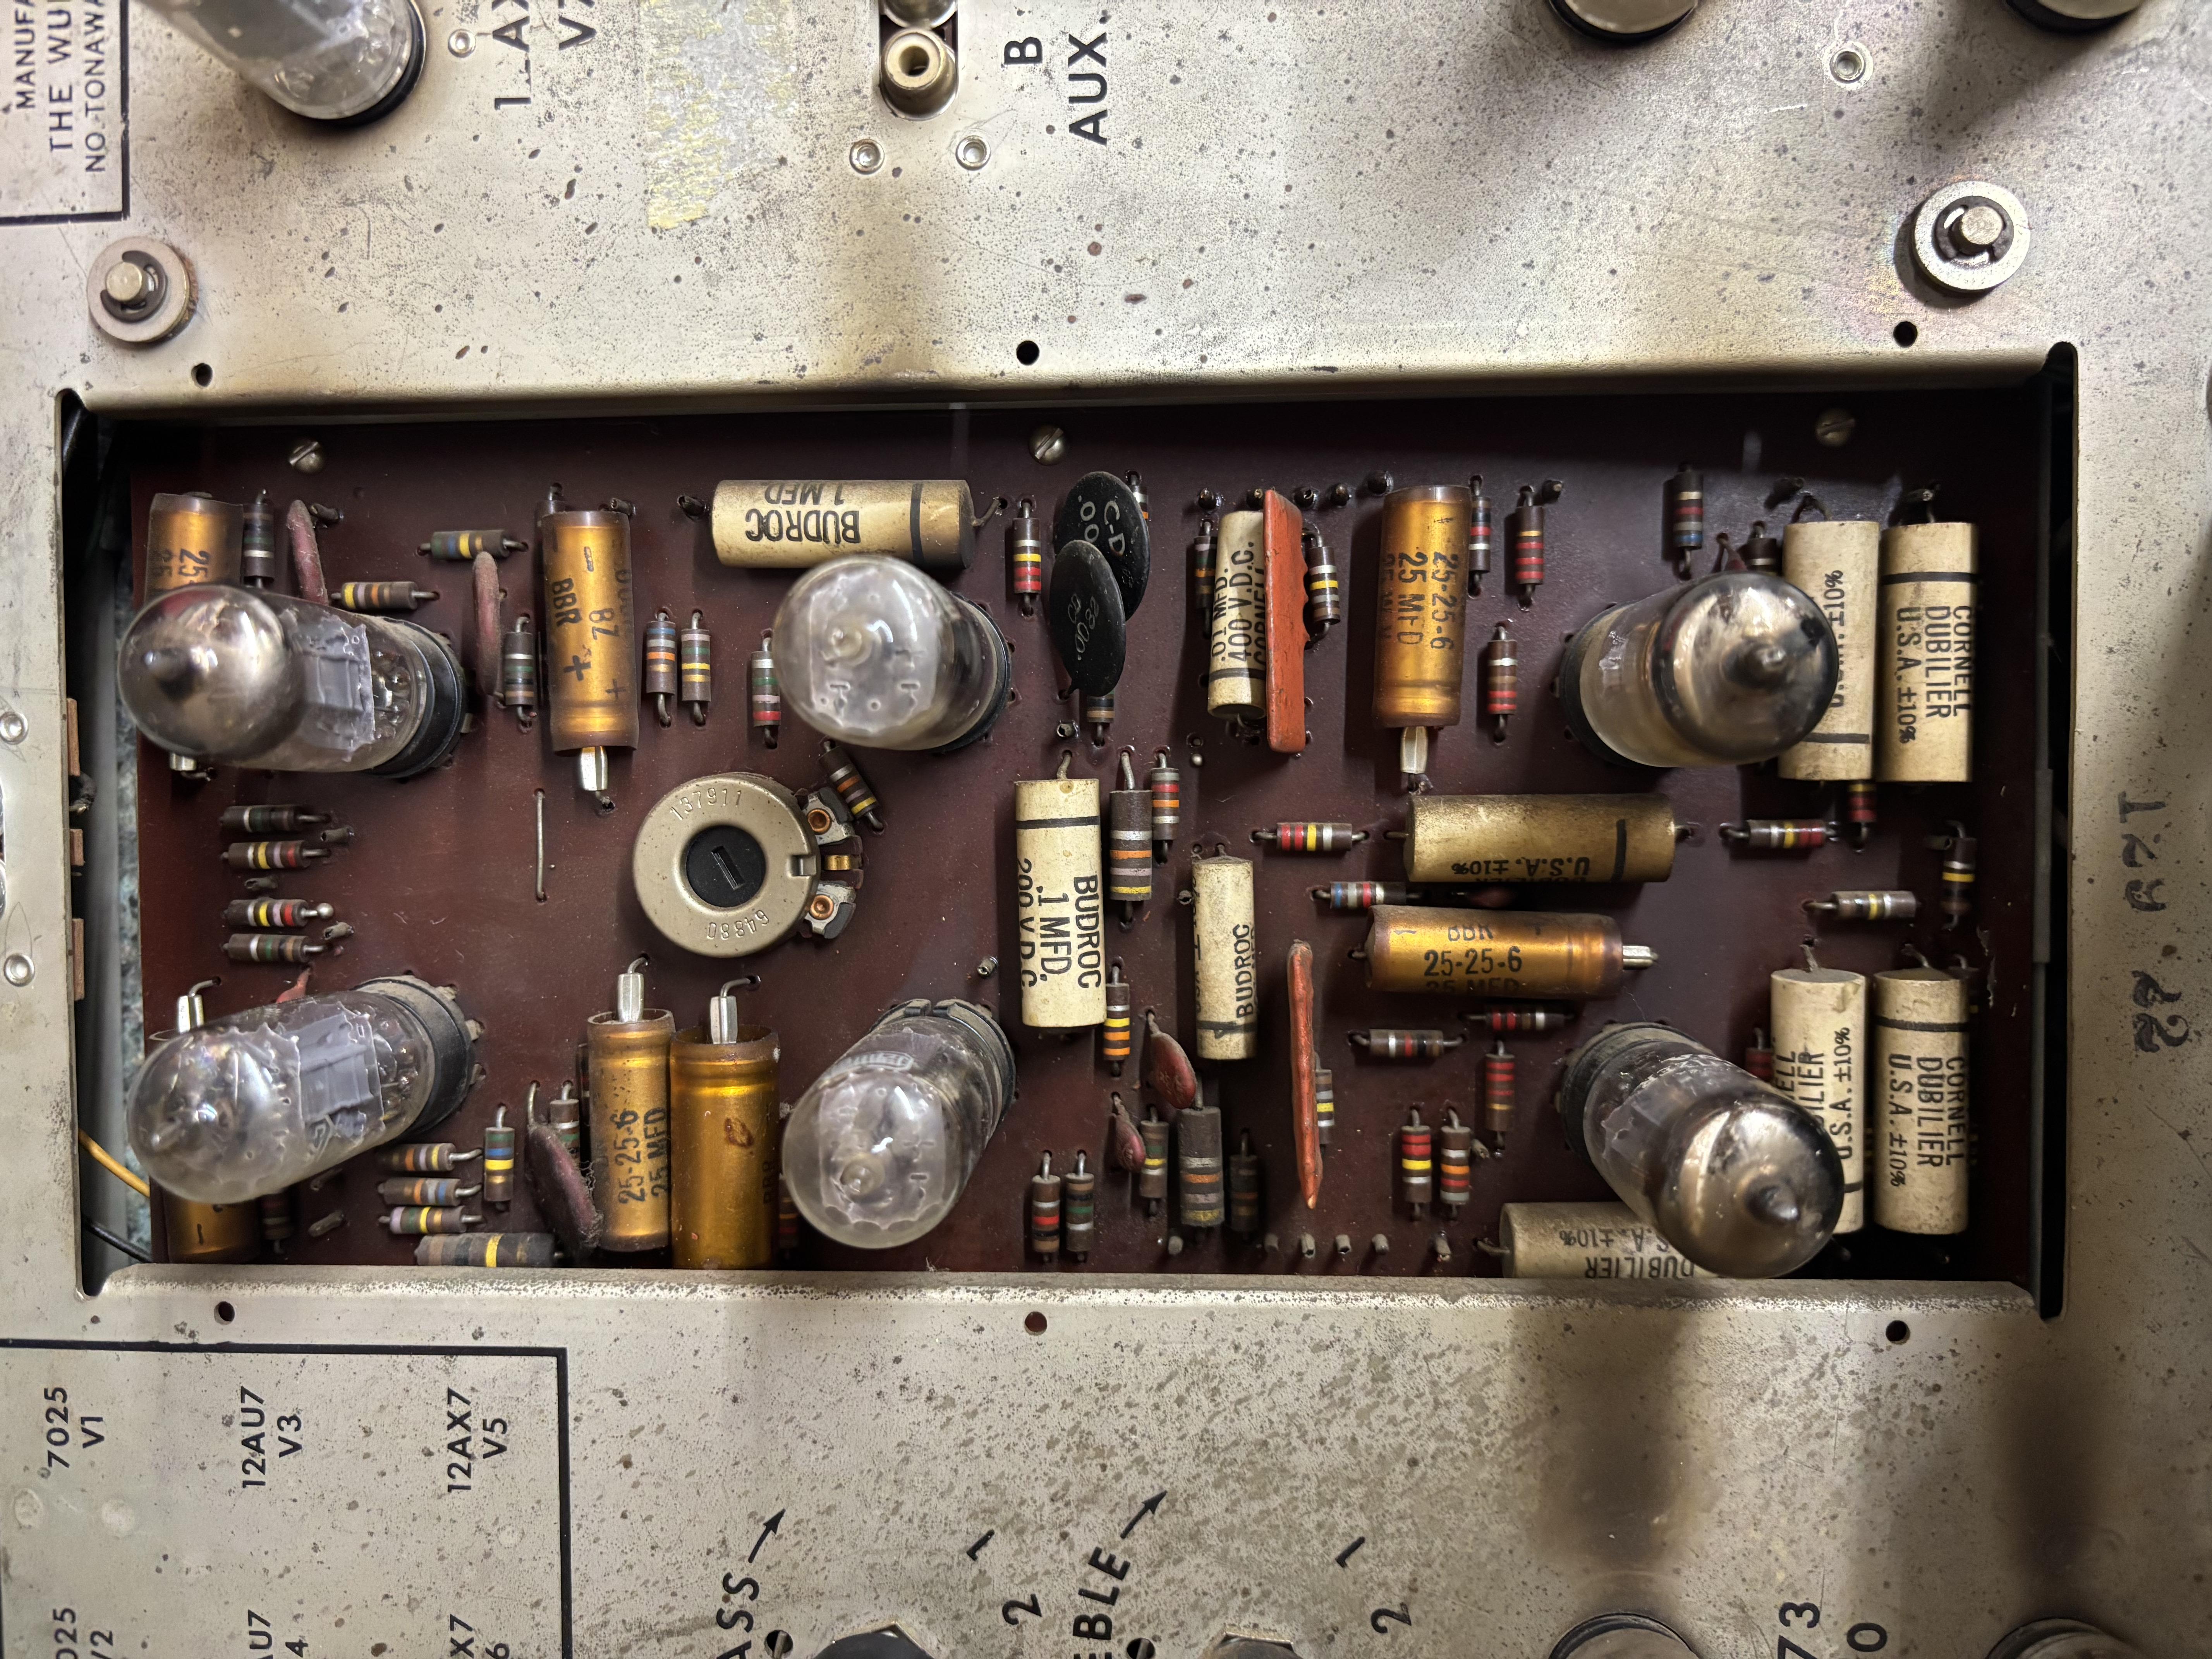
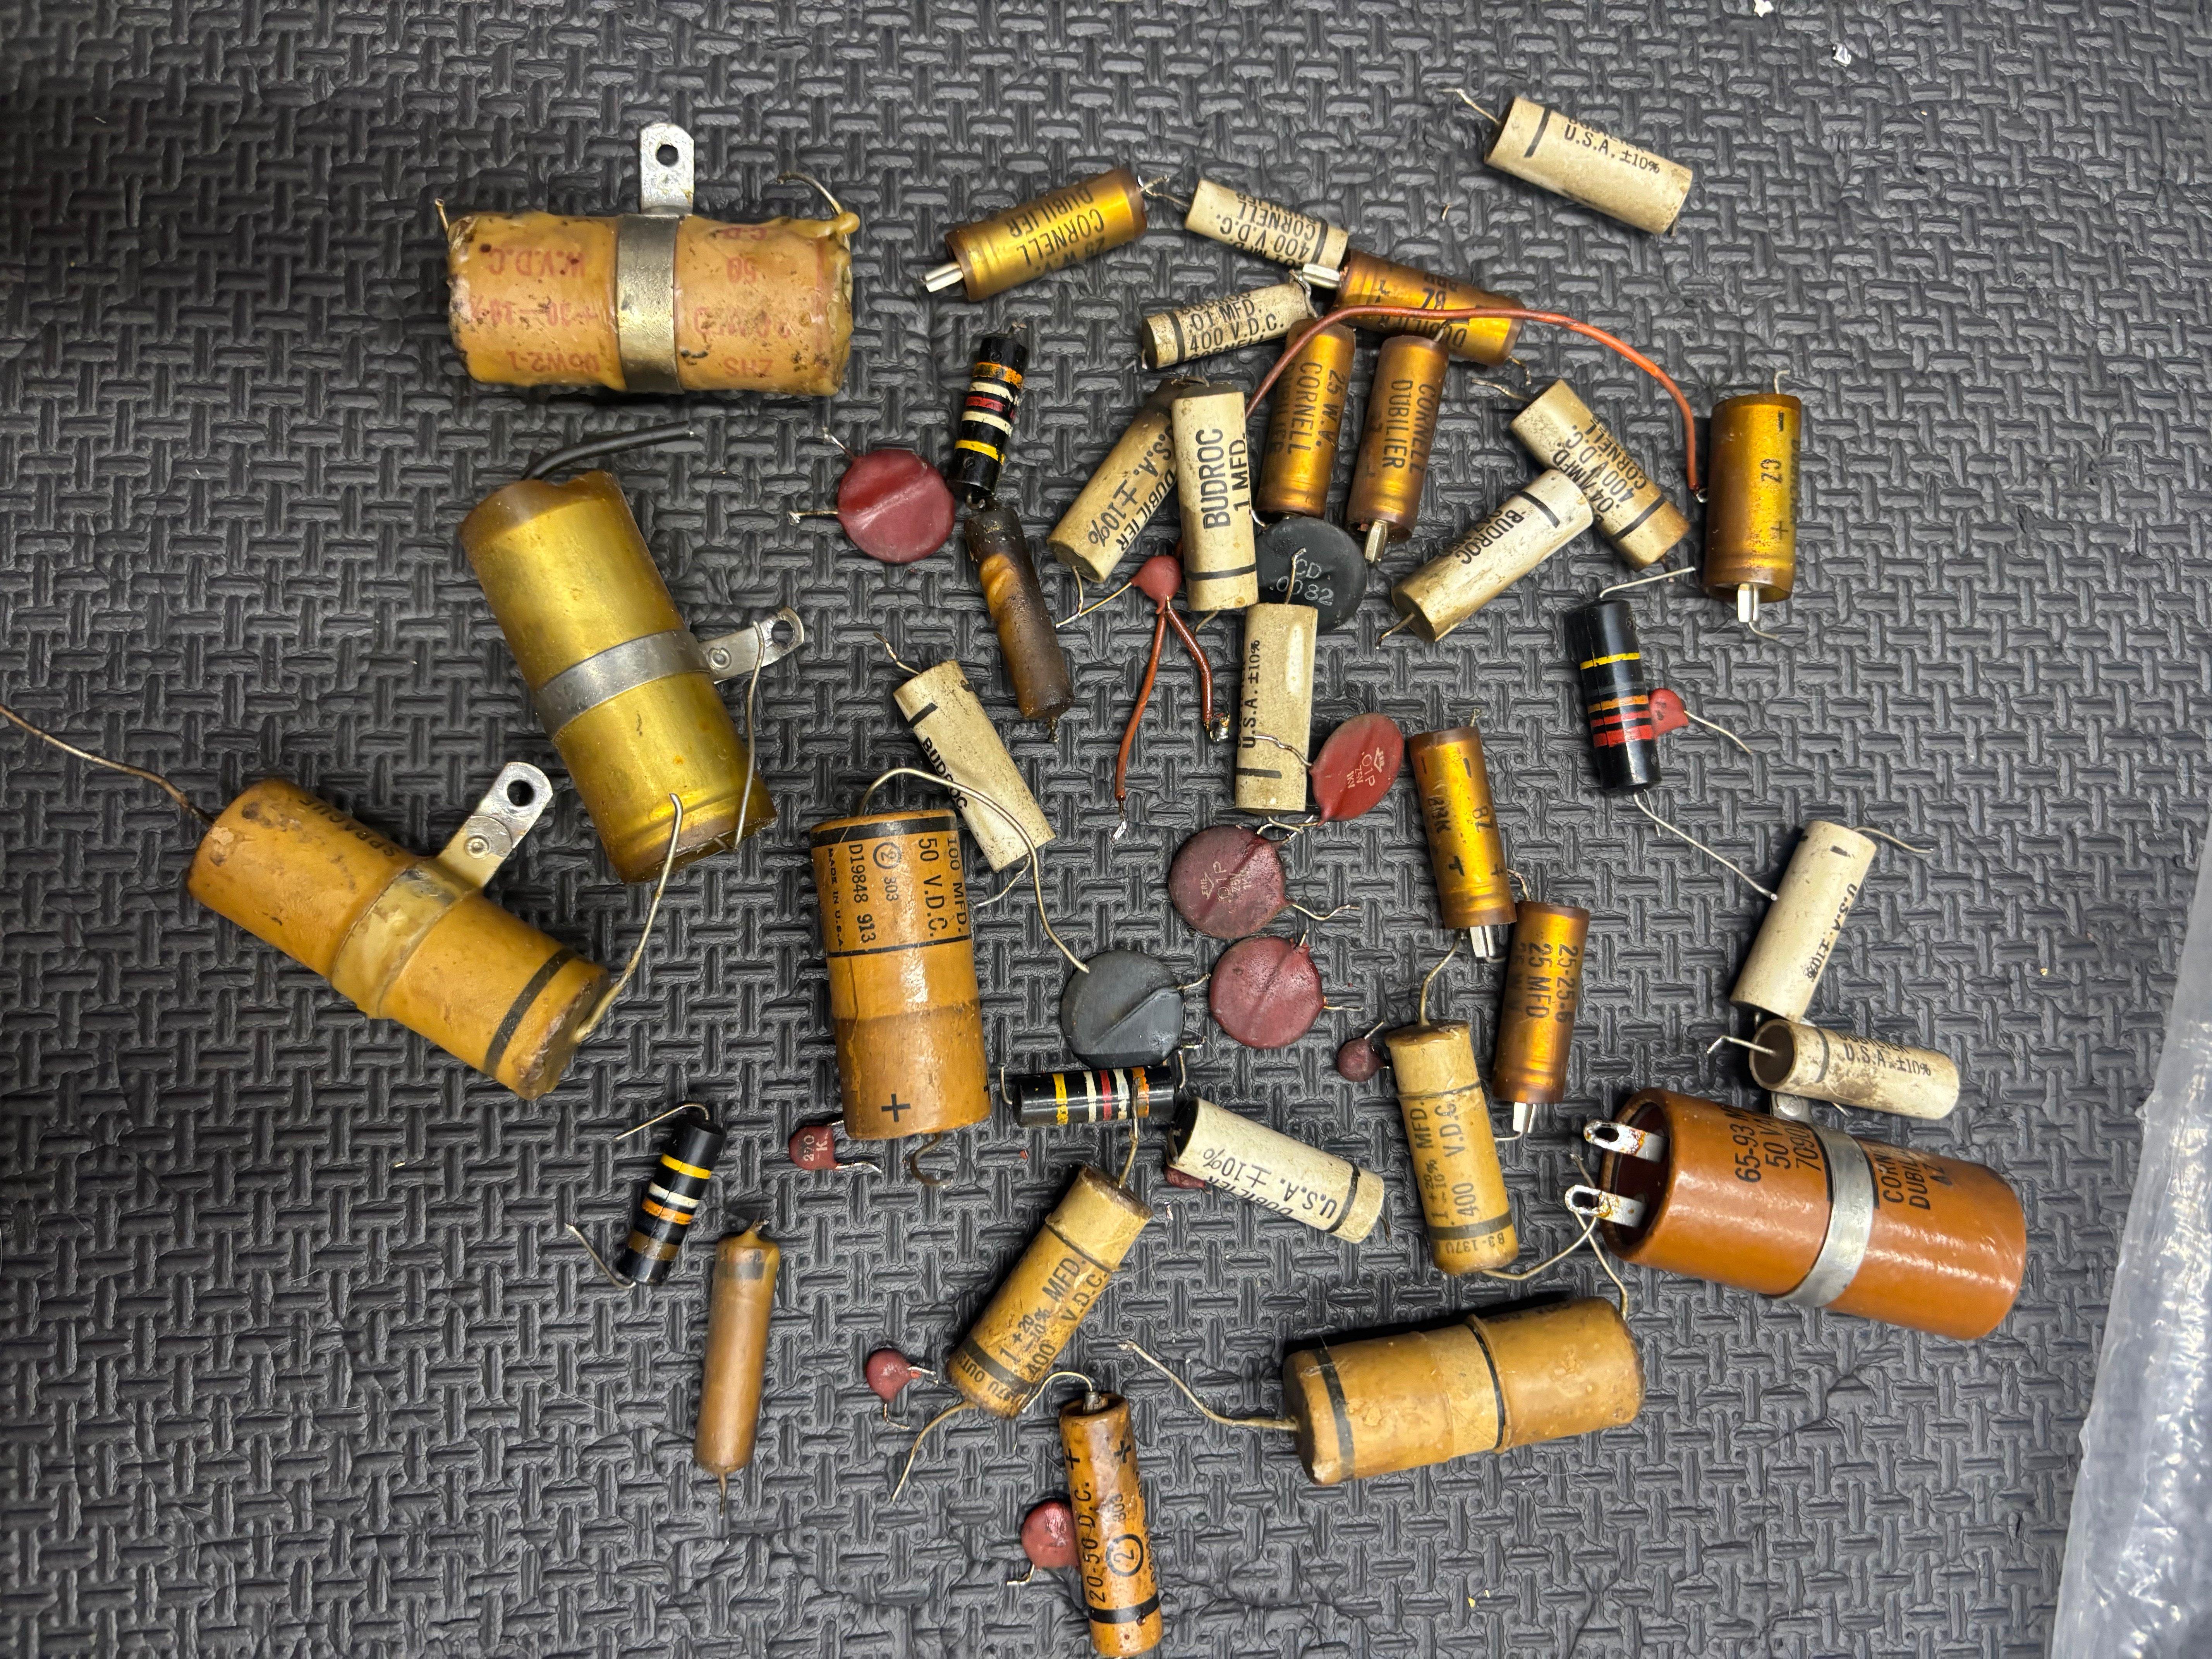
The first step I chose in the restoration was replacing the capacitors.
This is a link to the spreadsheet of all capacitors that I replaced.
Here is the work I did on the amplifier:
 Amp PCB Before
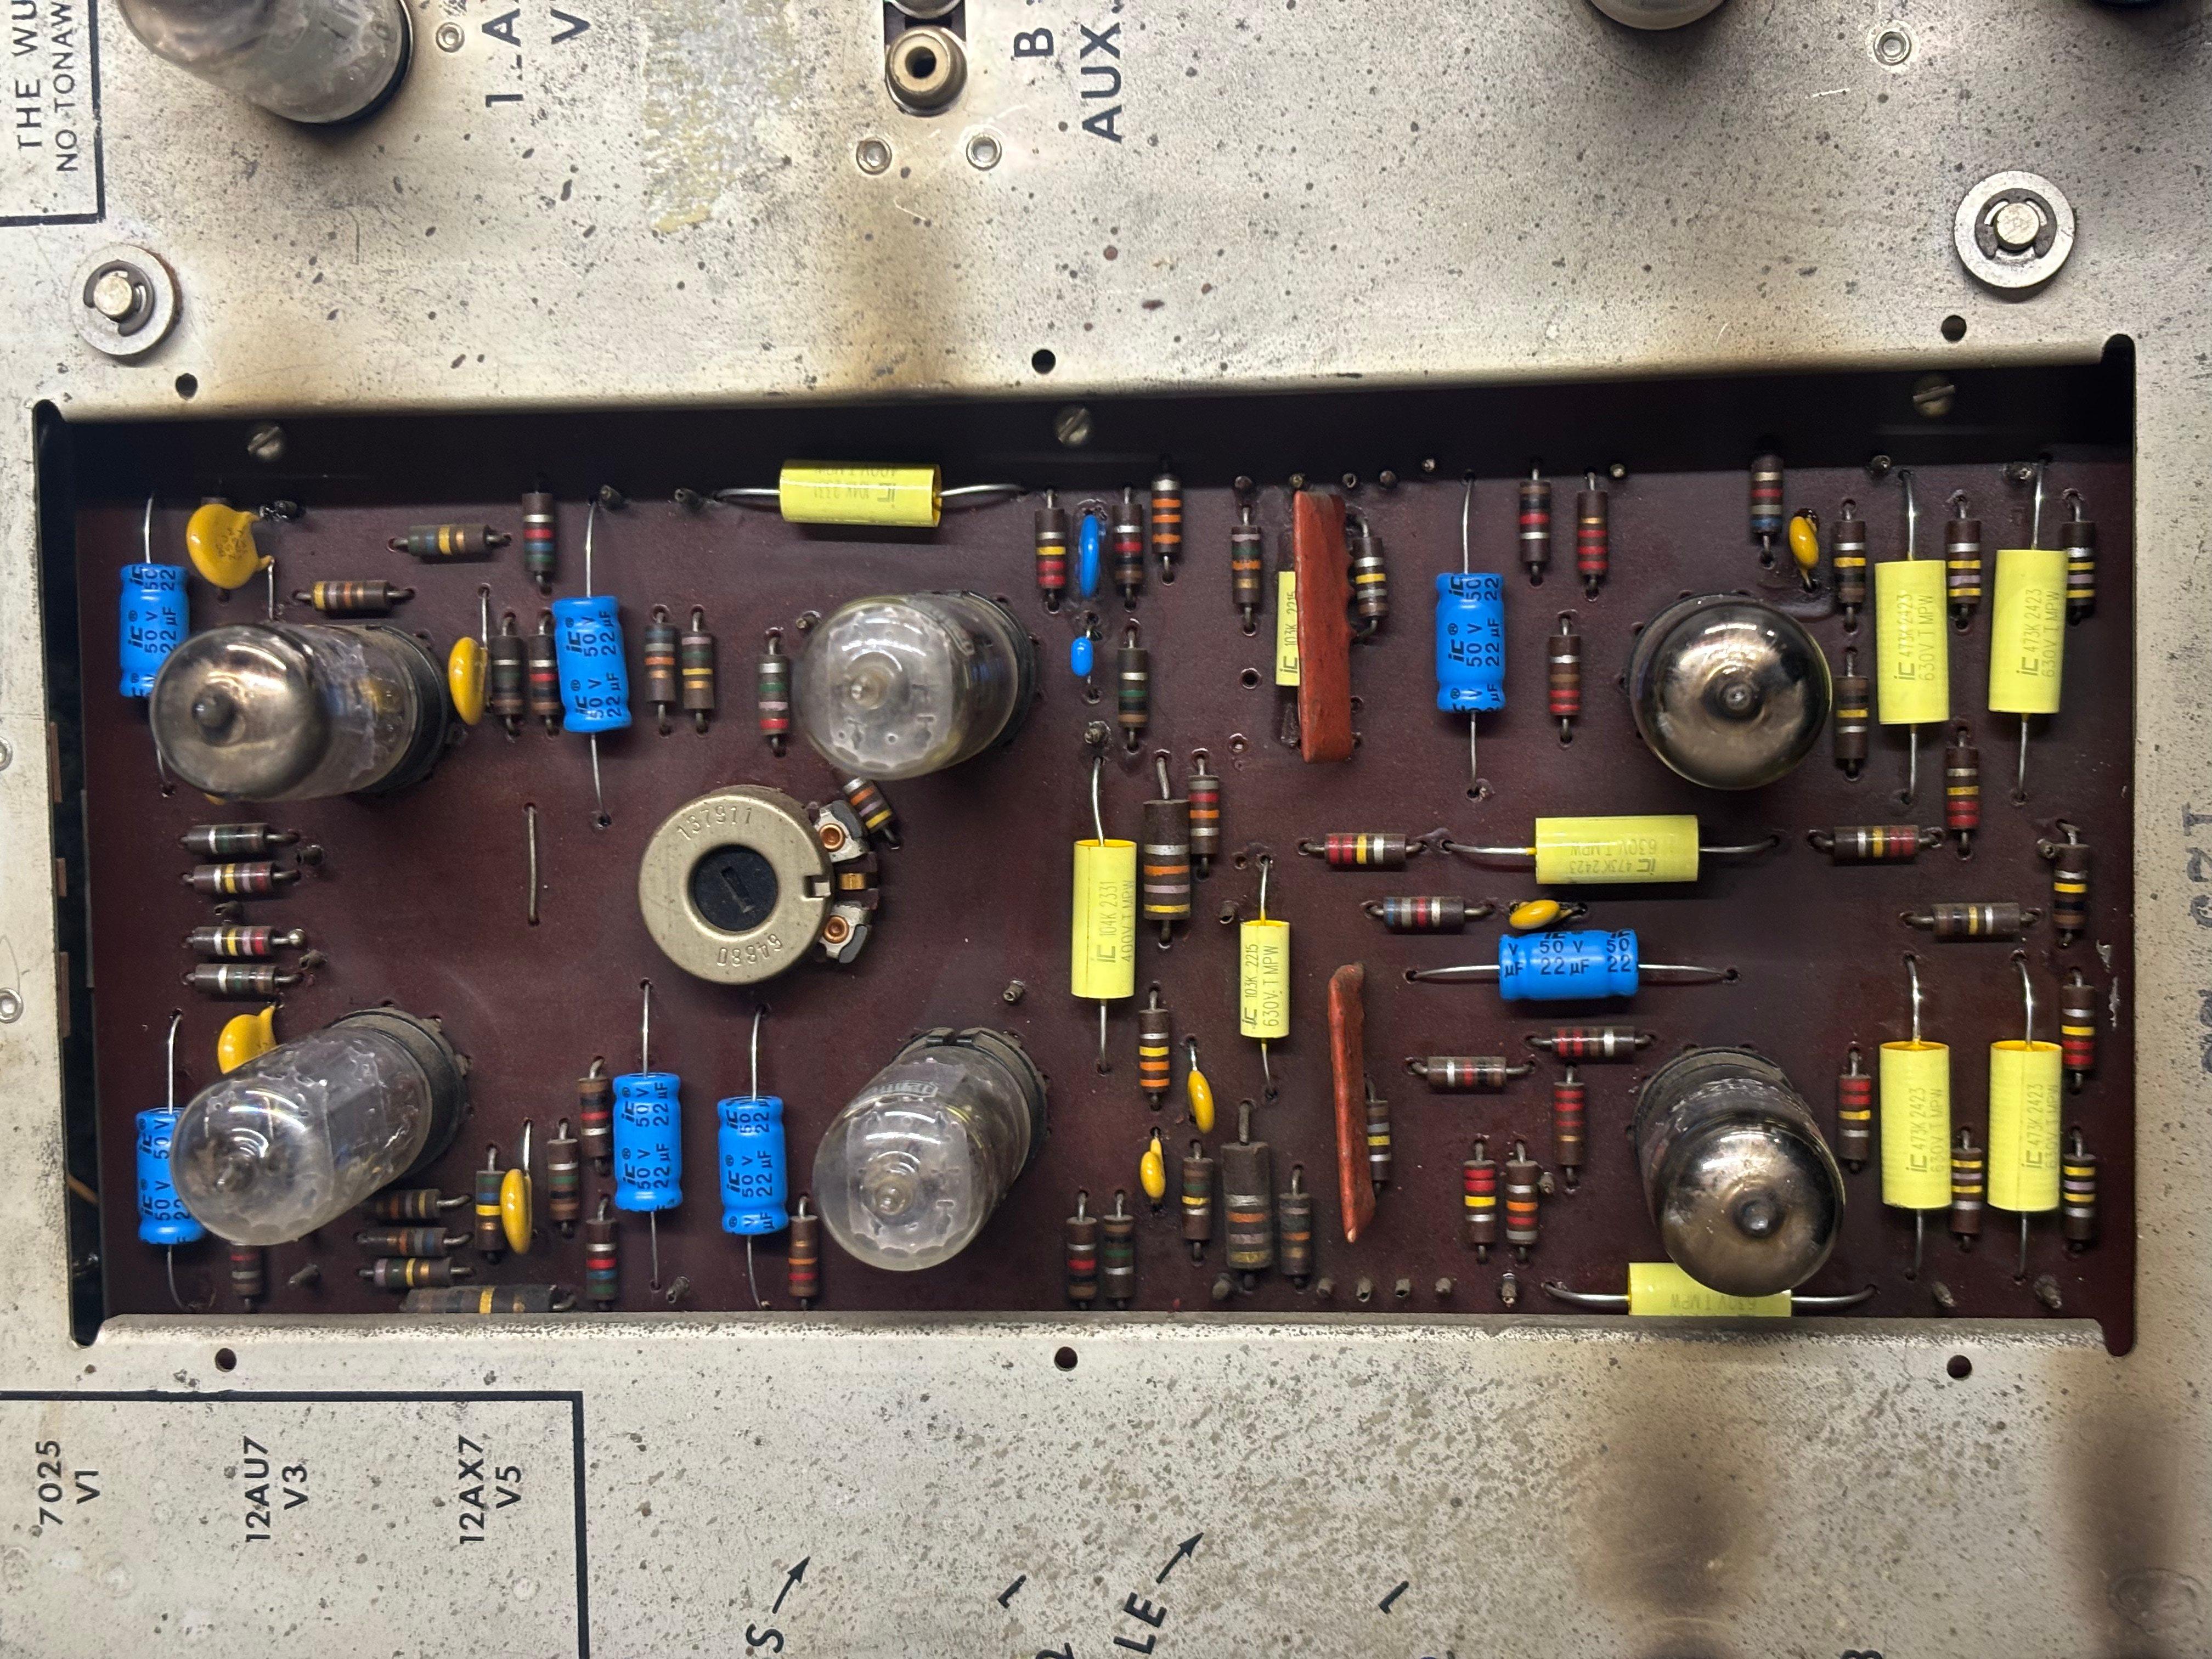 Amp PCB After
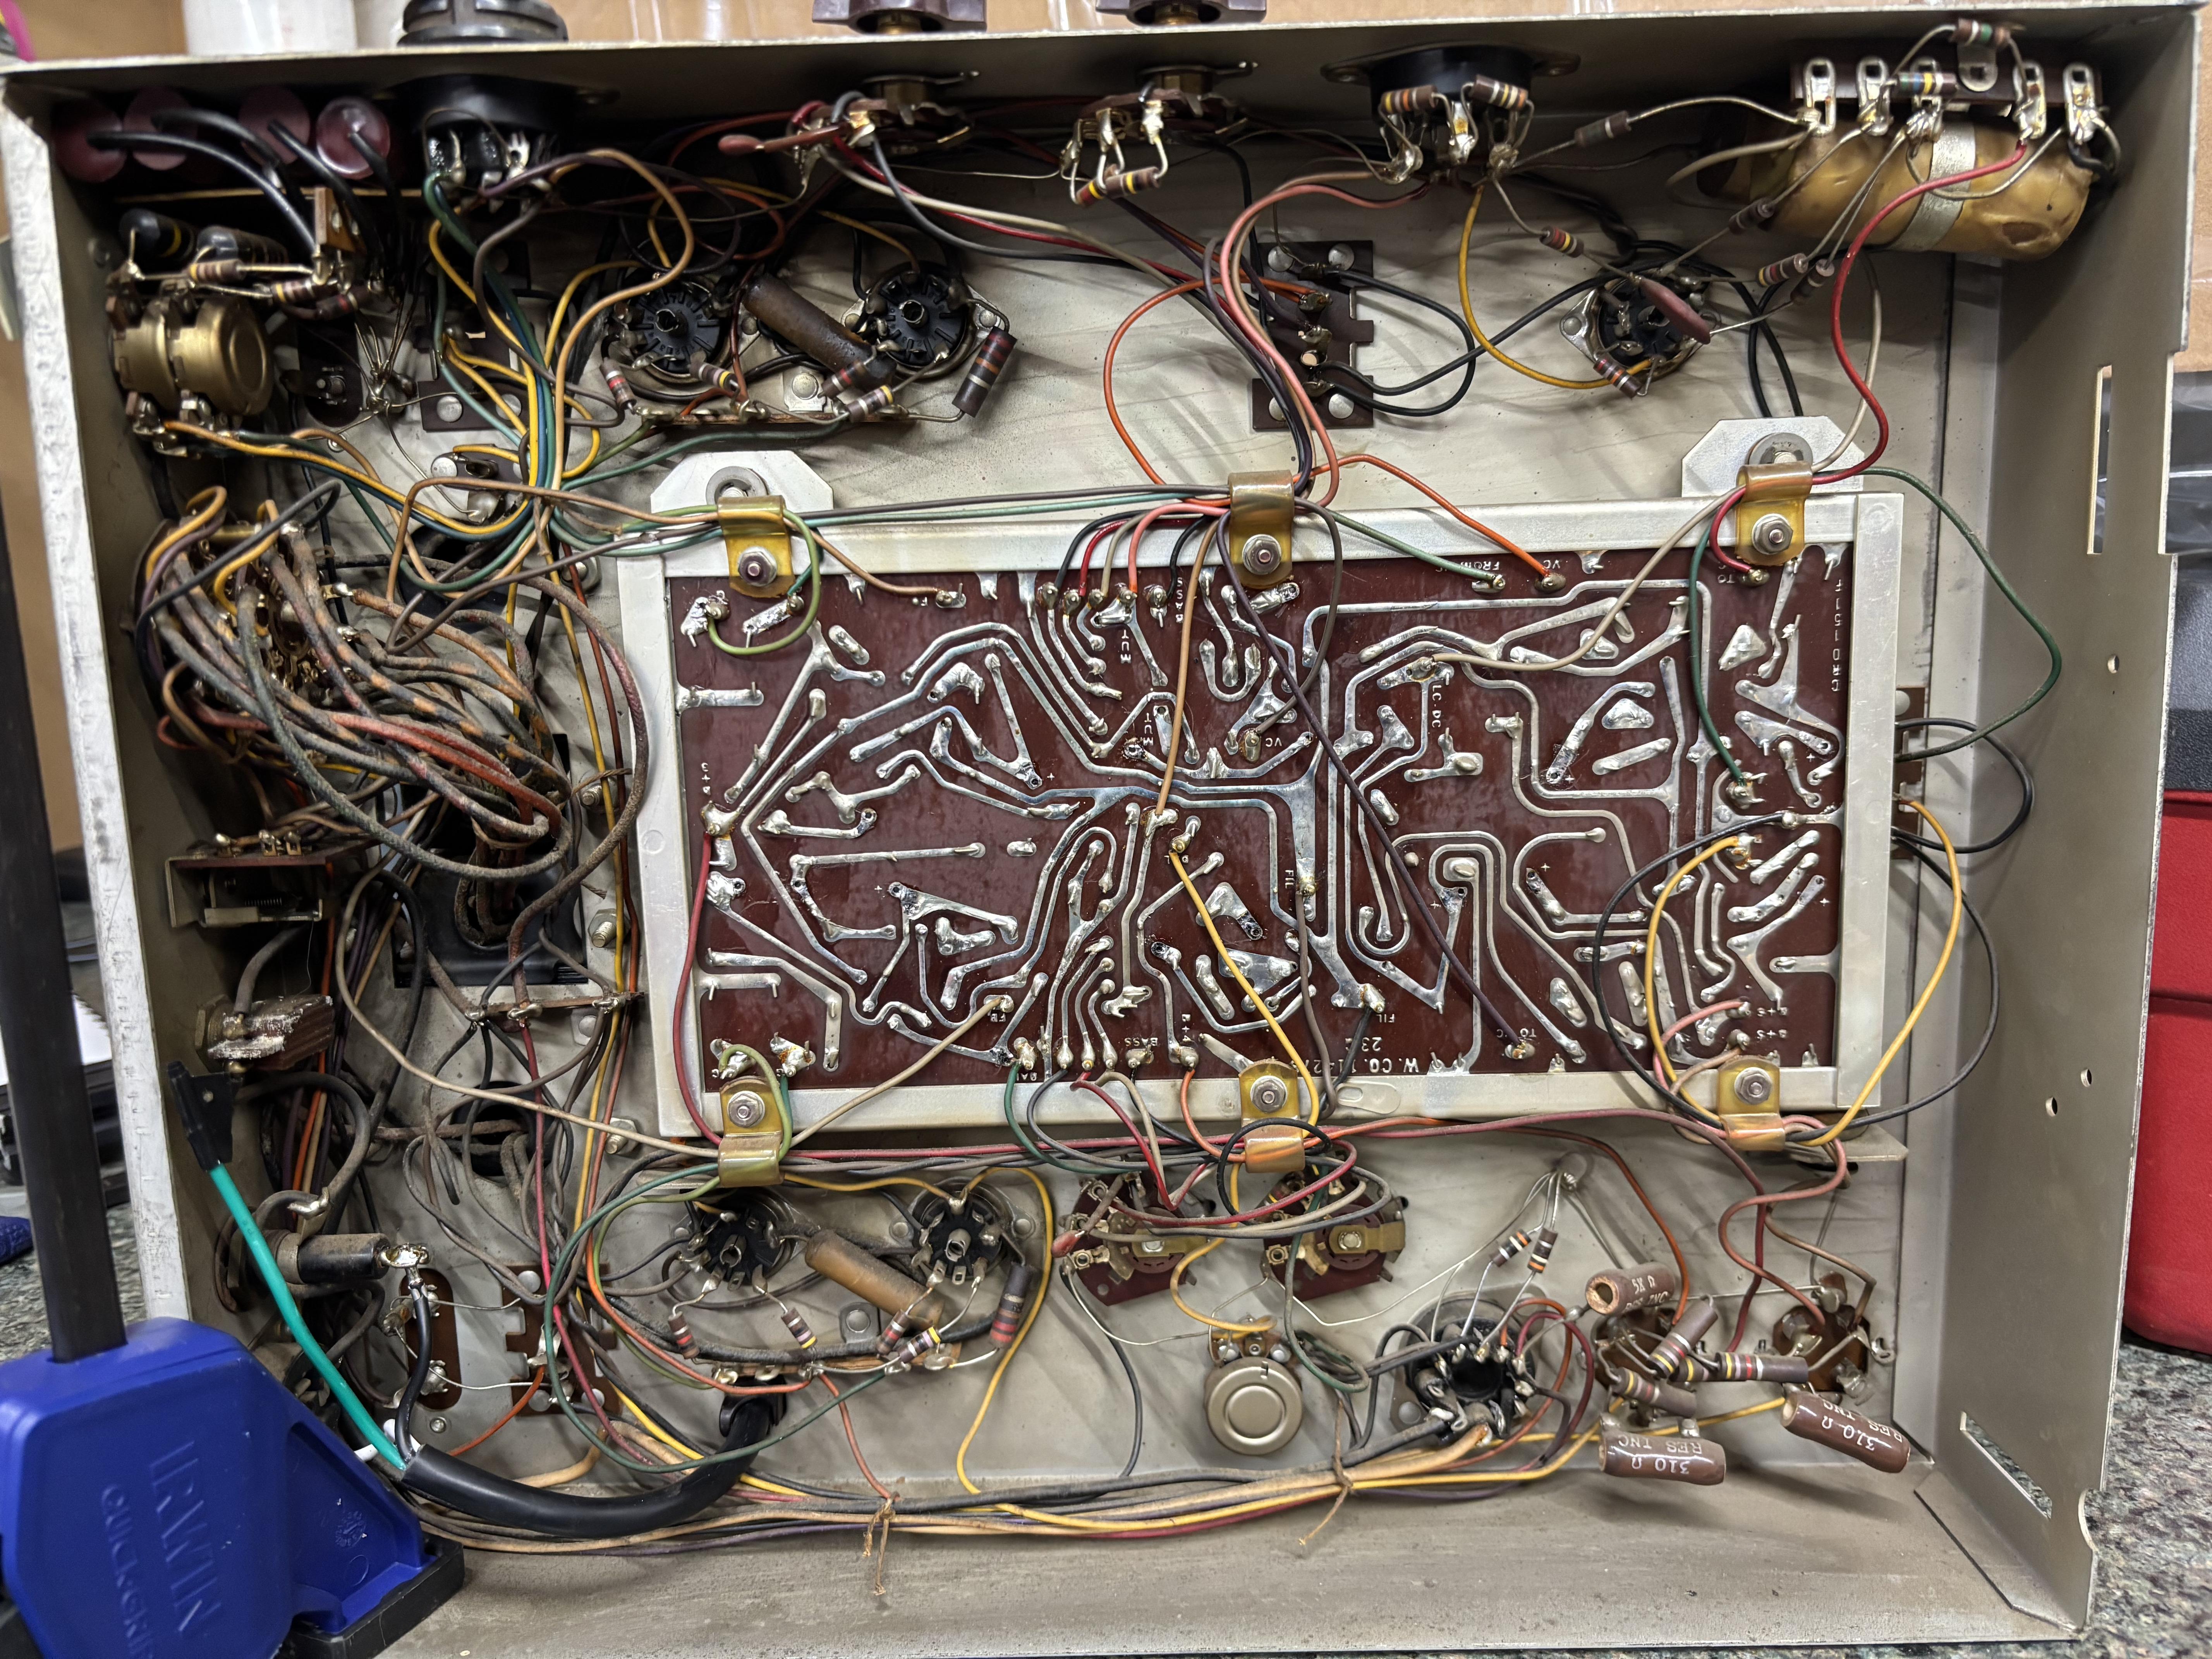 Amp Underside Before
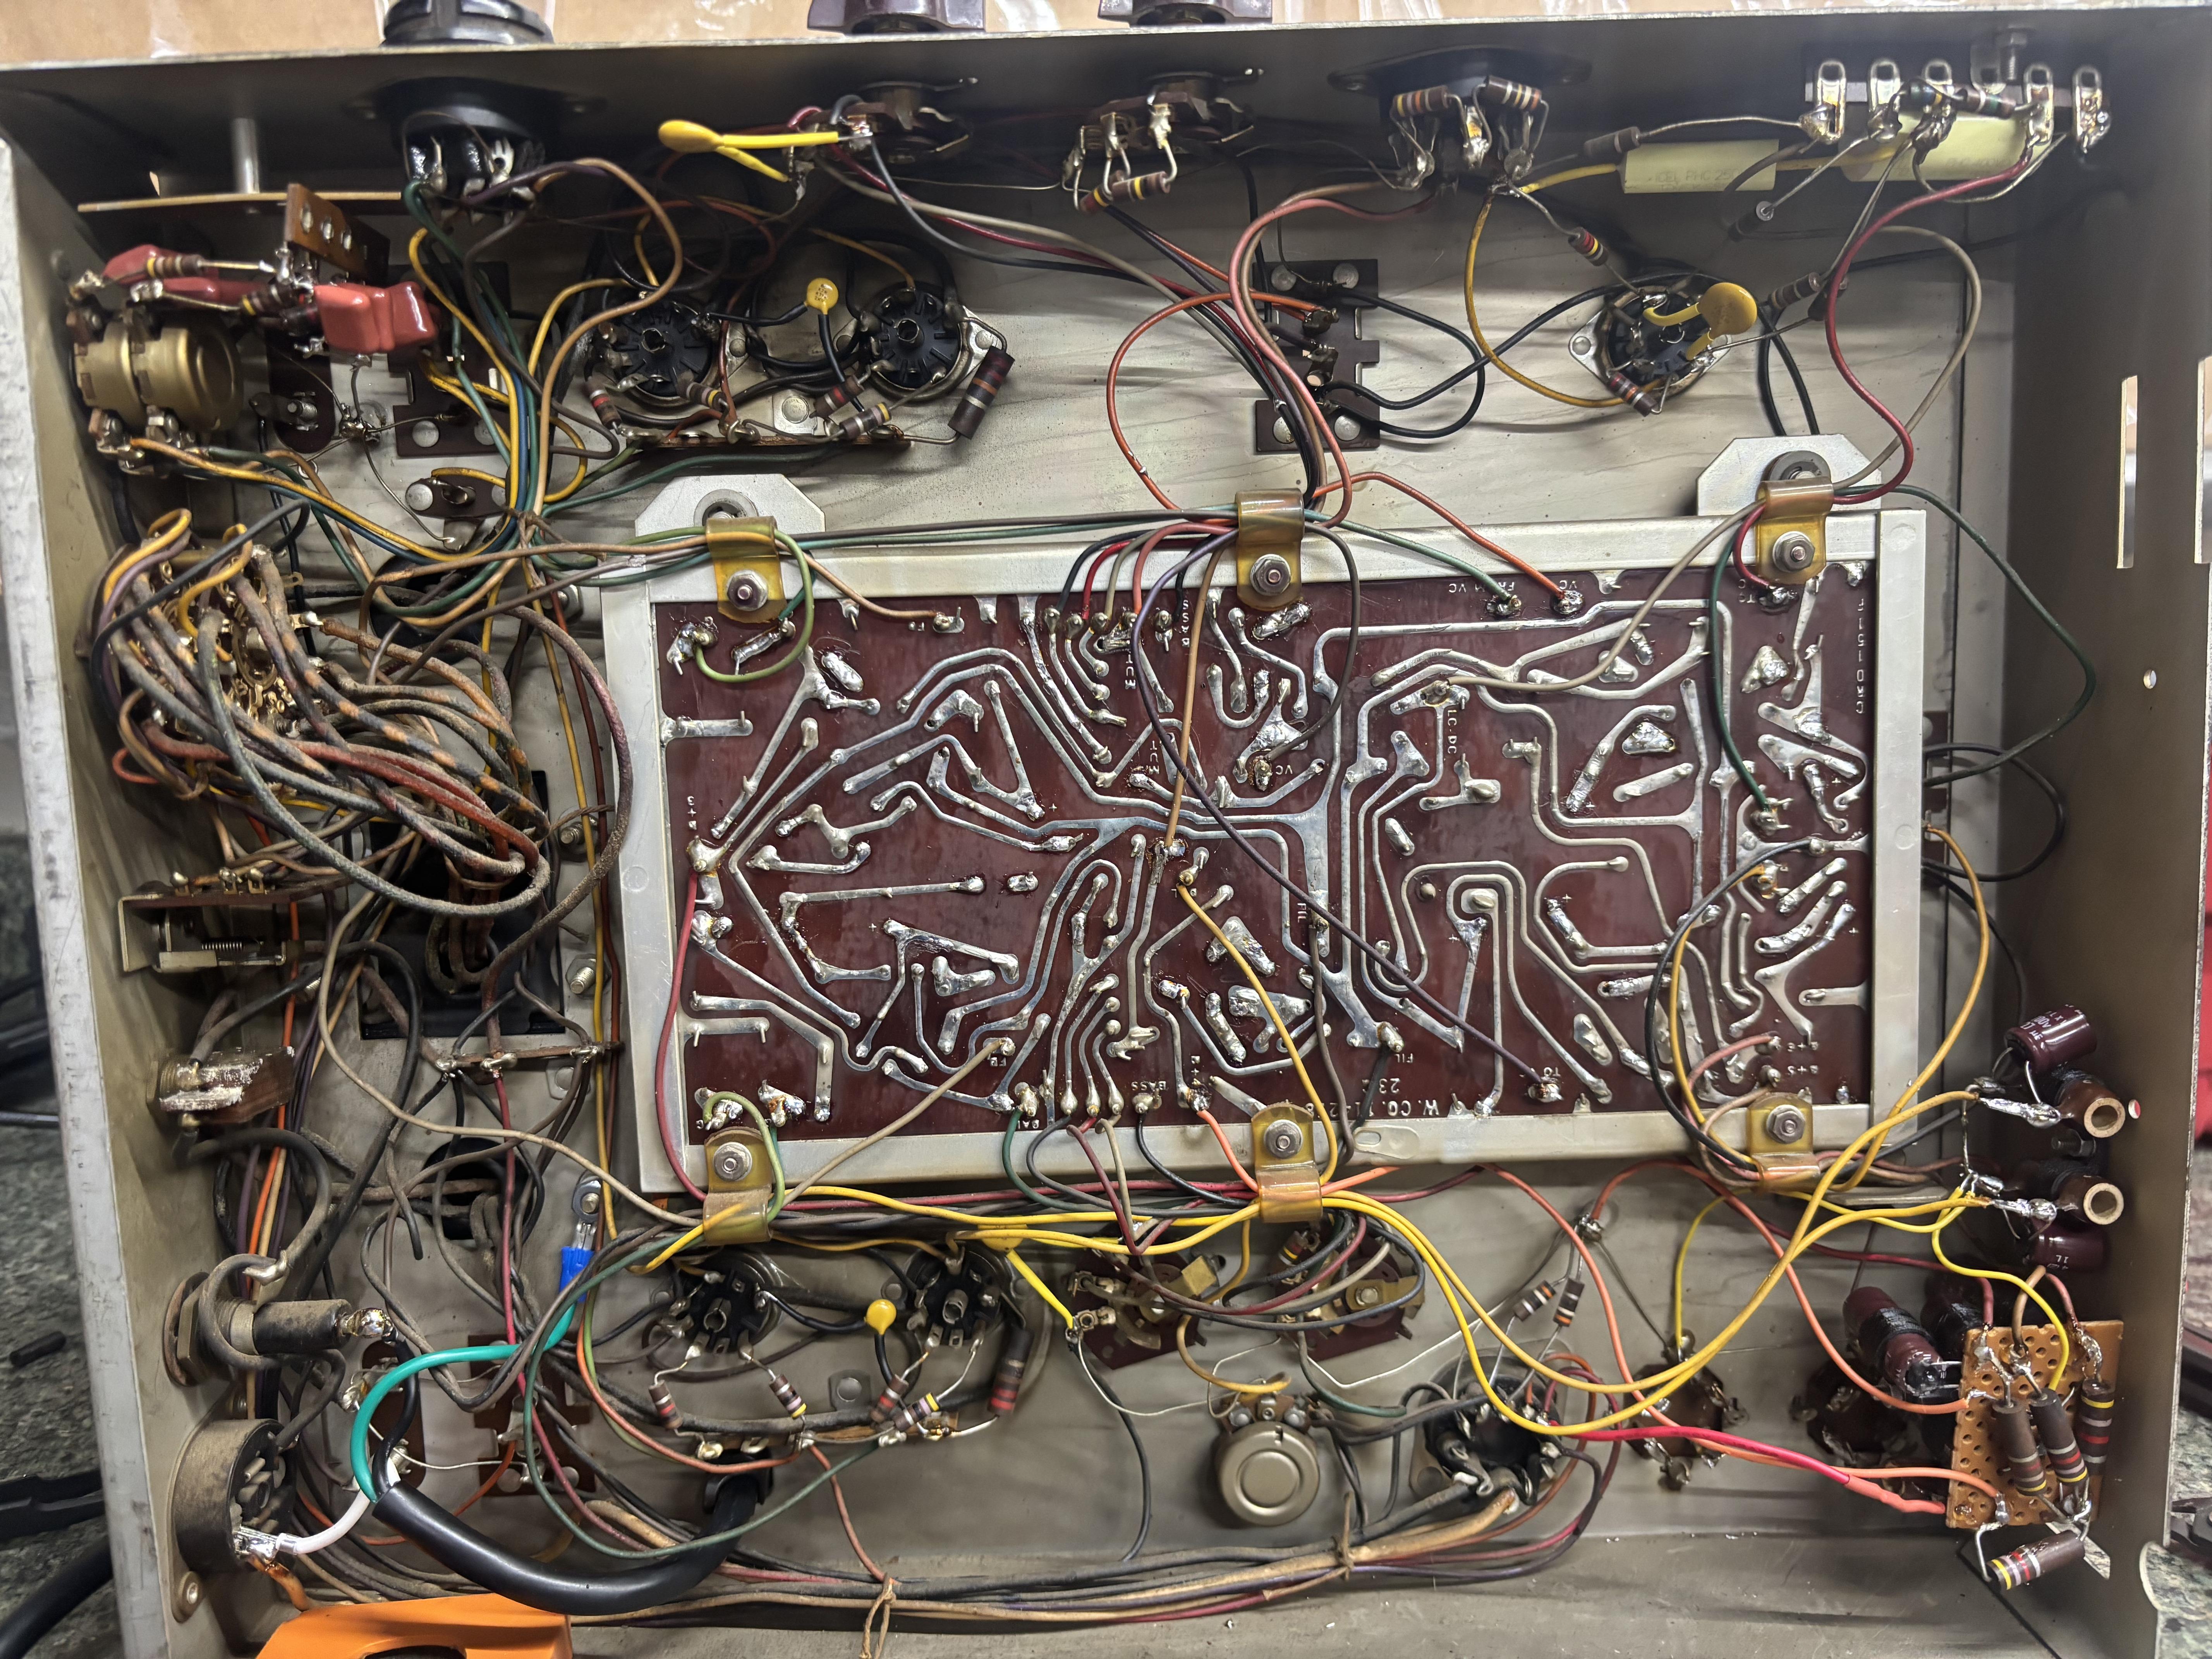 Amp Underside After
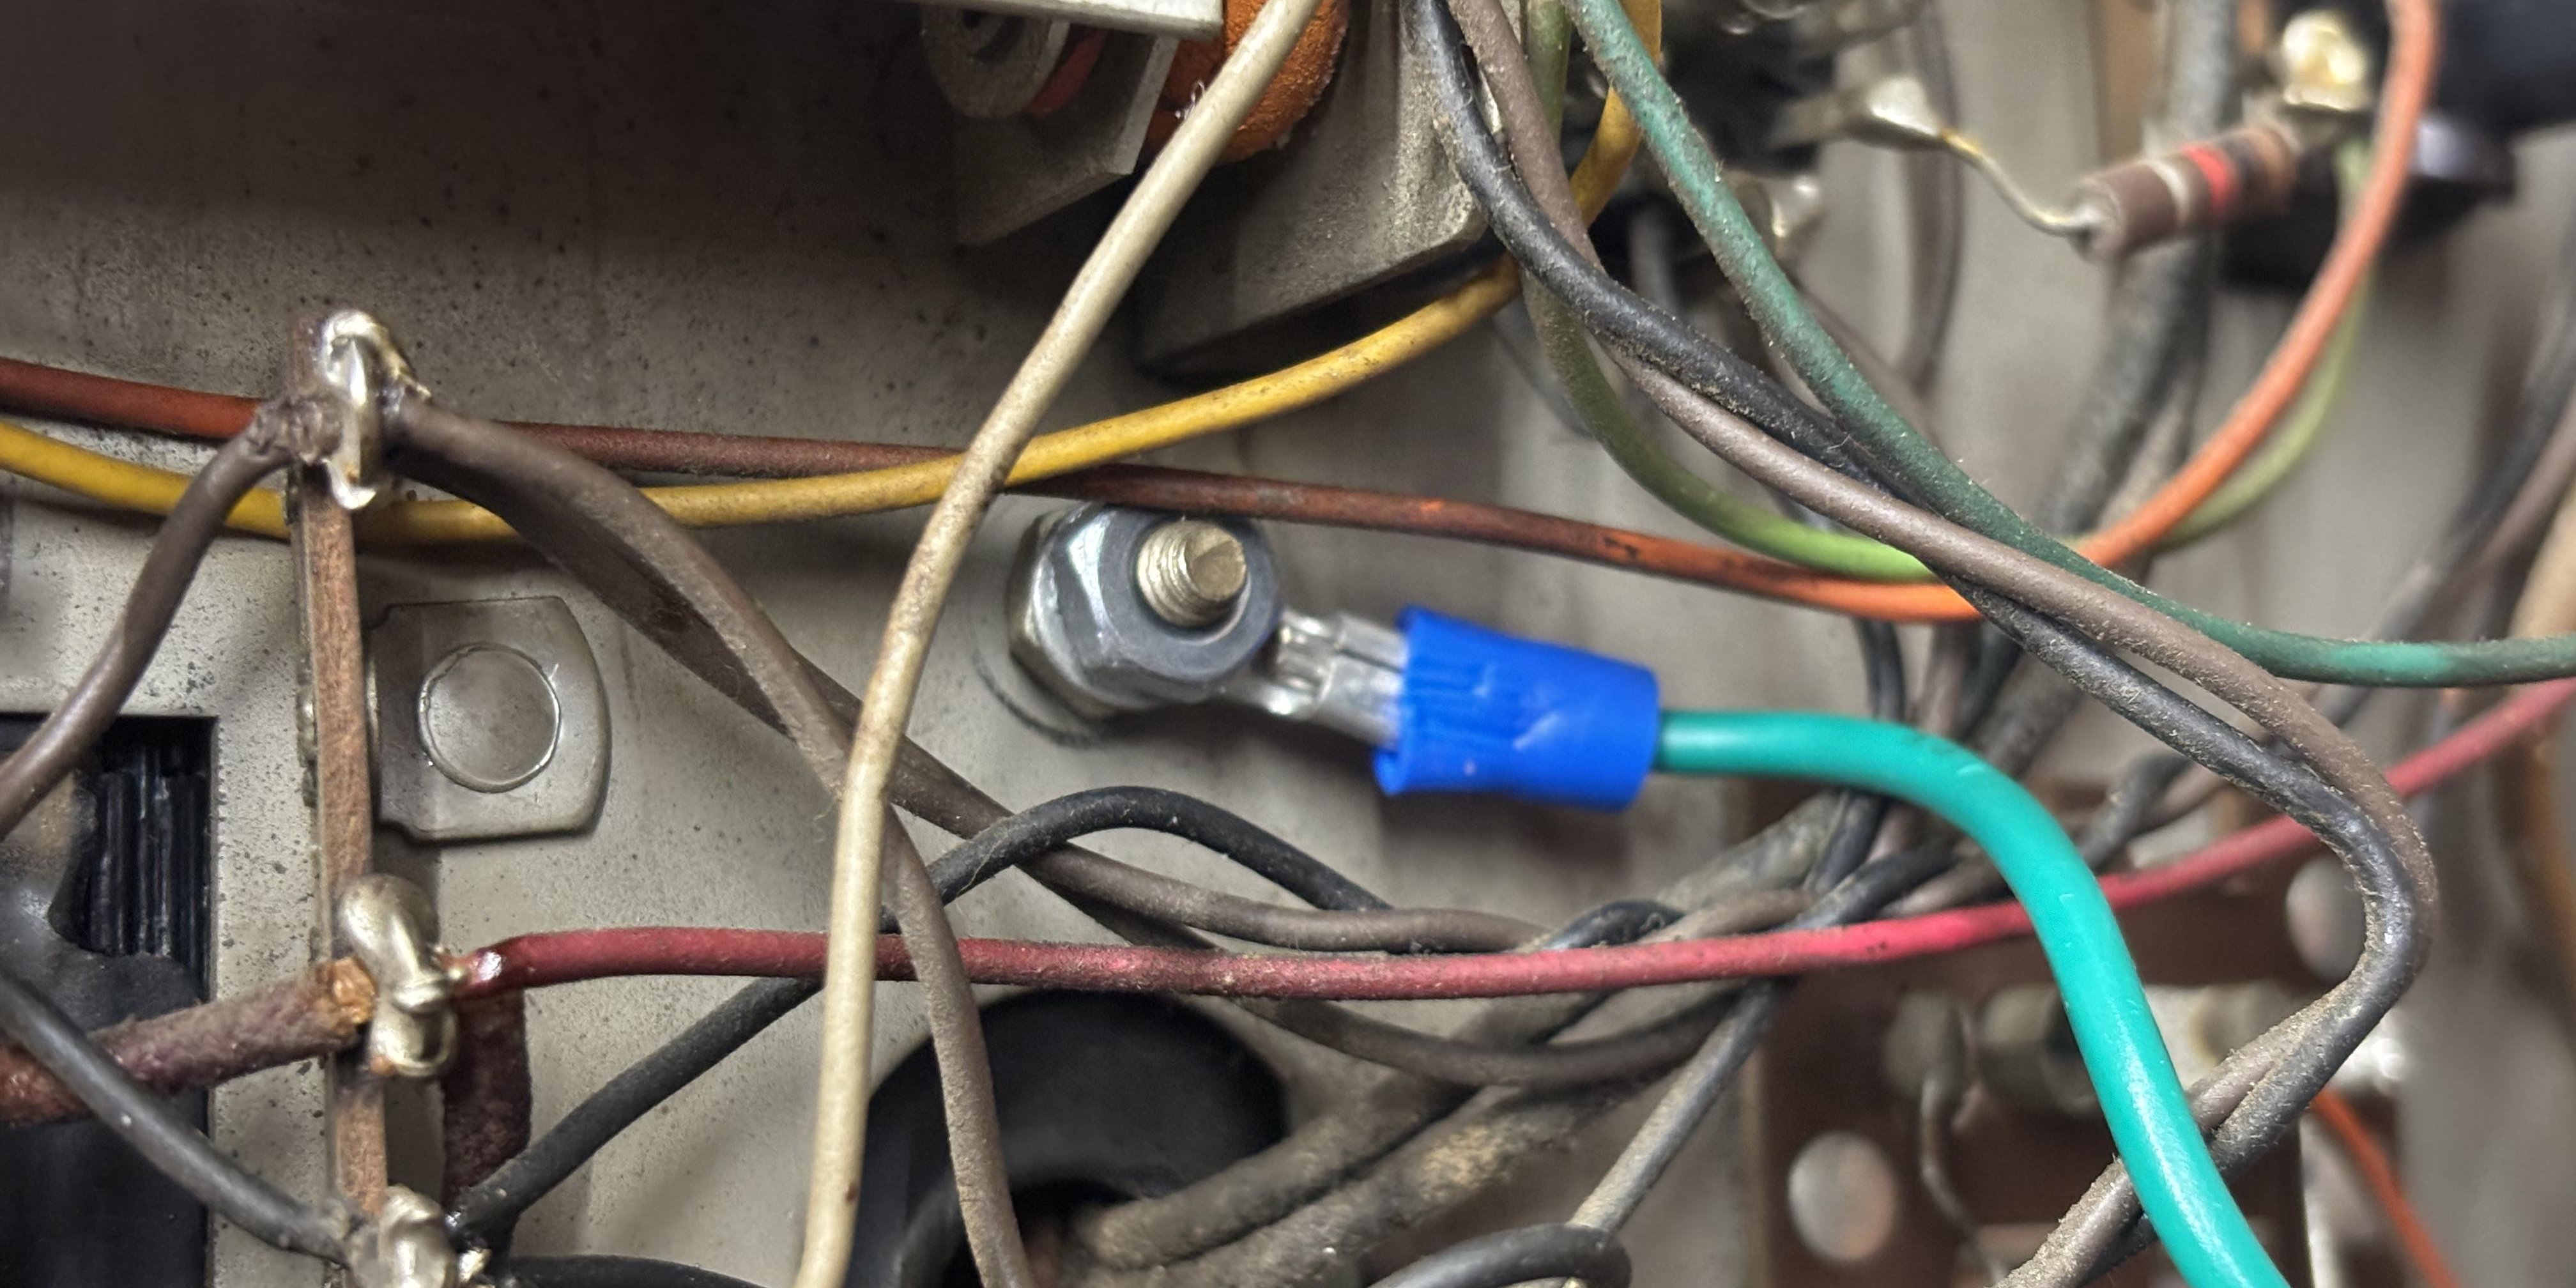 Look who is grounded now
Later I replaced the vacuum tubes with a kit from Jukebox Friday Night, it was much cheaper then buying individual tubes.
| Qty | Original | Replacement | Original Brand | Replacement Brand |
|---|---|---|---|---|
| 2 | 7025 | 12AX7 | Wurlitzer-branded RCA | Electro-Harmonix |
| 2 | 12AU7 | 12AU7 | Wurlitzer-branded RCA | General Electric |
| 3 | 12AX7 | 12AX7 | Wurlitzer-branded RCA | Electro-Harmonix |
| 4 | 6973 | 6973 | Wurlitzer-branded RCA | Electro-Harmonix |
| 1 | 5U4GB | 5U4GB | Sylvania | Raytheon |
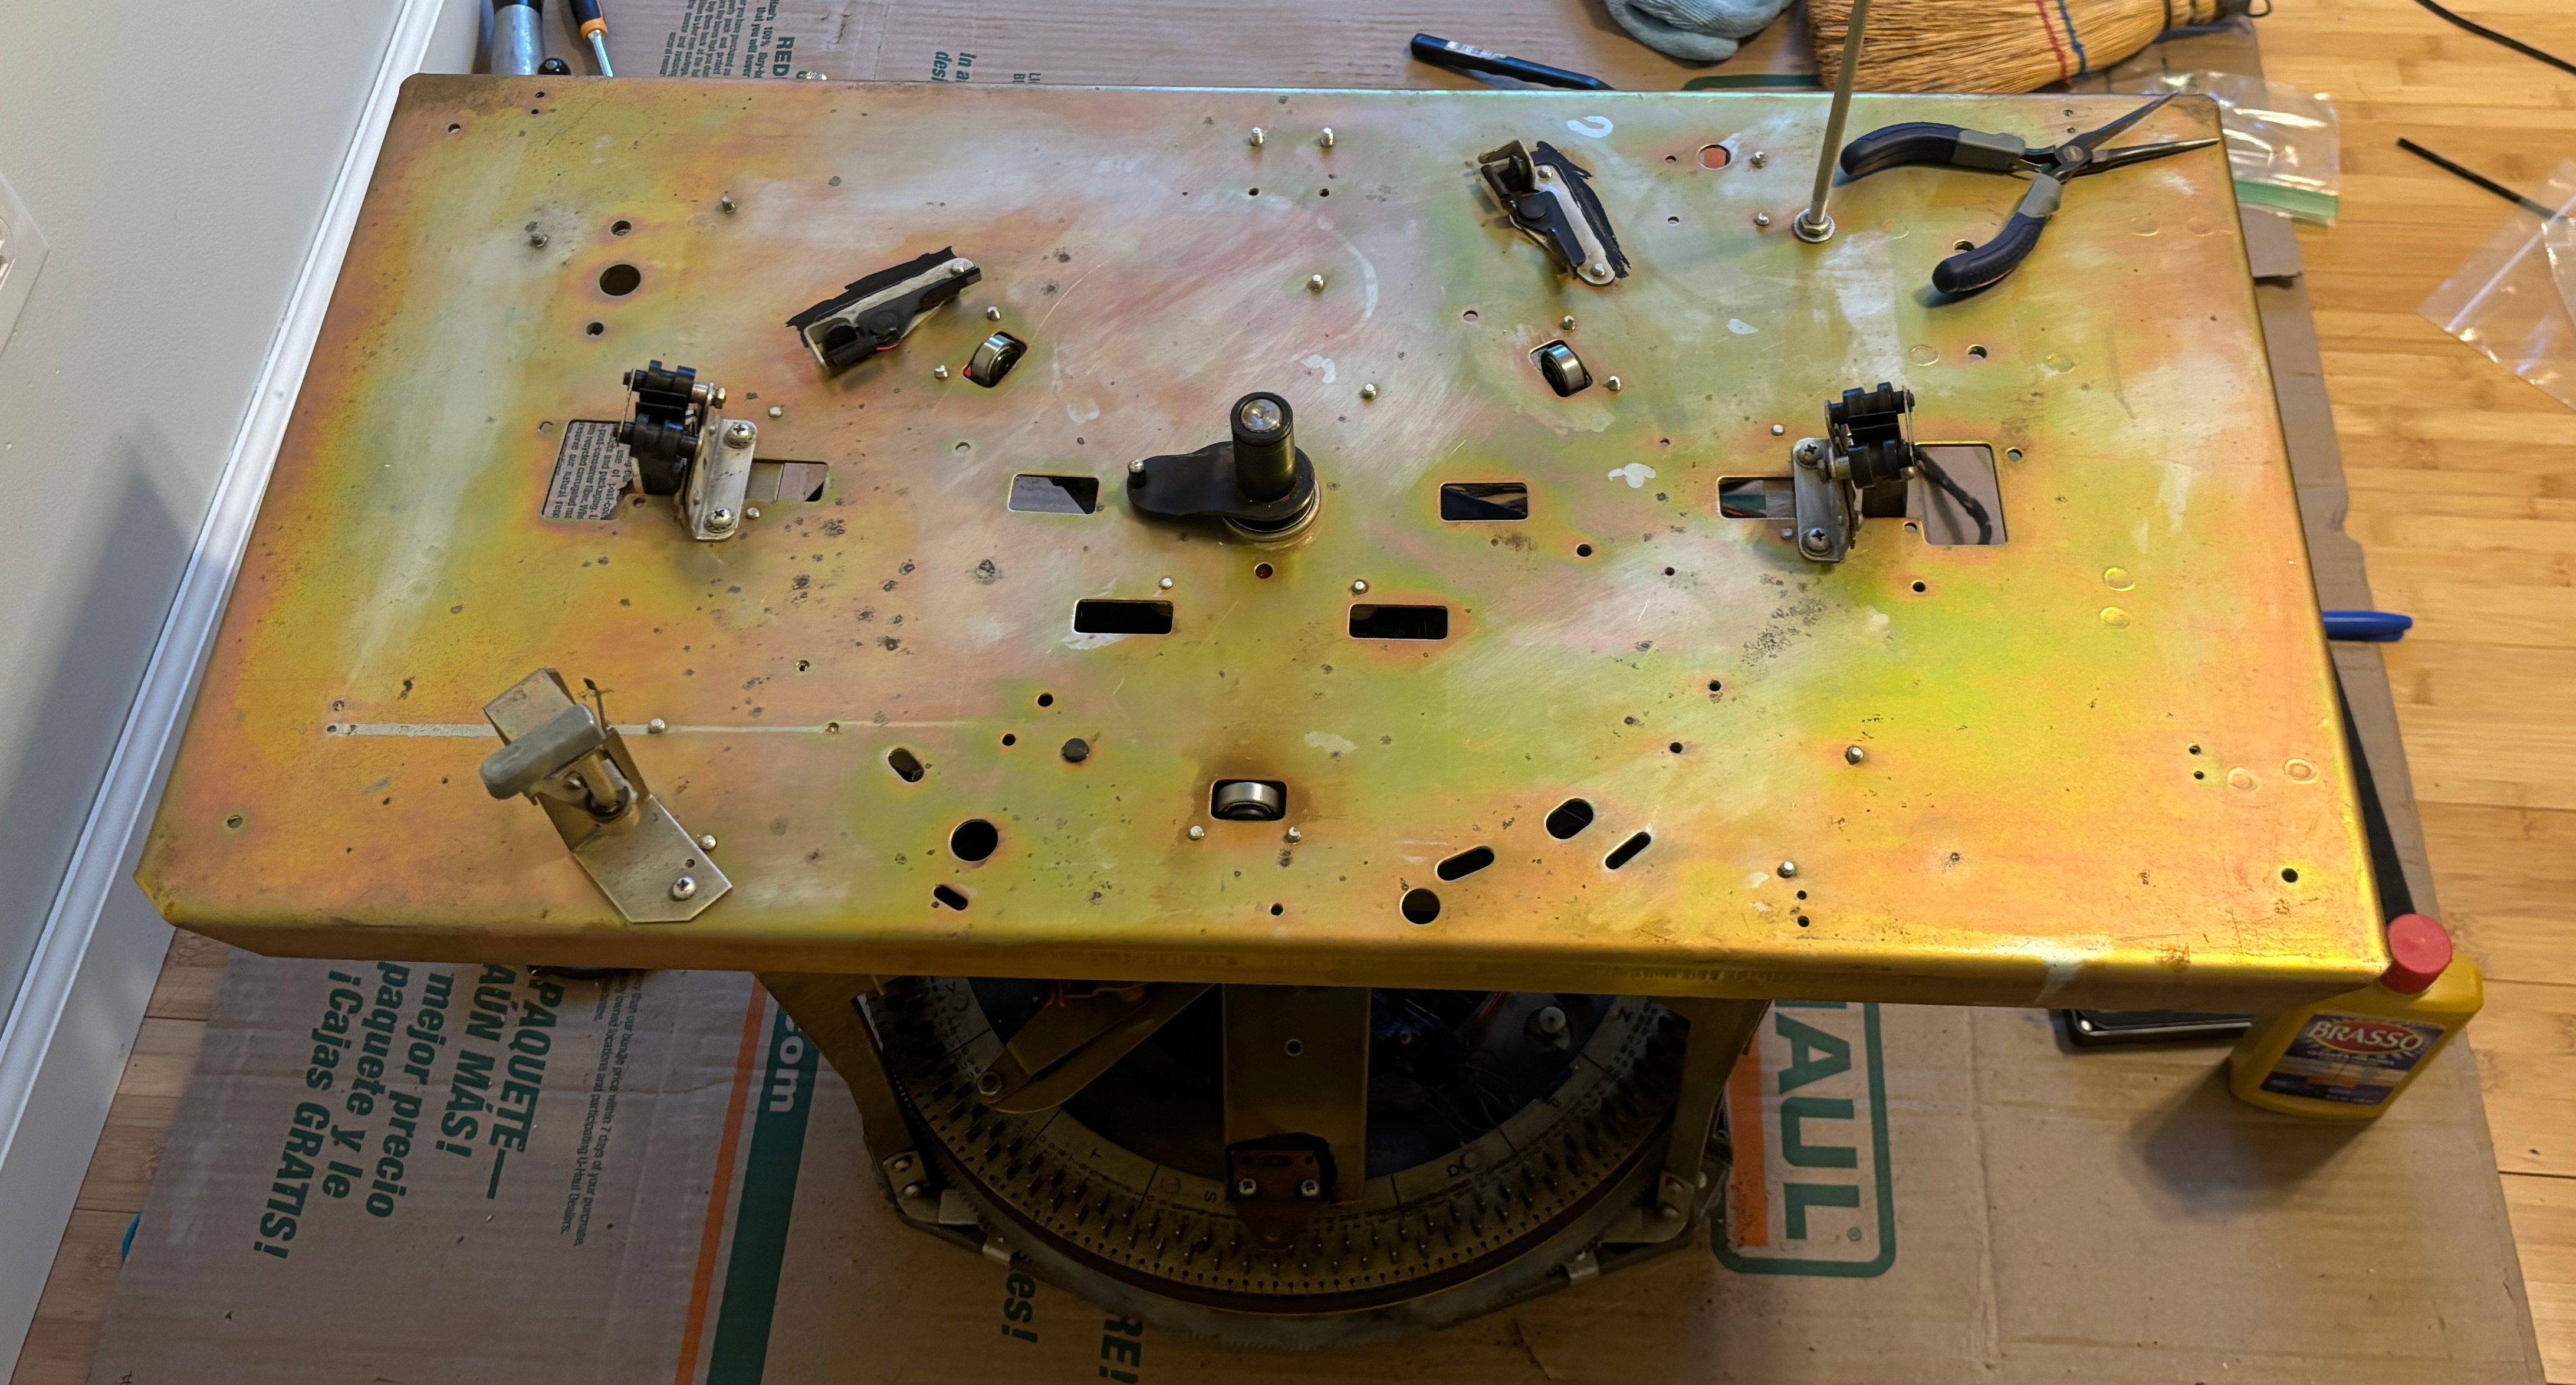
Here is the work I did on the control box:
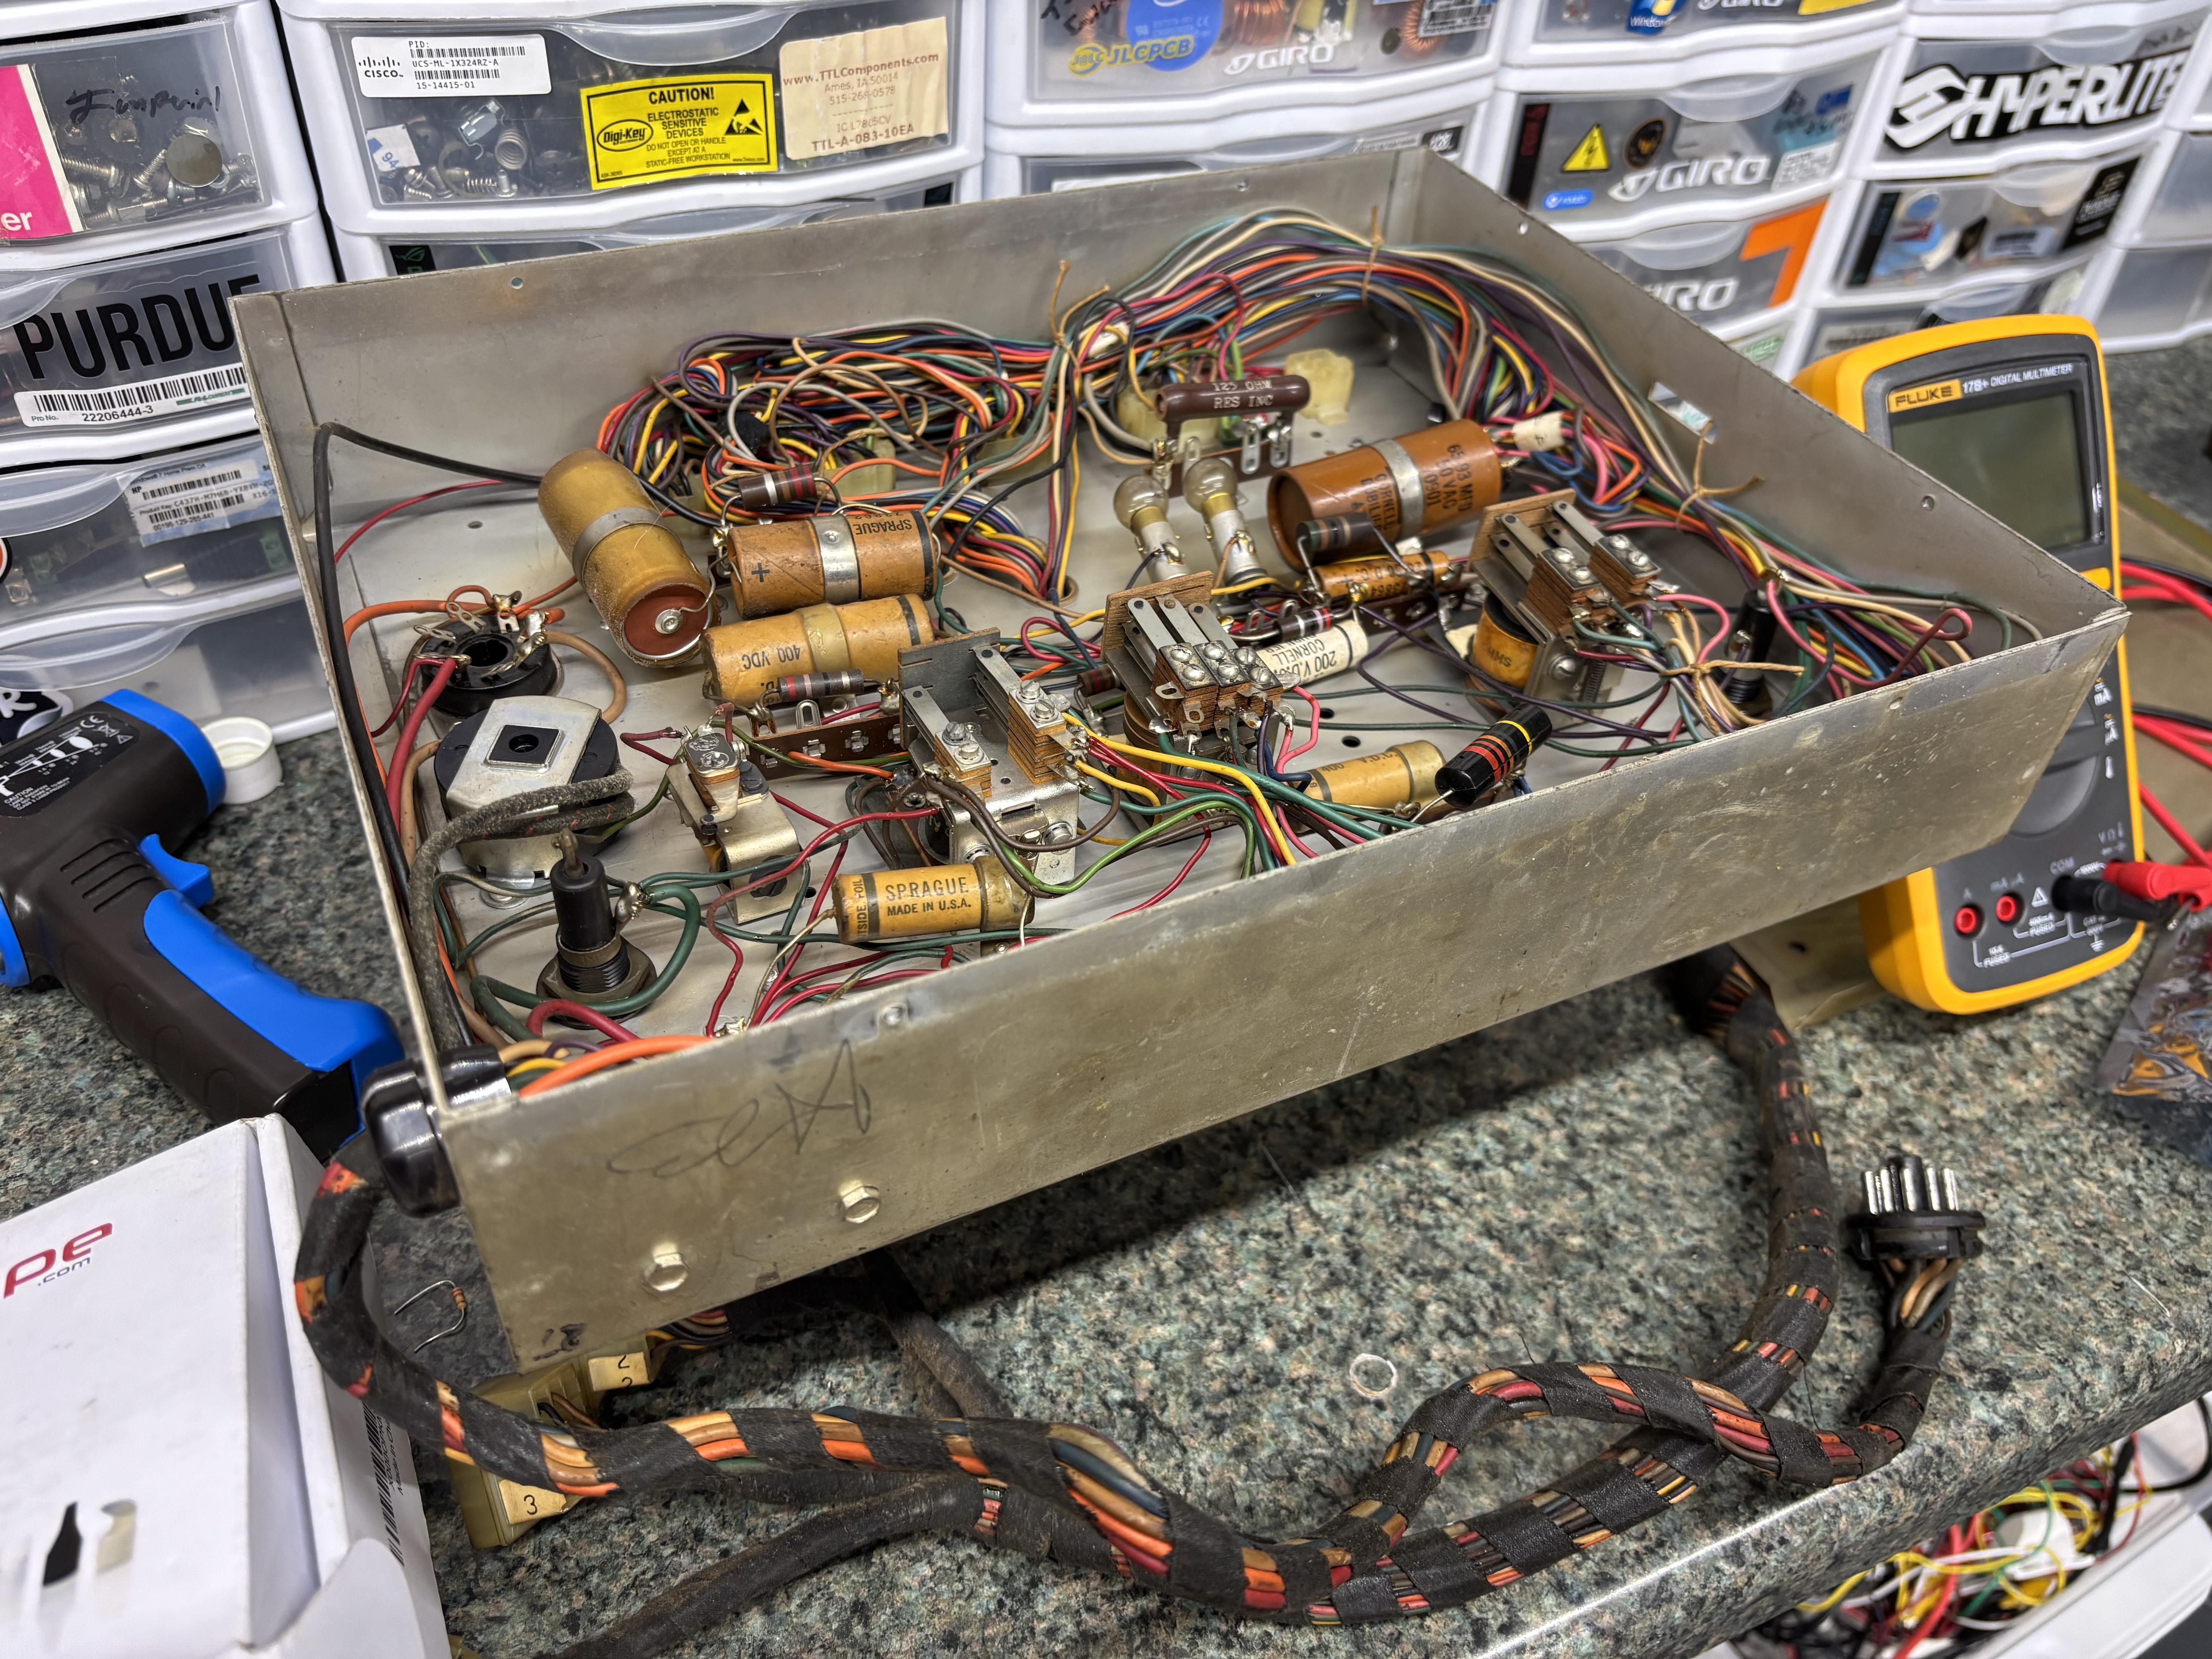 Control Box Before
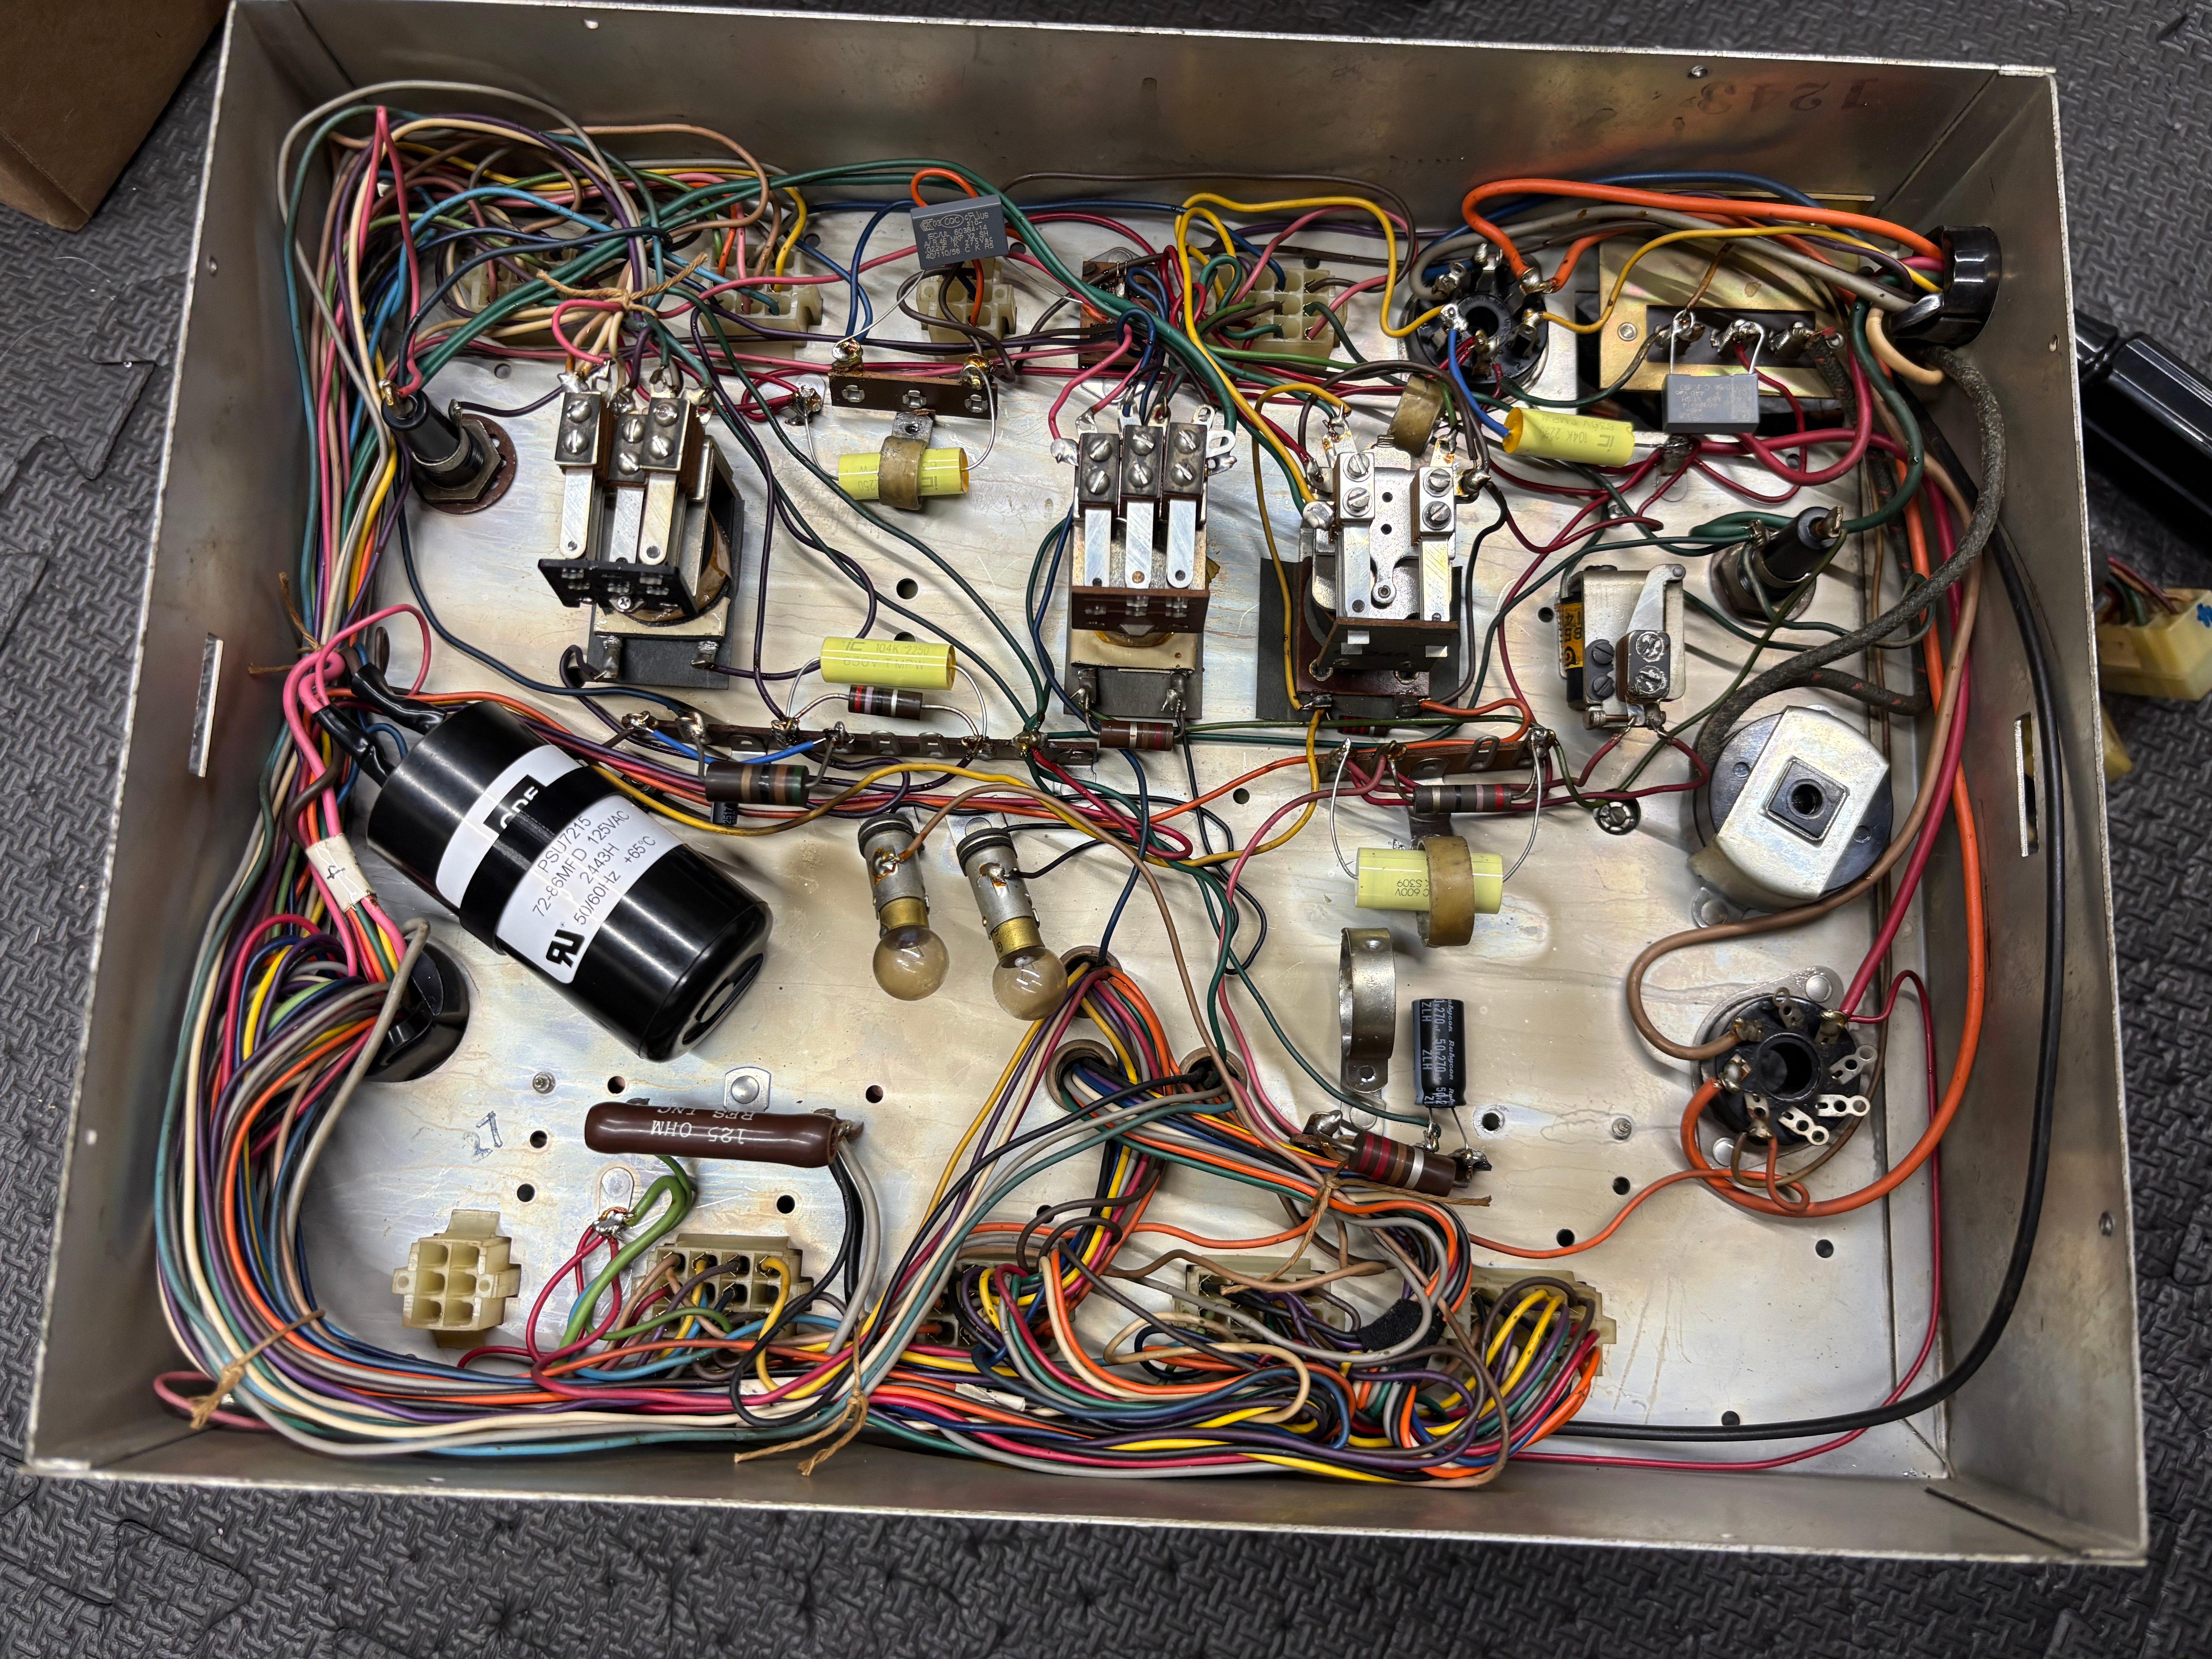 Control Box After
While drilling out some rivets I broke a relay armature board, so I repaired it with a 3d printed one.
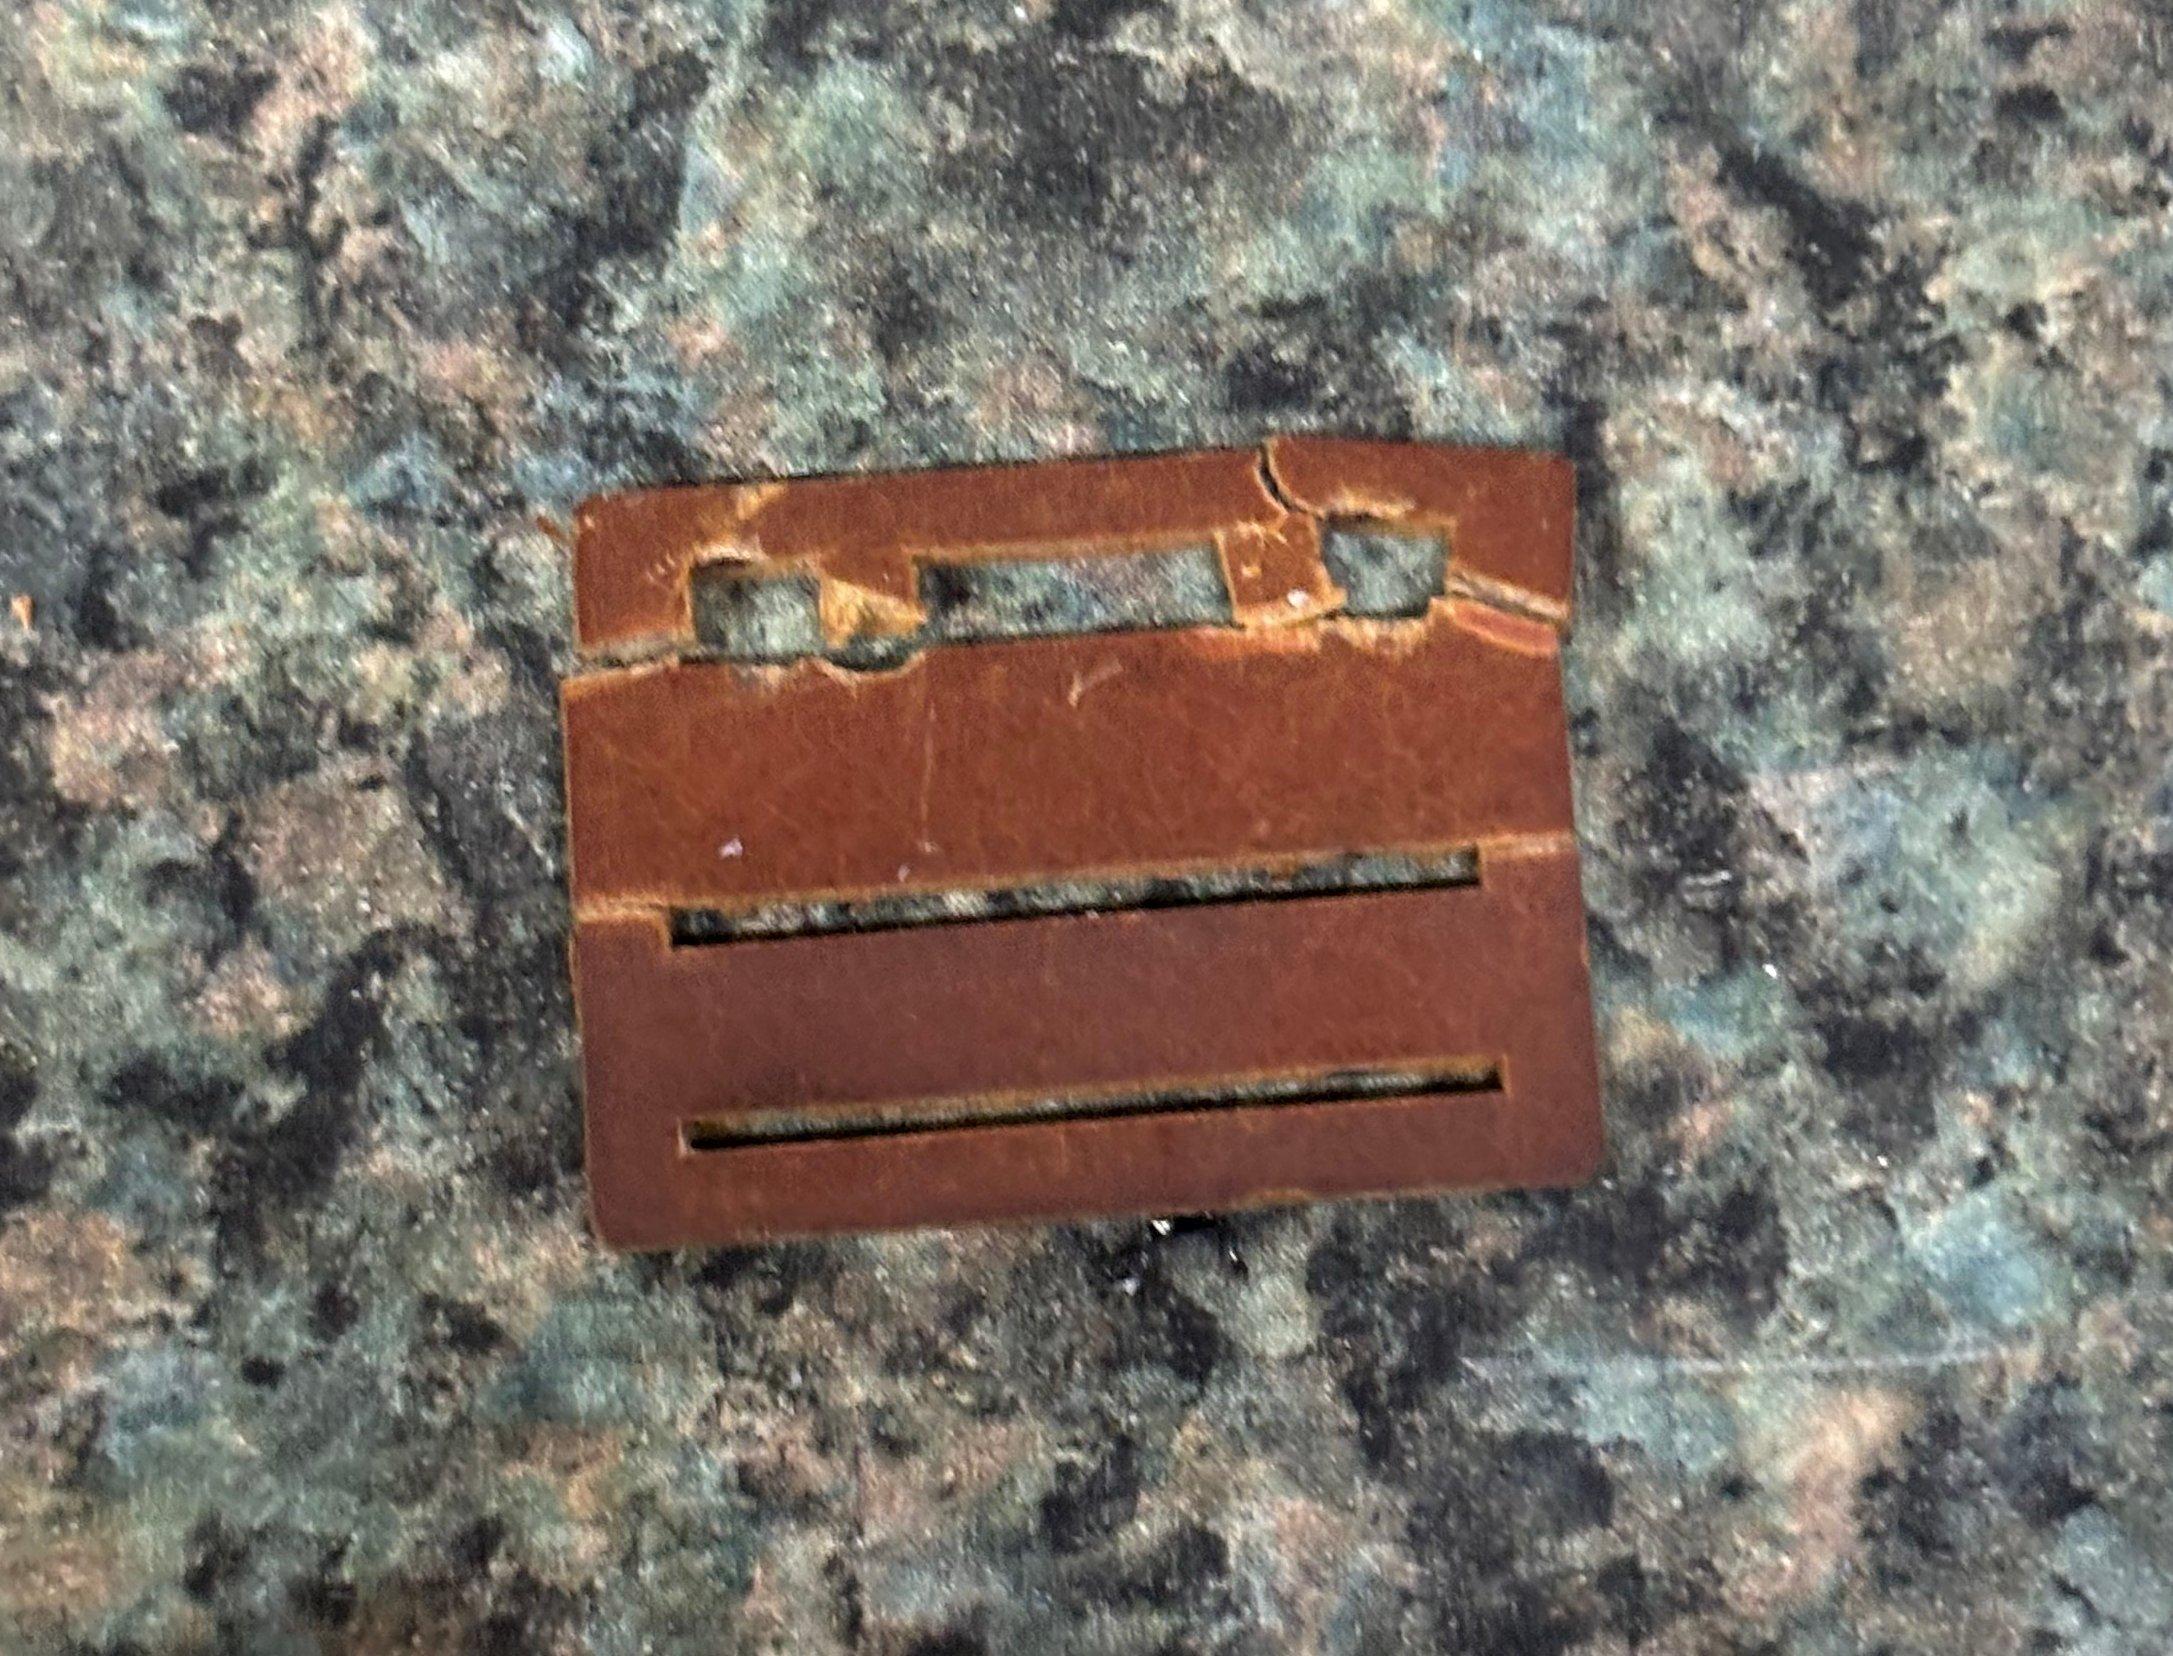 Broken Relay Armature Board
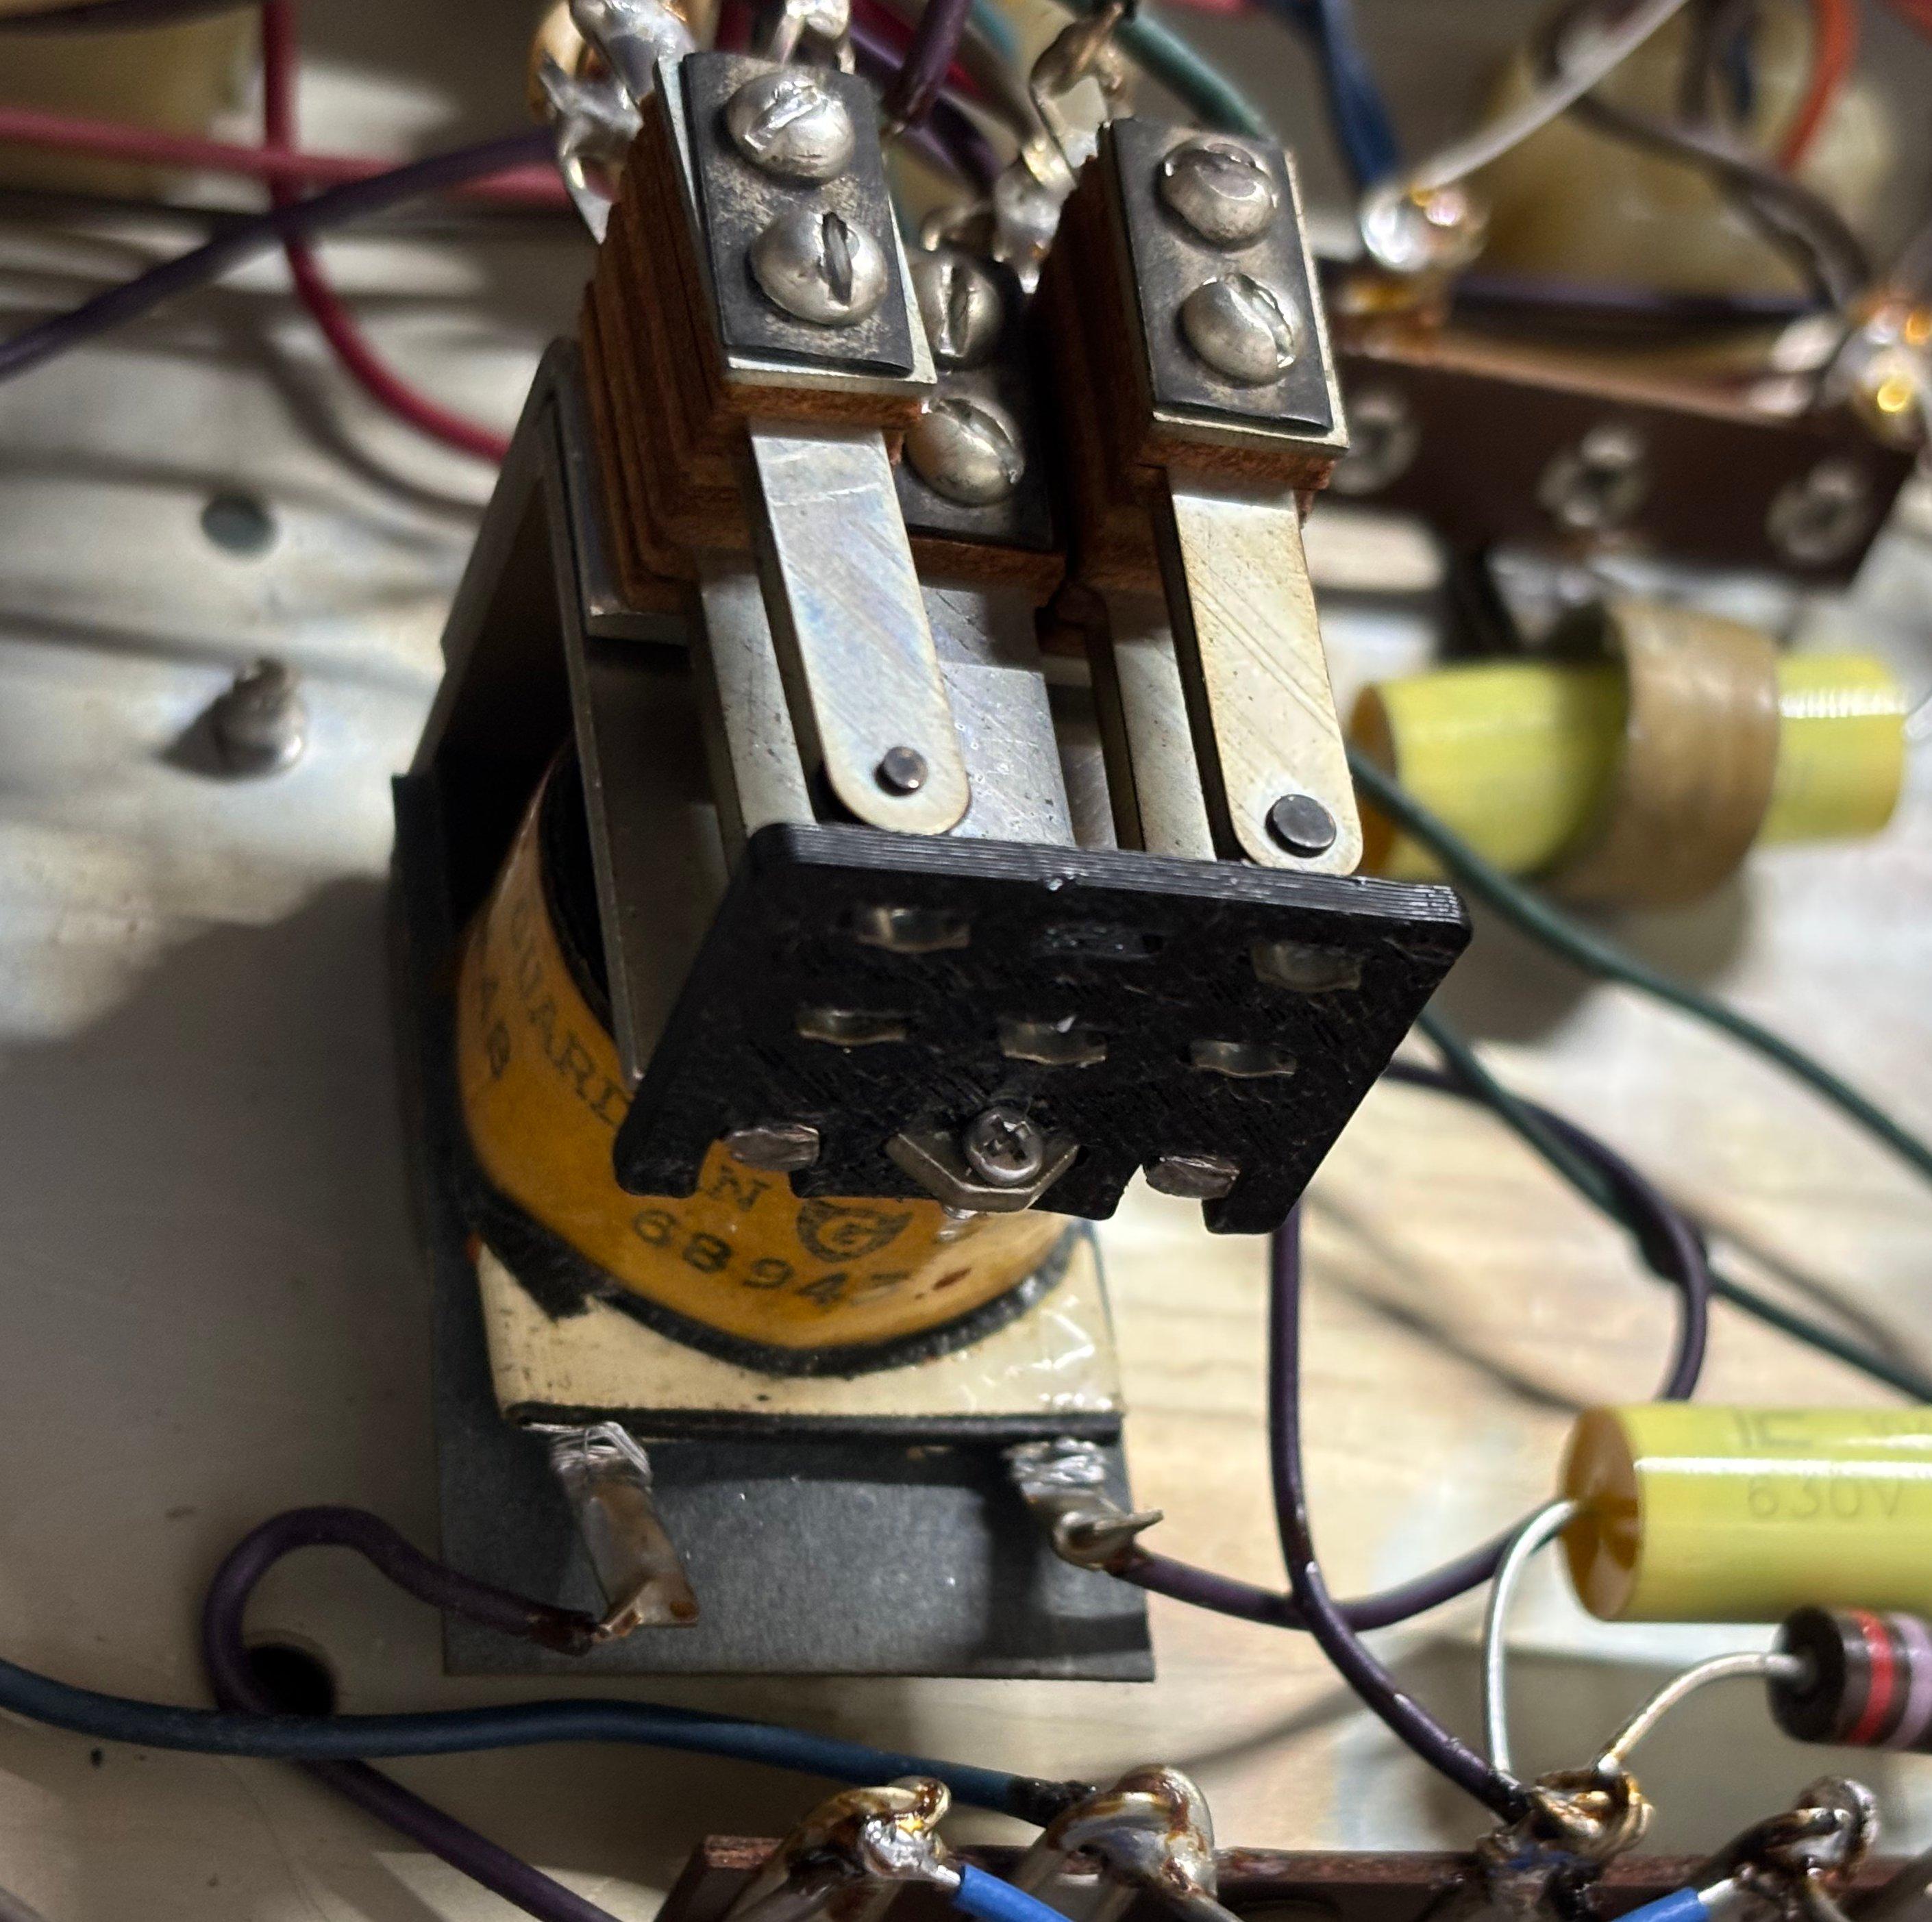 Repaired Relay Armature Board
I also replaced the selenium rectifier in the power supply:
In the schematic, the rectifier diodes are drawn with their polarity flipped relative to the voltage labels: ground is tied correctly, but the diode symbols are reversed. The voltage annotations are correct: the positive rail is tied to ground to obtain −30 V; so follow the labeled polarities and, most importantly, the pinout of your selenium rectifier. I added a filtering capacitor after the rectifier to reduce ripple. Initially I used a series resistor to compensate for the higher output that results from replacing the selenium rectifier with lower-drop silicon diodes, but I later switched to a buck converter (at 32V), which is more efficient and maintains tight regulation under load.
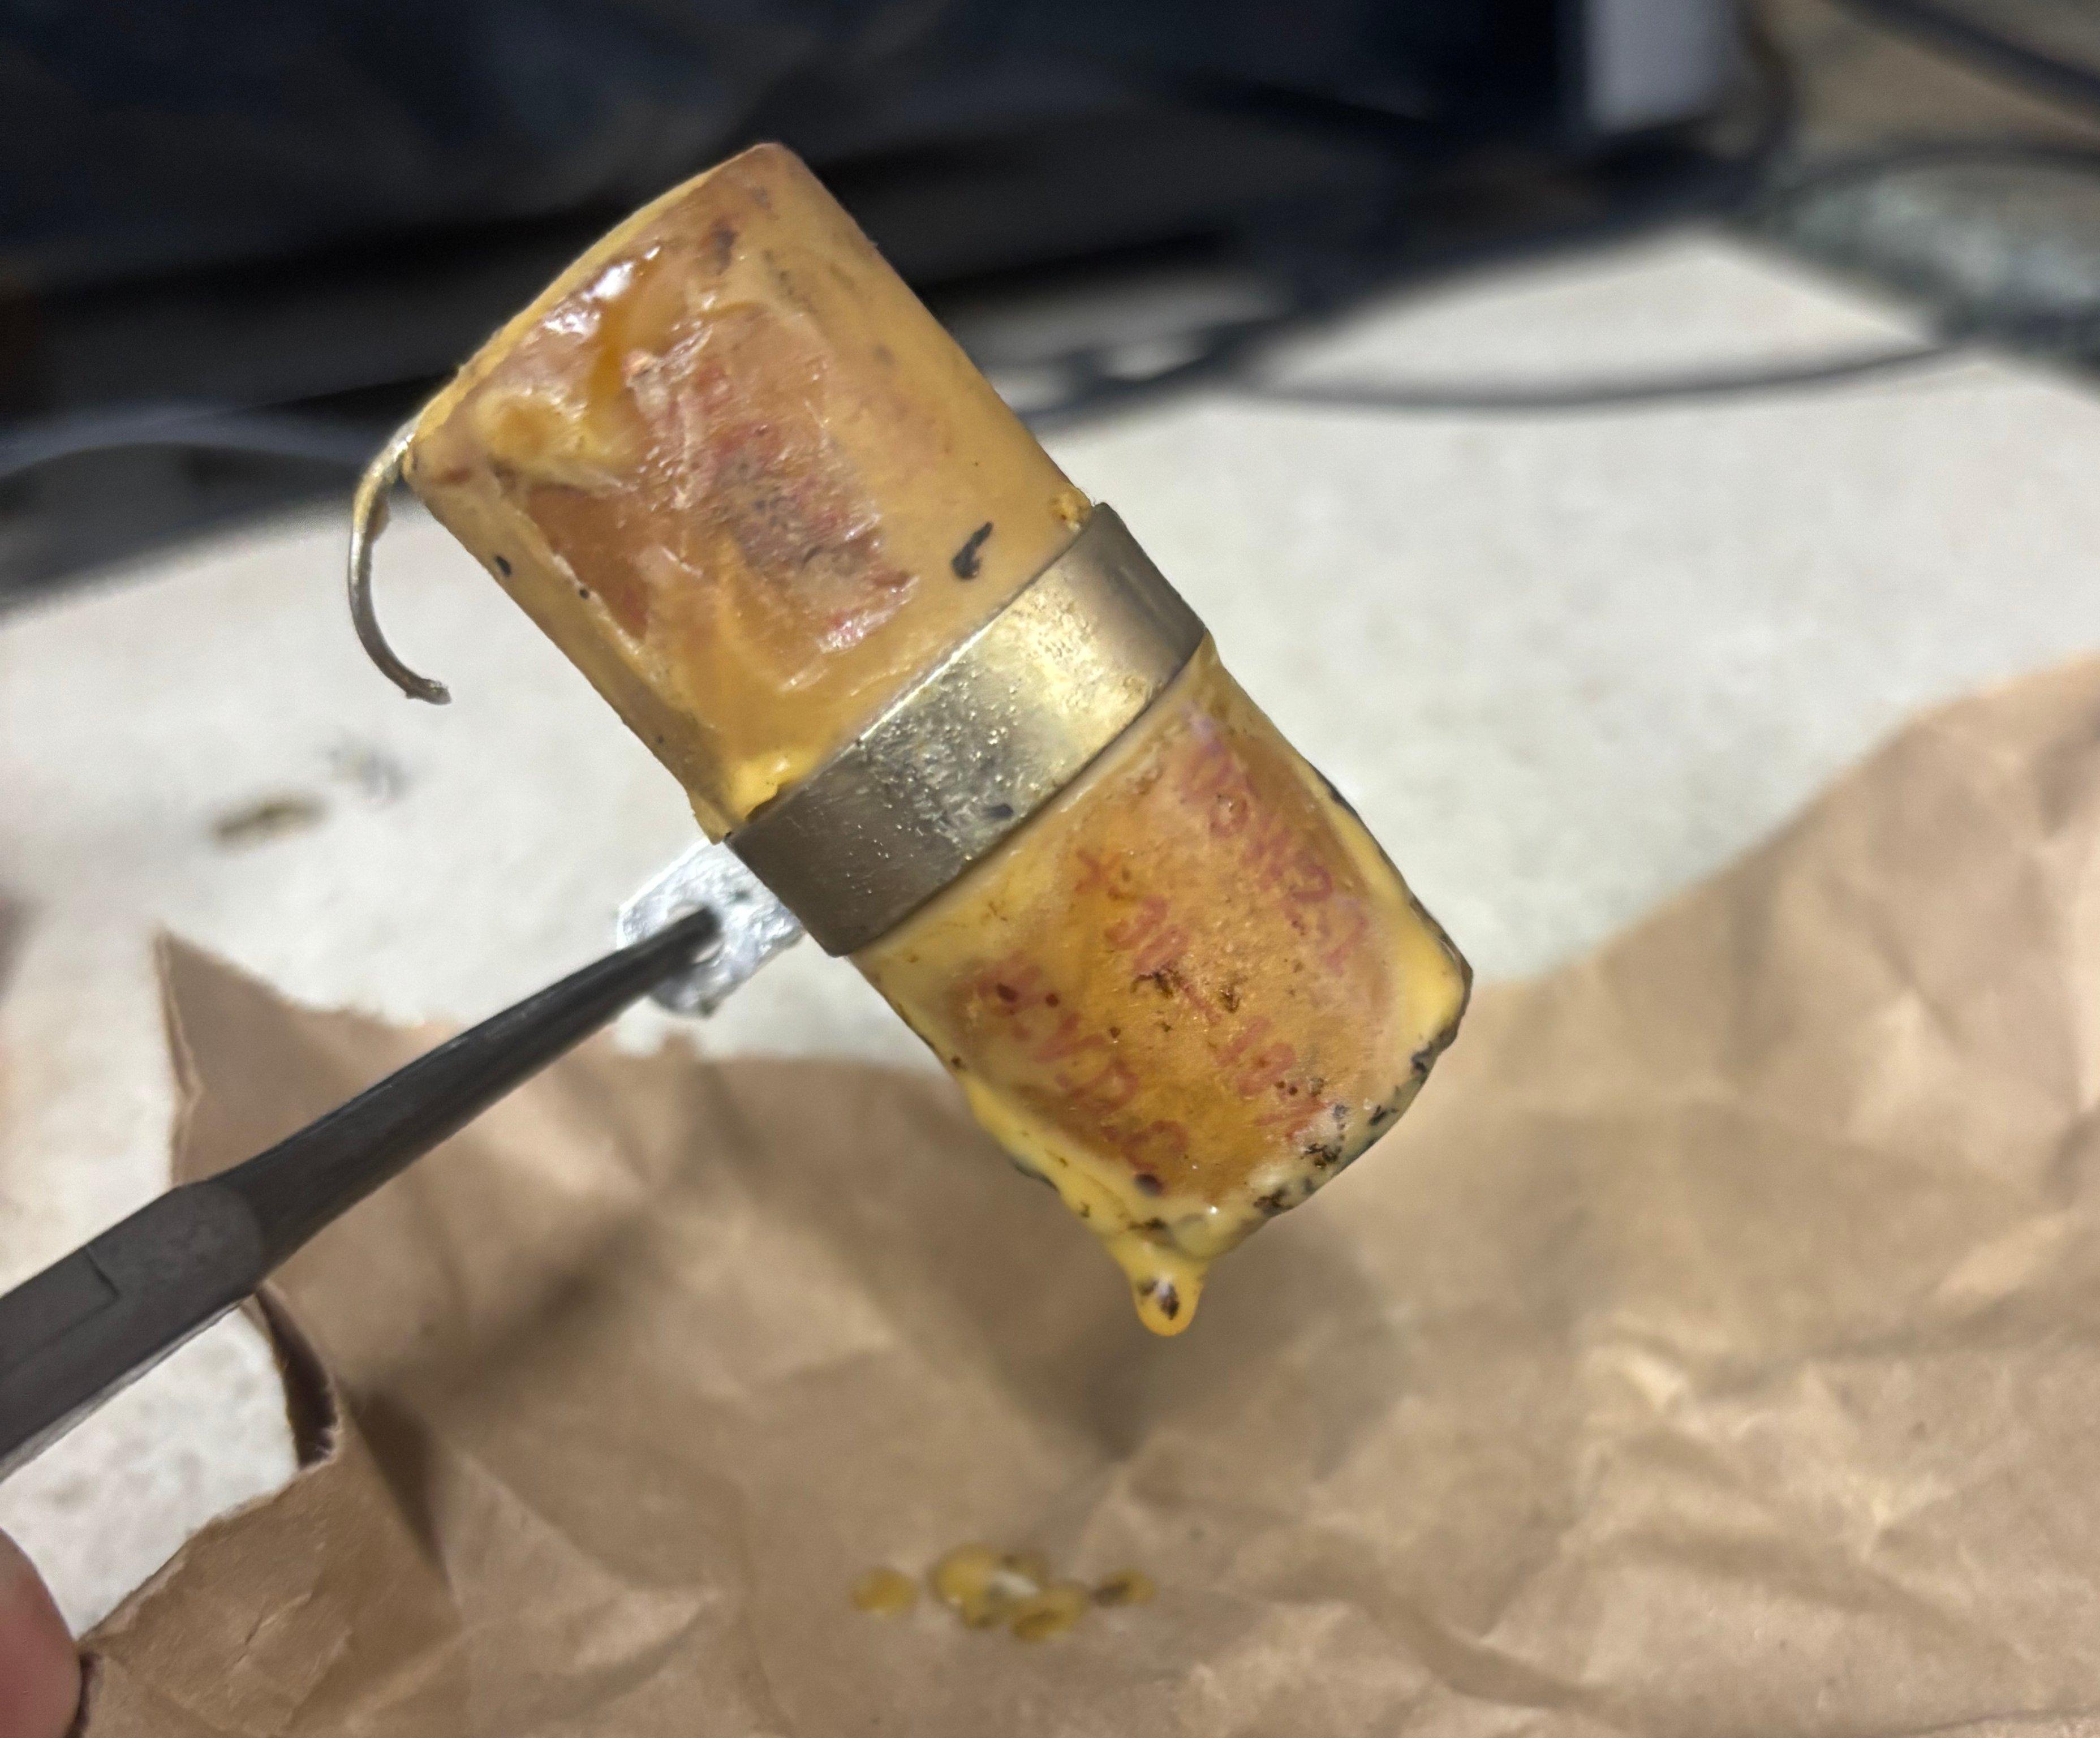 For some capacitors I had to melt the wax off to read the values
All of the capacitors that were replaced:
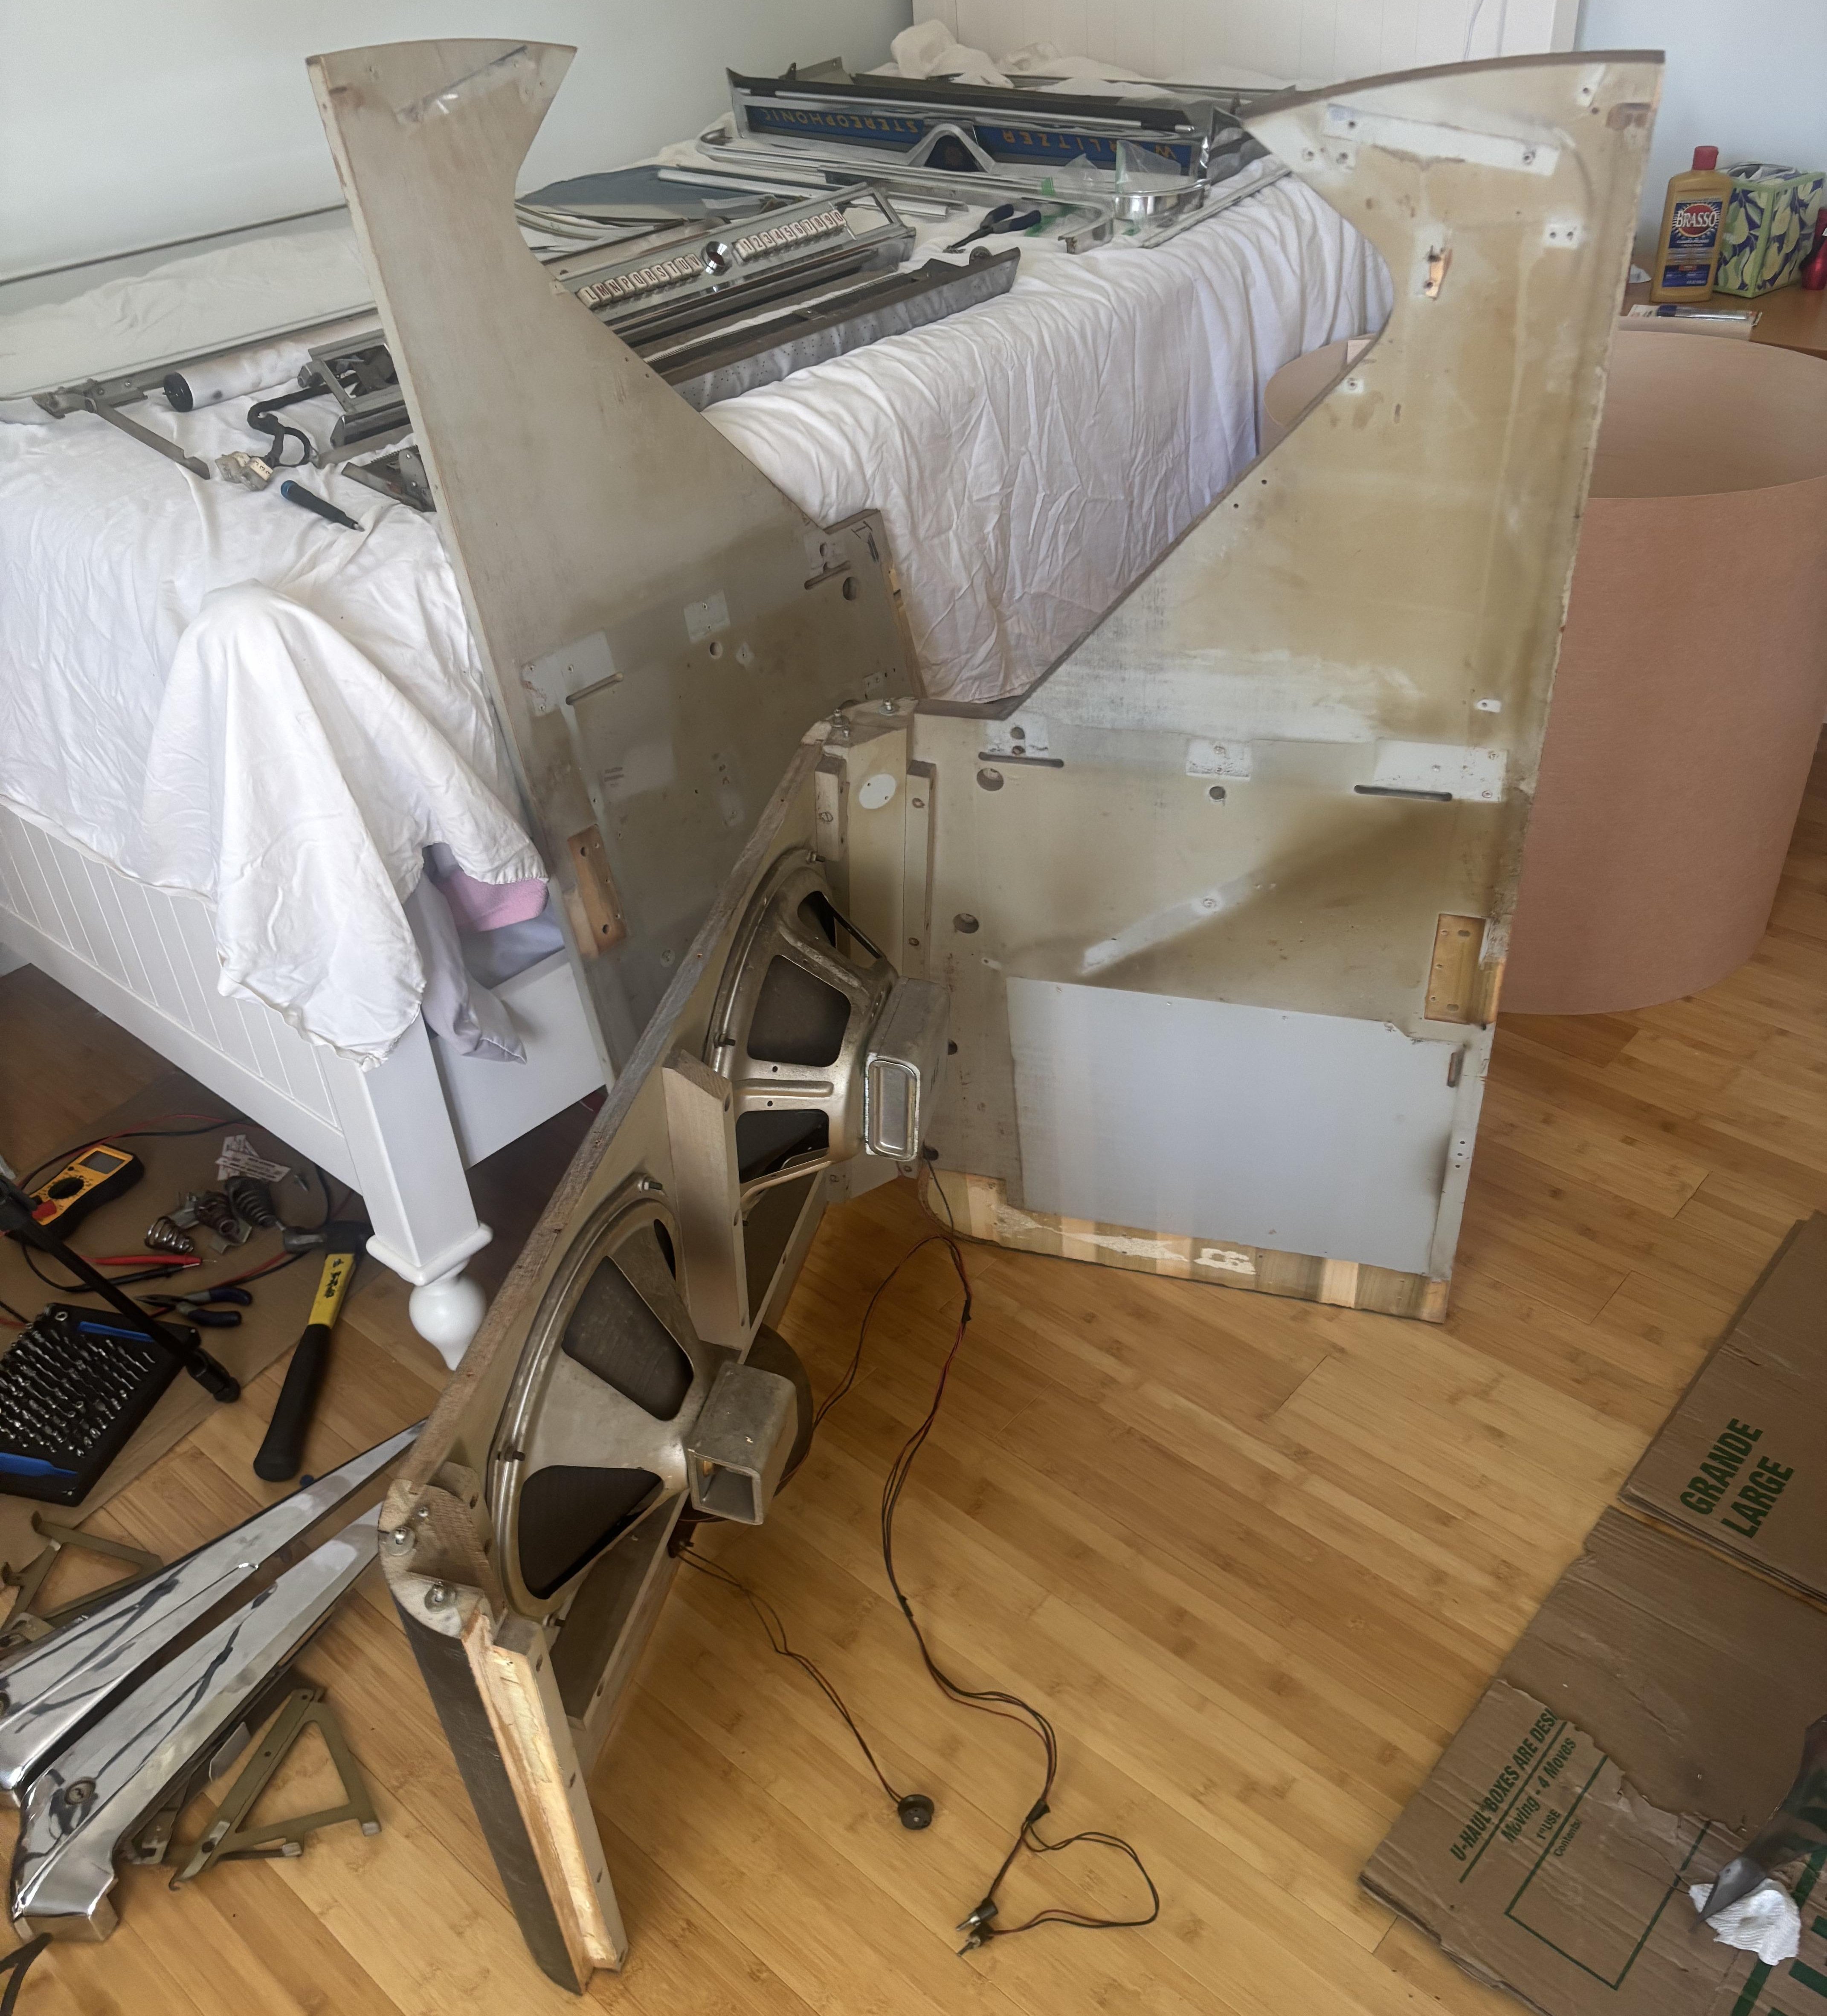
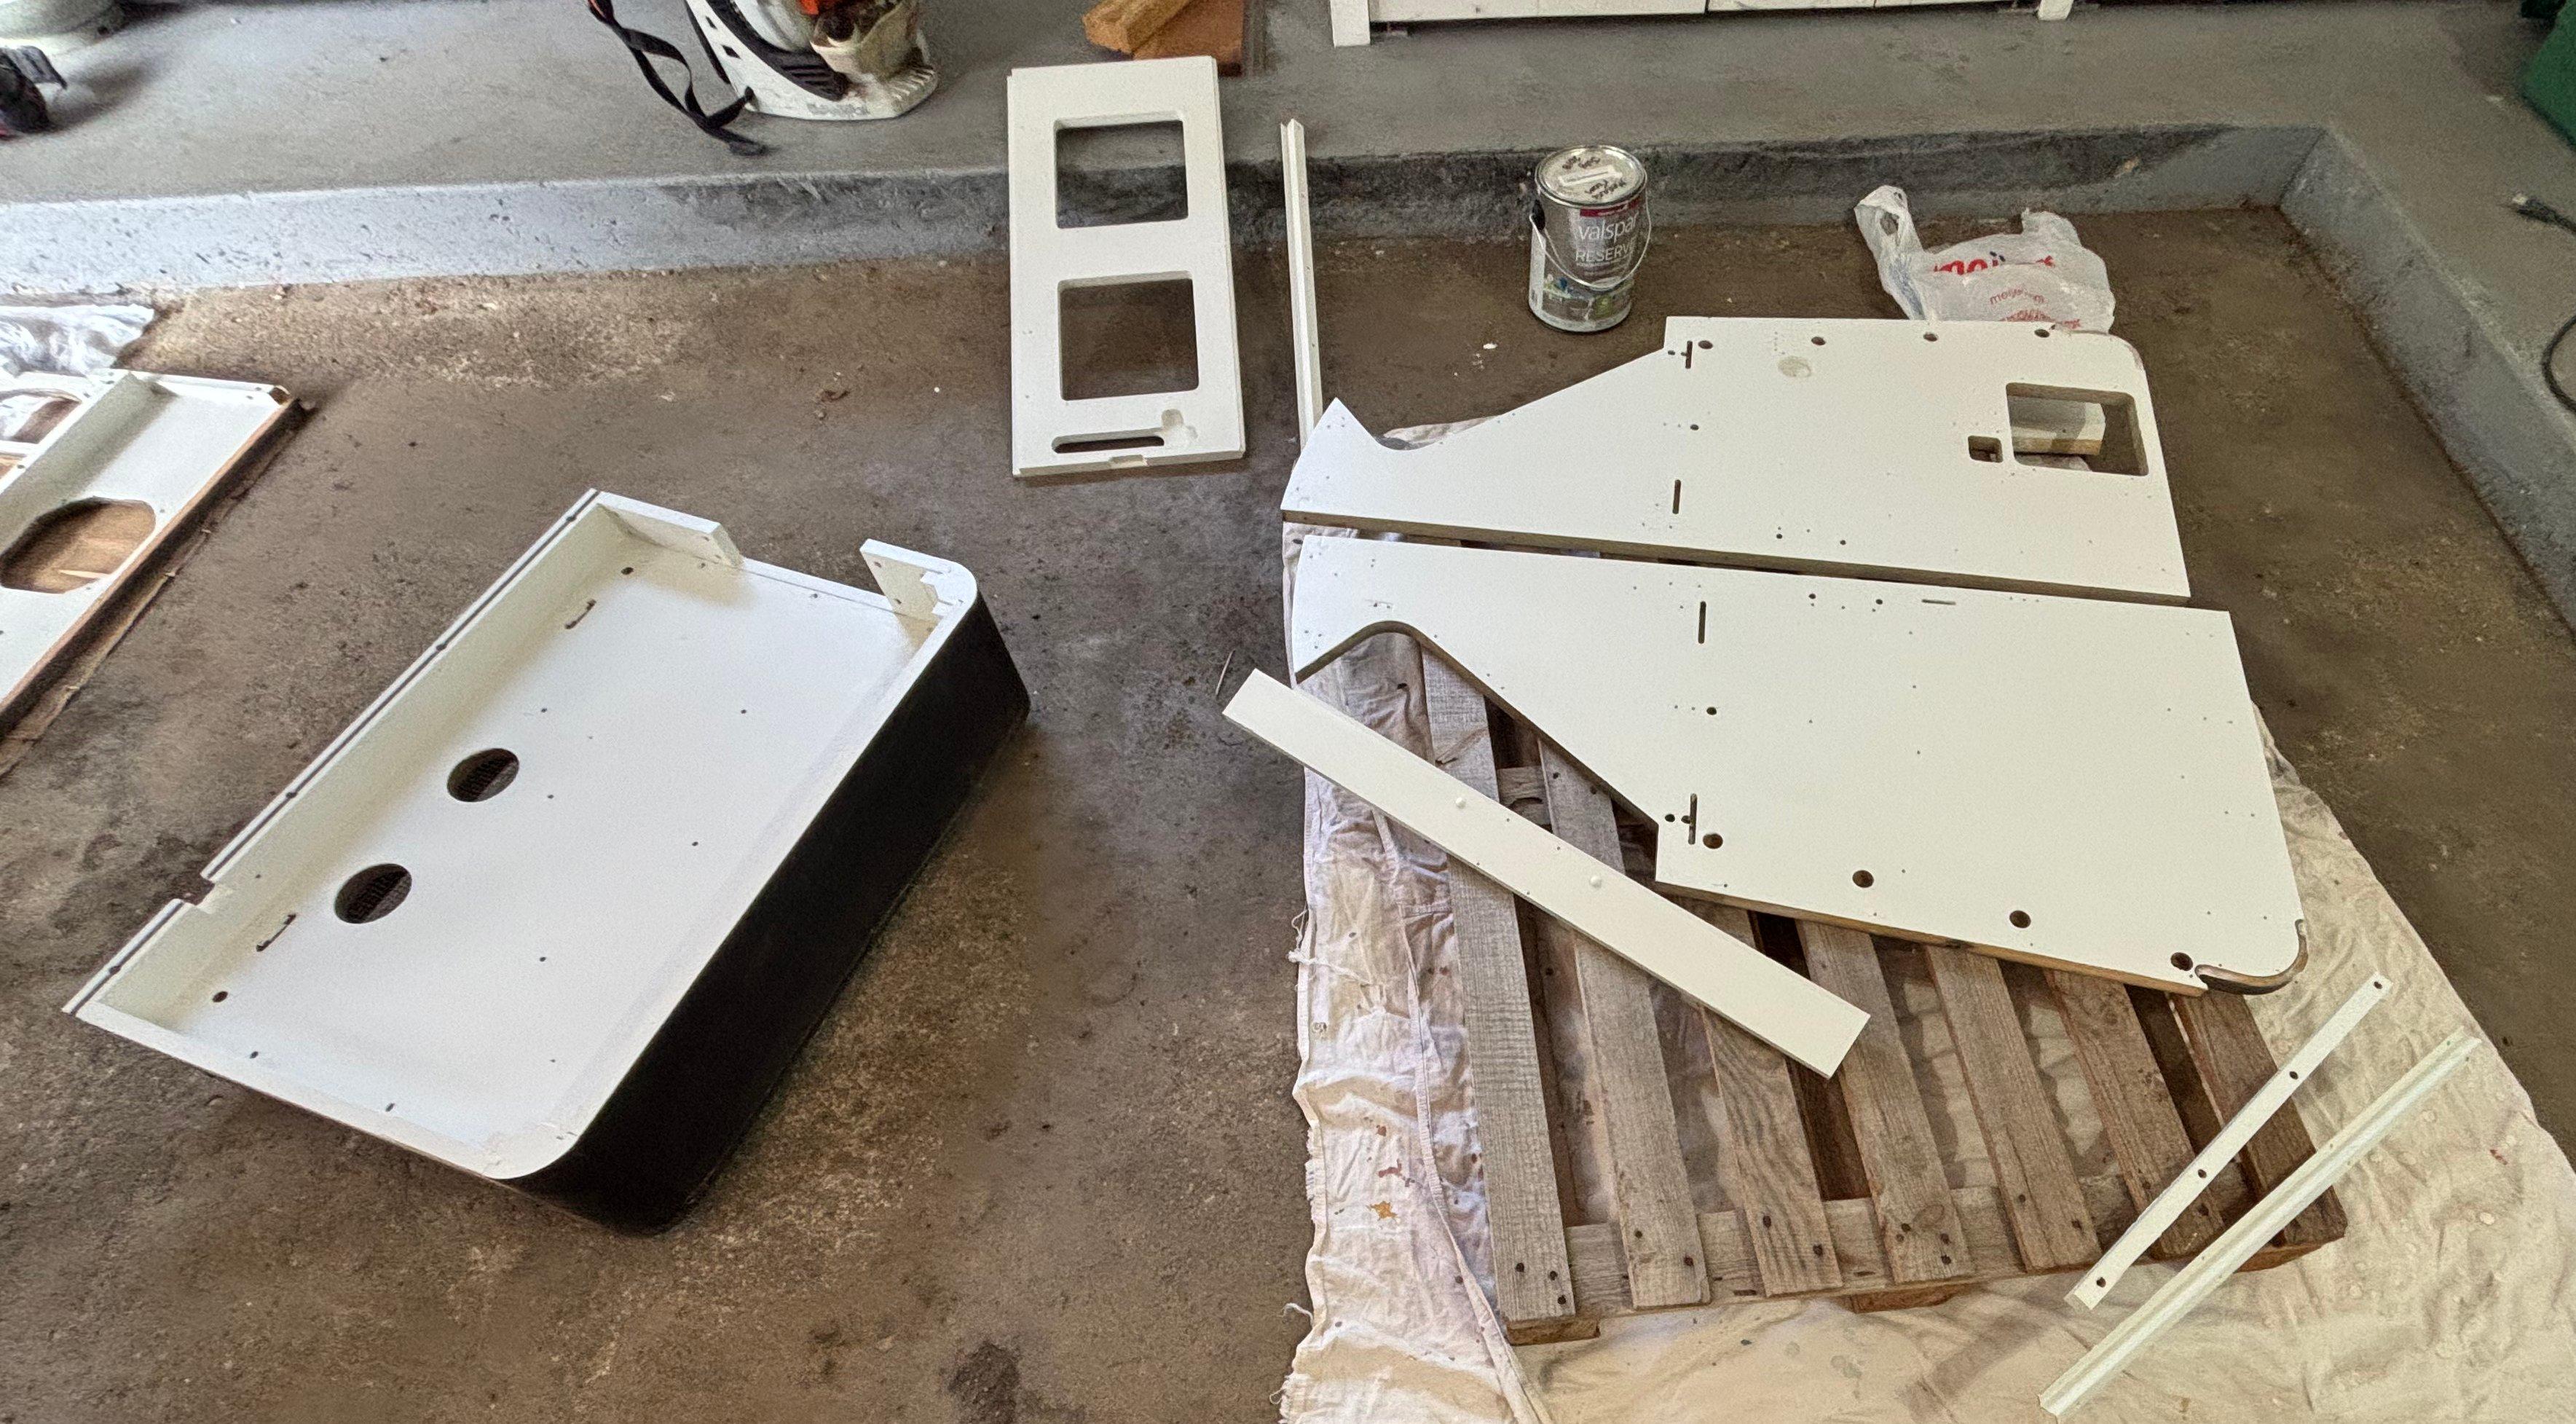
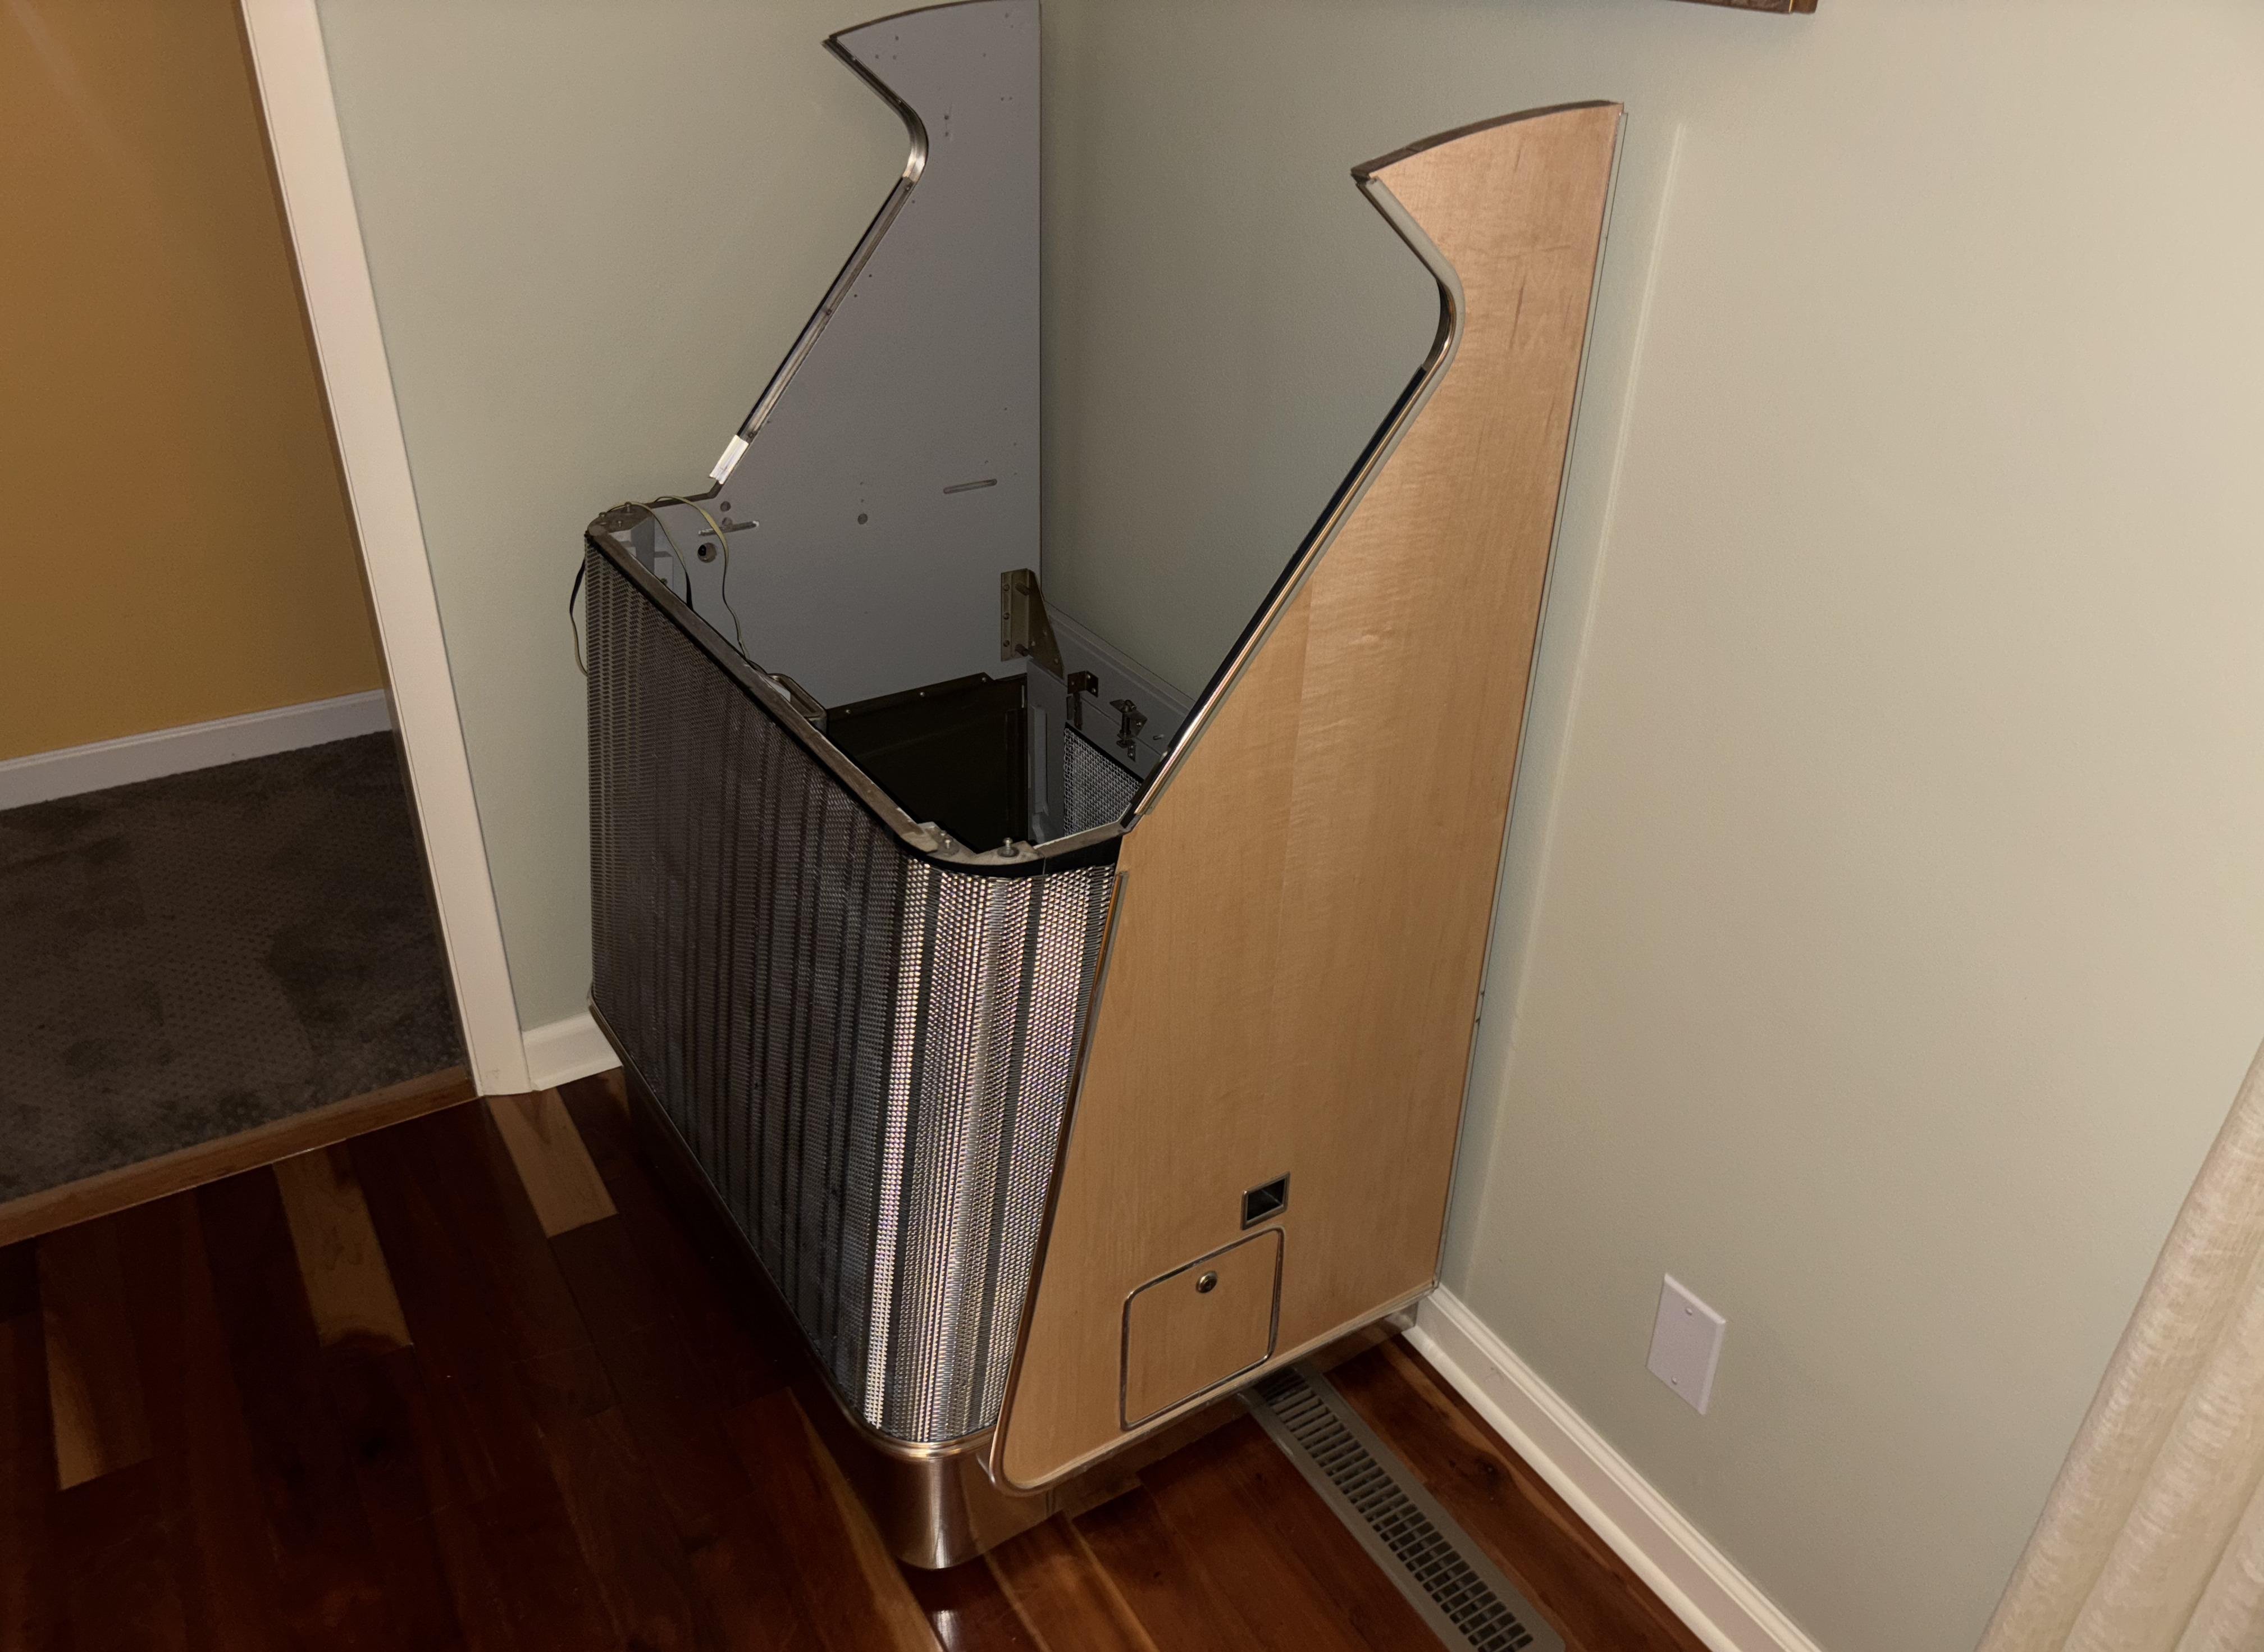
Next I tore down the full cabinet to repaint it.
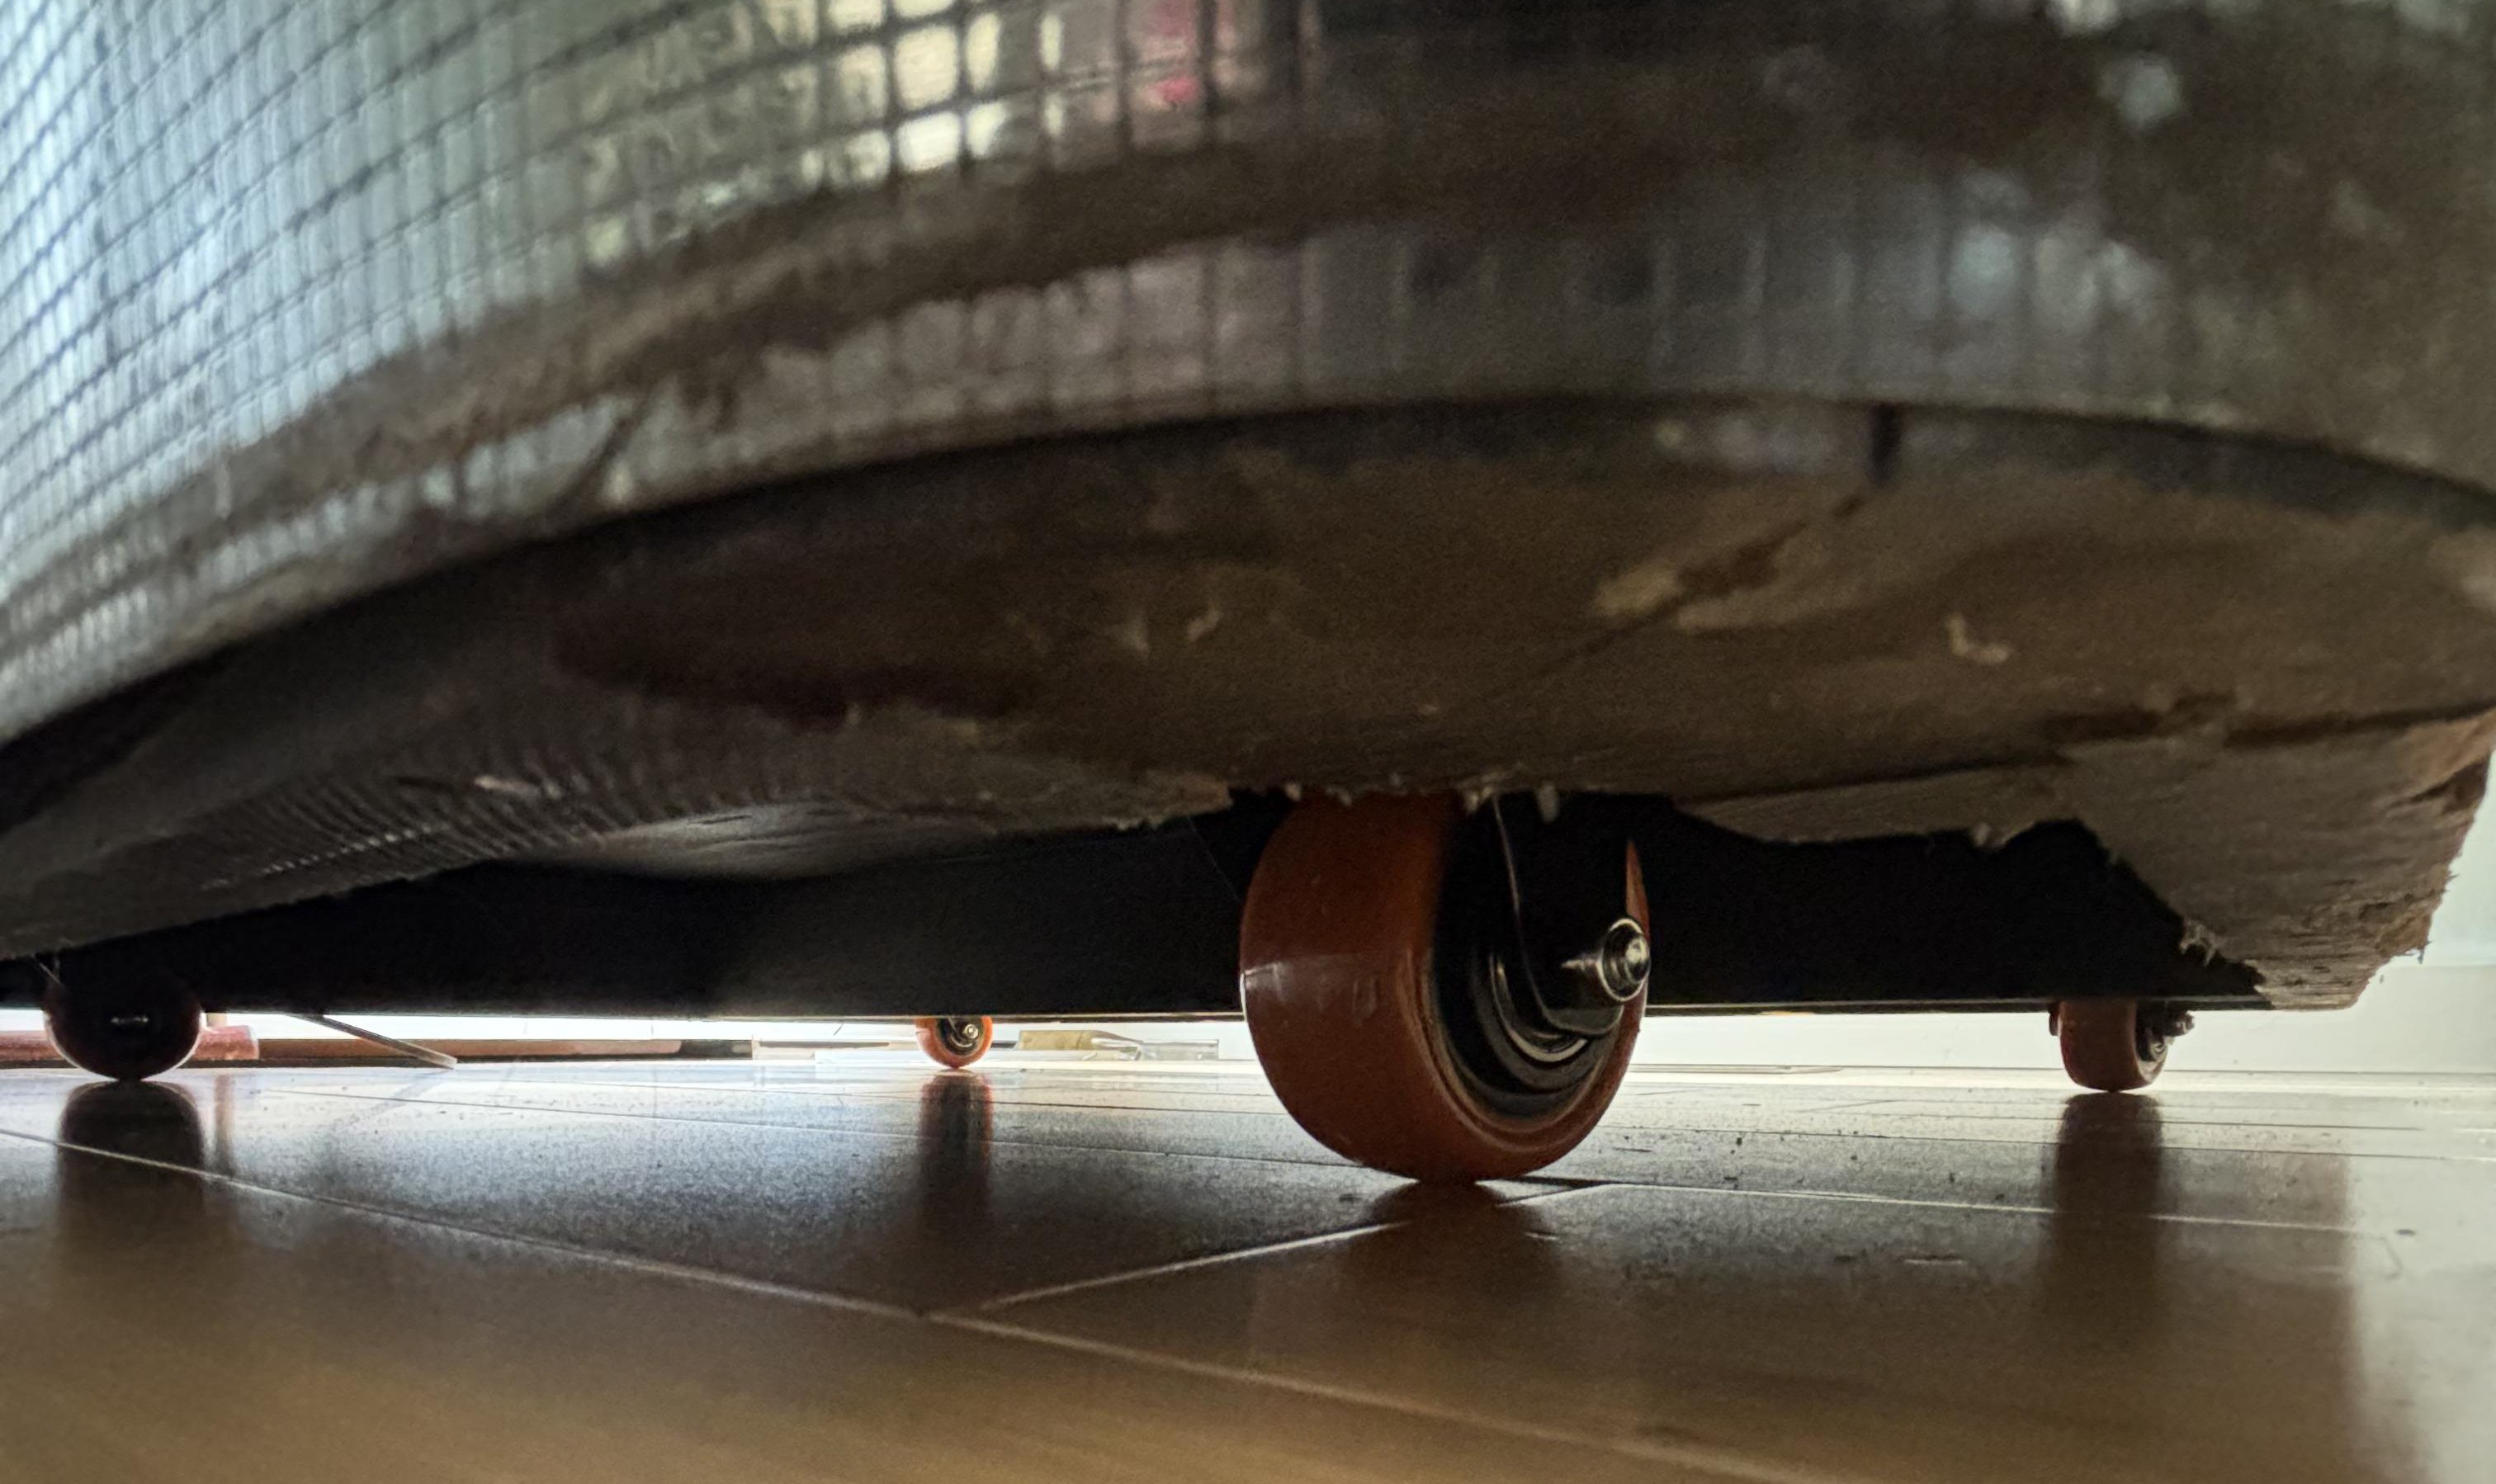 I replaced the casters, the previous "no fault" casters had many faults
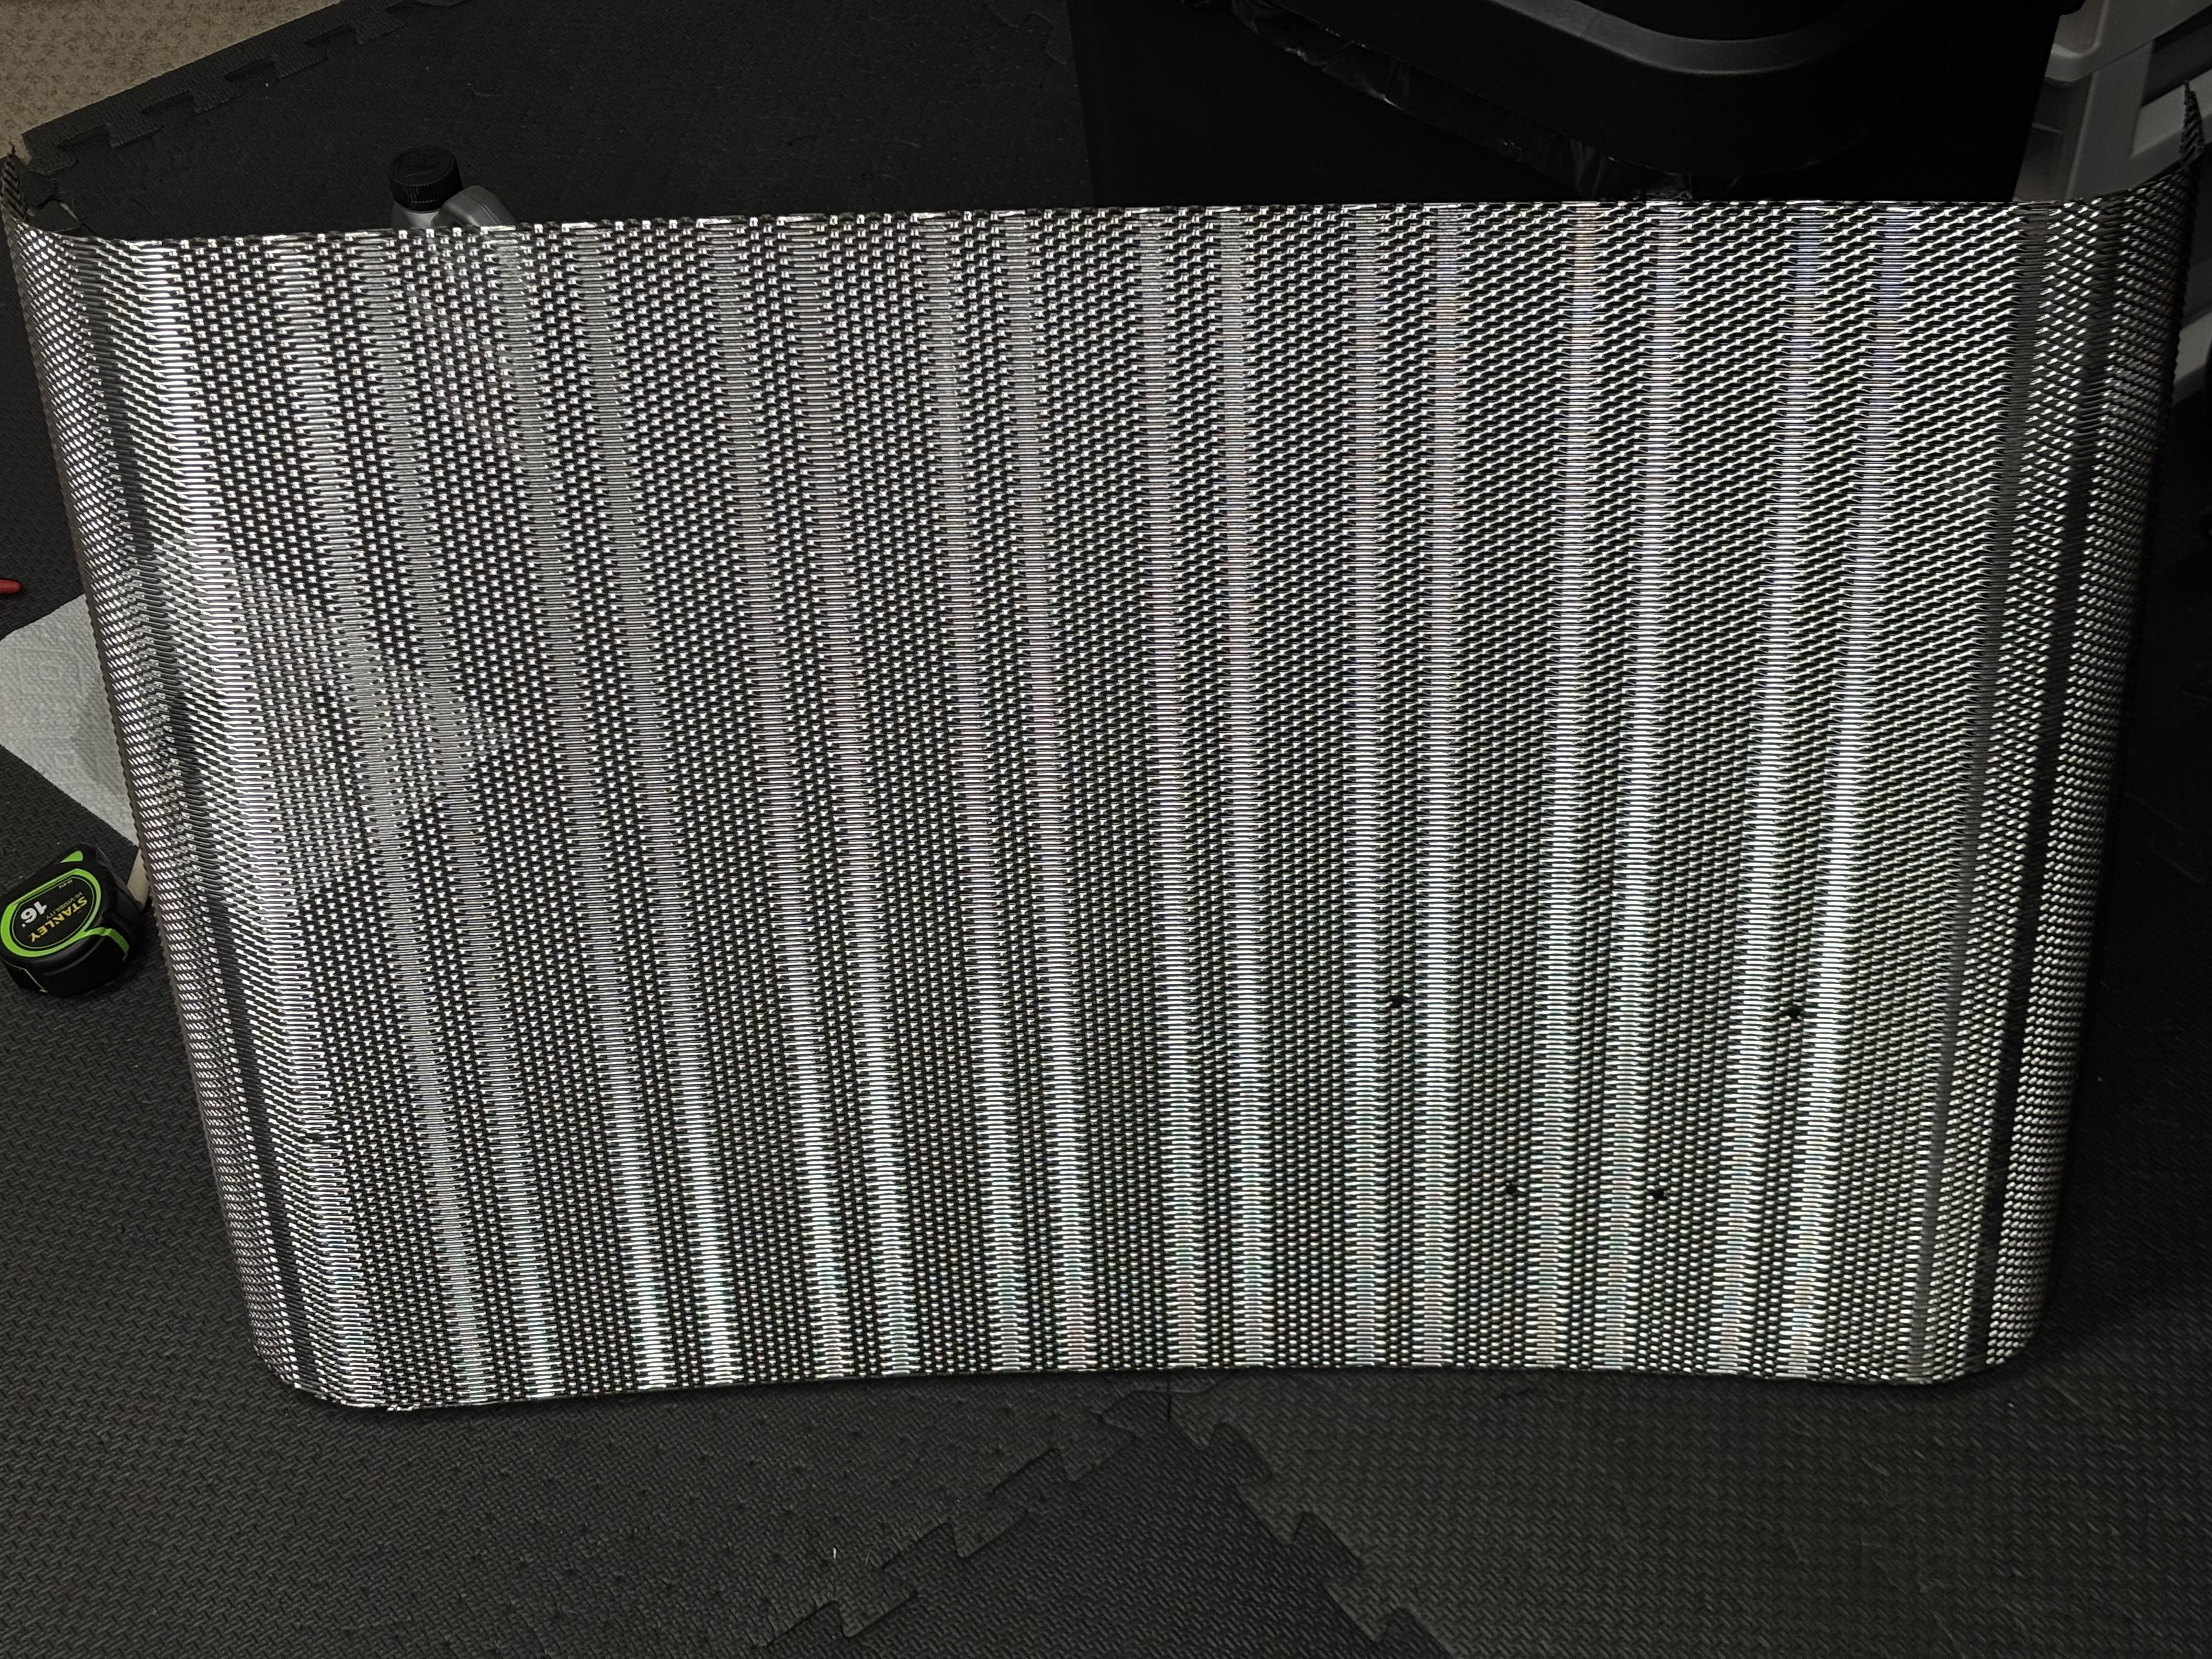
The grill was far dirtier than the photo suggests. Up close it had a lot of surface rust to which I used a rust dissolver and a wire brush to clean it, and found I could be pretty aggressive without scratching the finish. I tried to polish with Brasso, but it was hard to apply because the microfiber kept catching in the grain, and it left the surface unevenly dulled. Still, that may be a trade-off for longer-term durability.
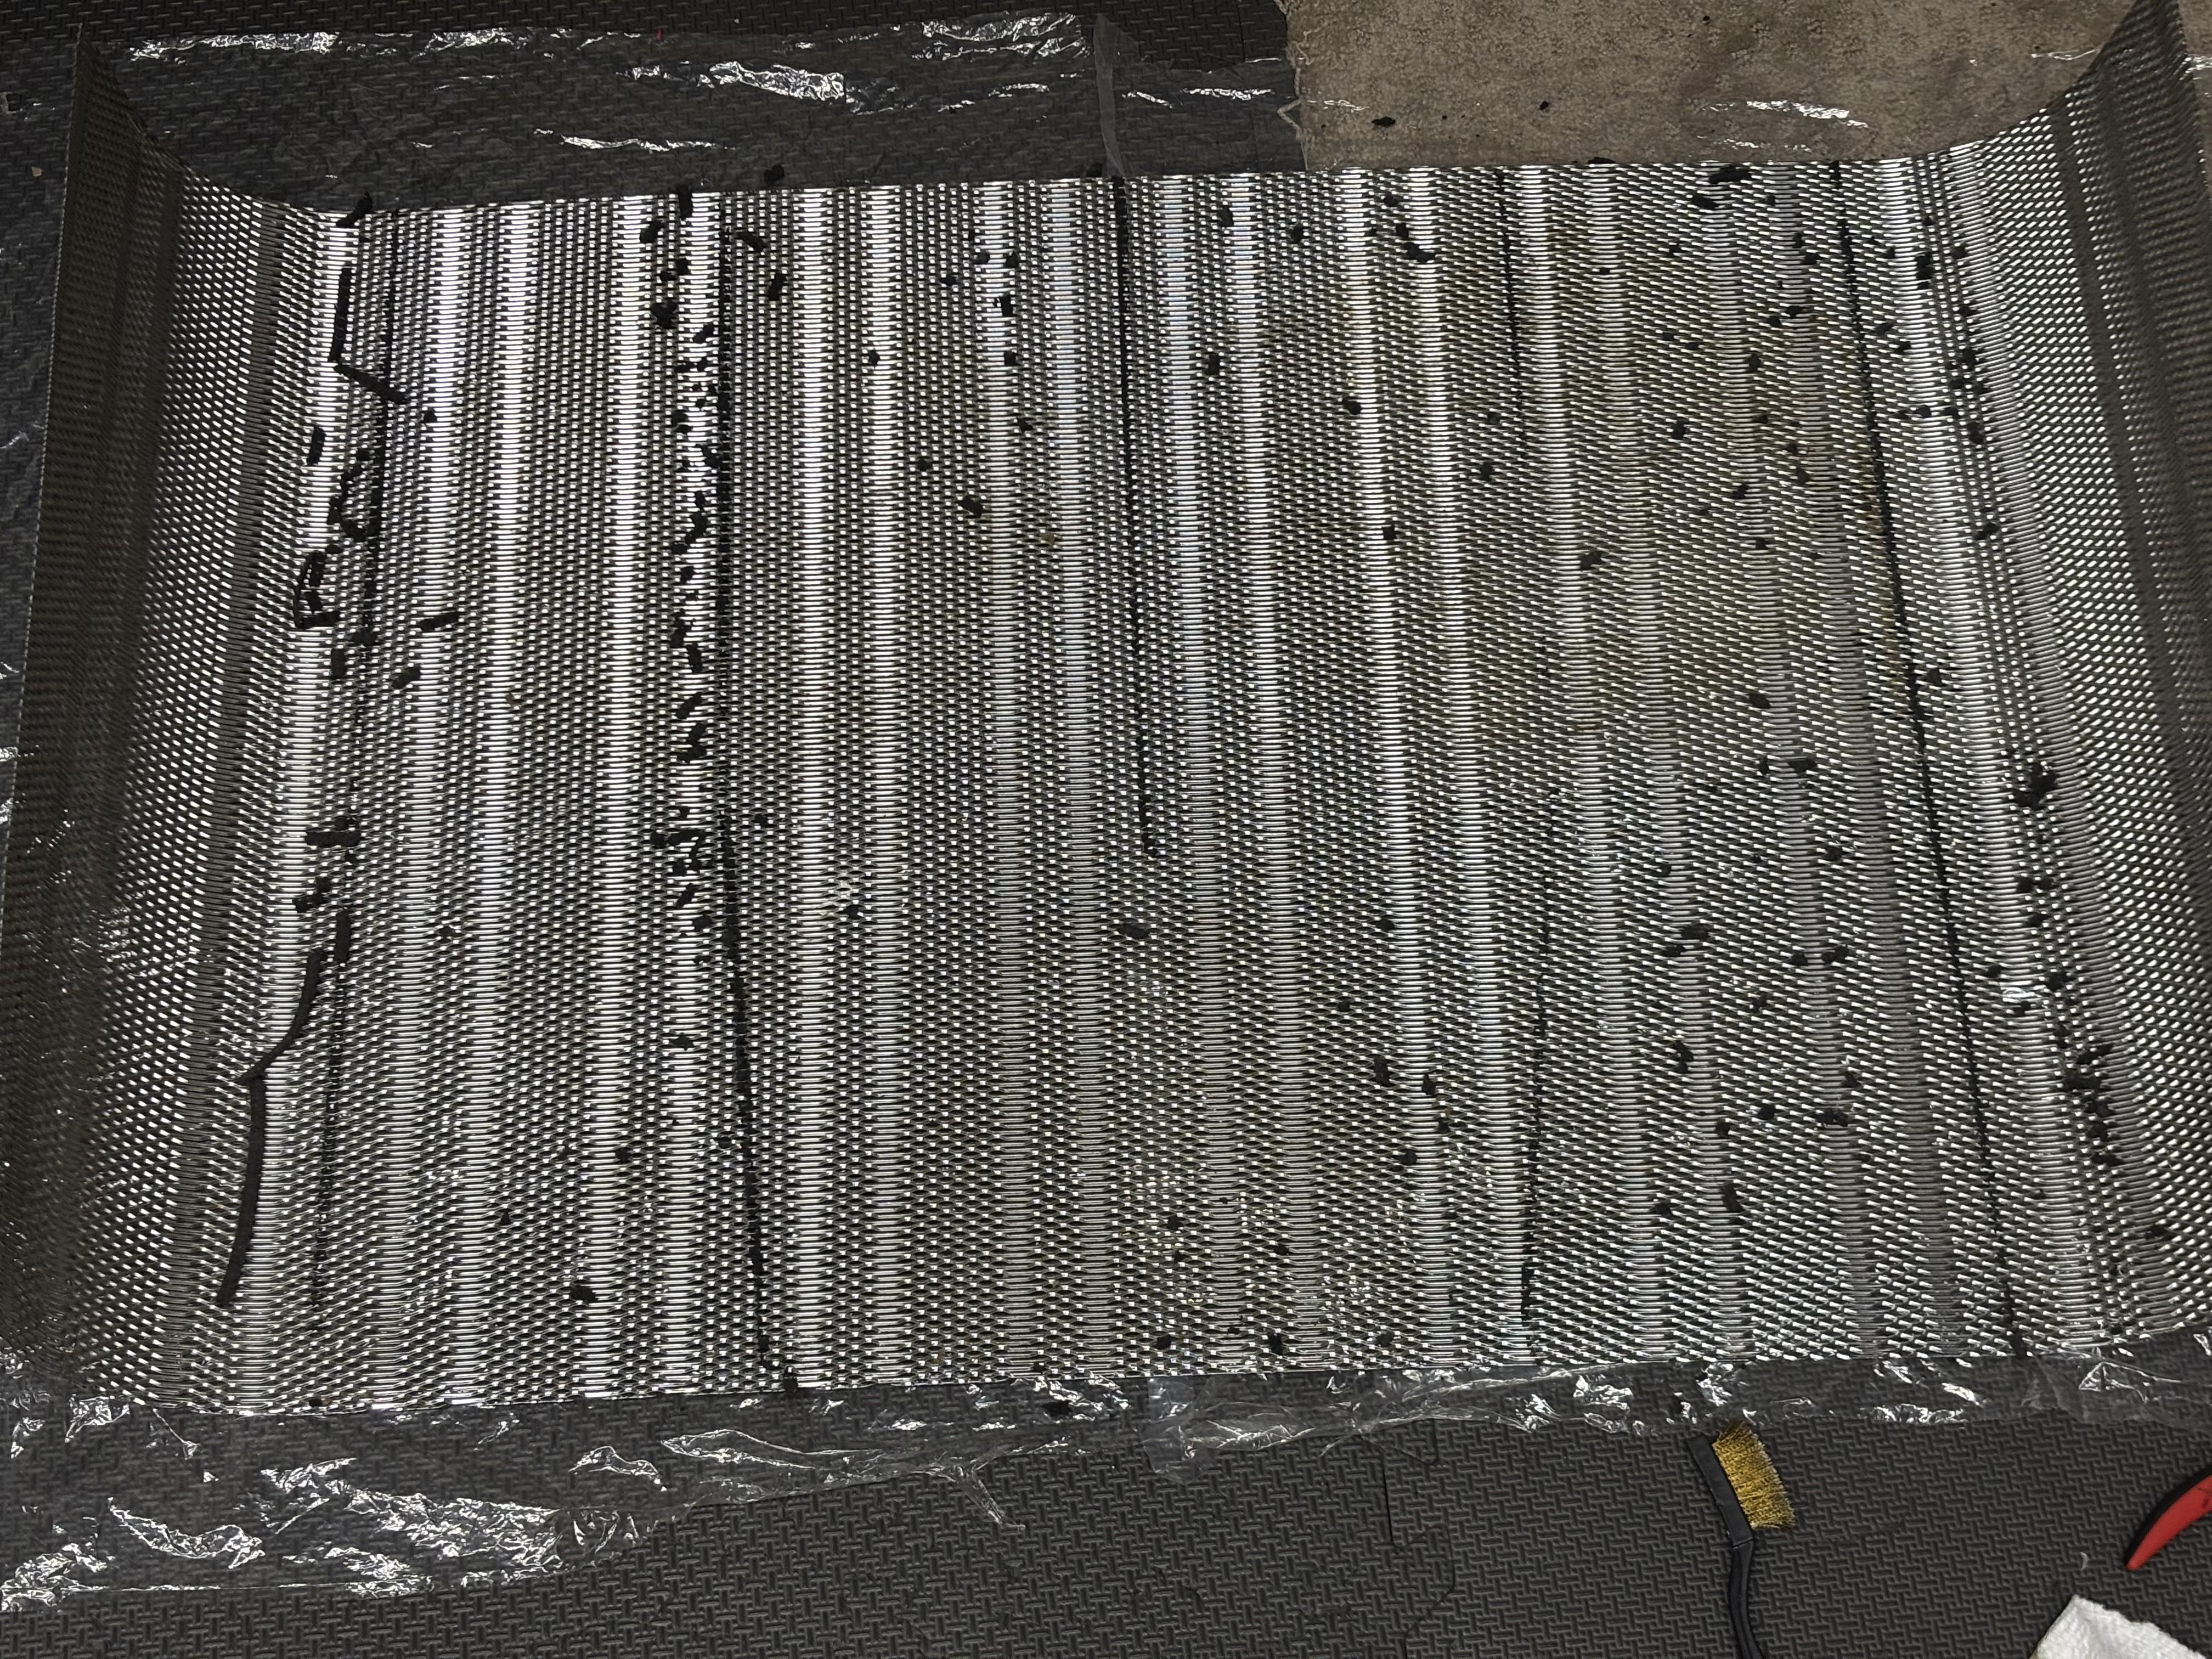 The grill before
 The grill after
Next I sanded down the inside faces of the cabinet, I assumed it was LEAD PAINT so I wore a respirator. I initially painted it white but later I decided on over-painting to "Wet Concrete" Gray (Grey if you are British) because it was more accurate to the original.
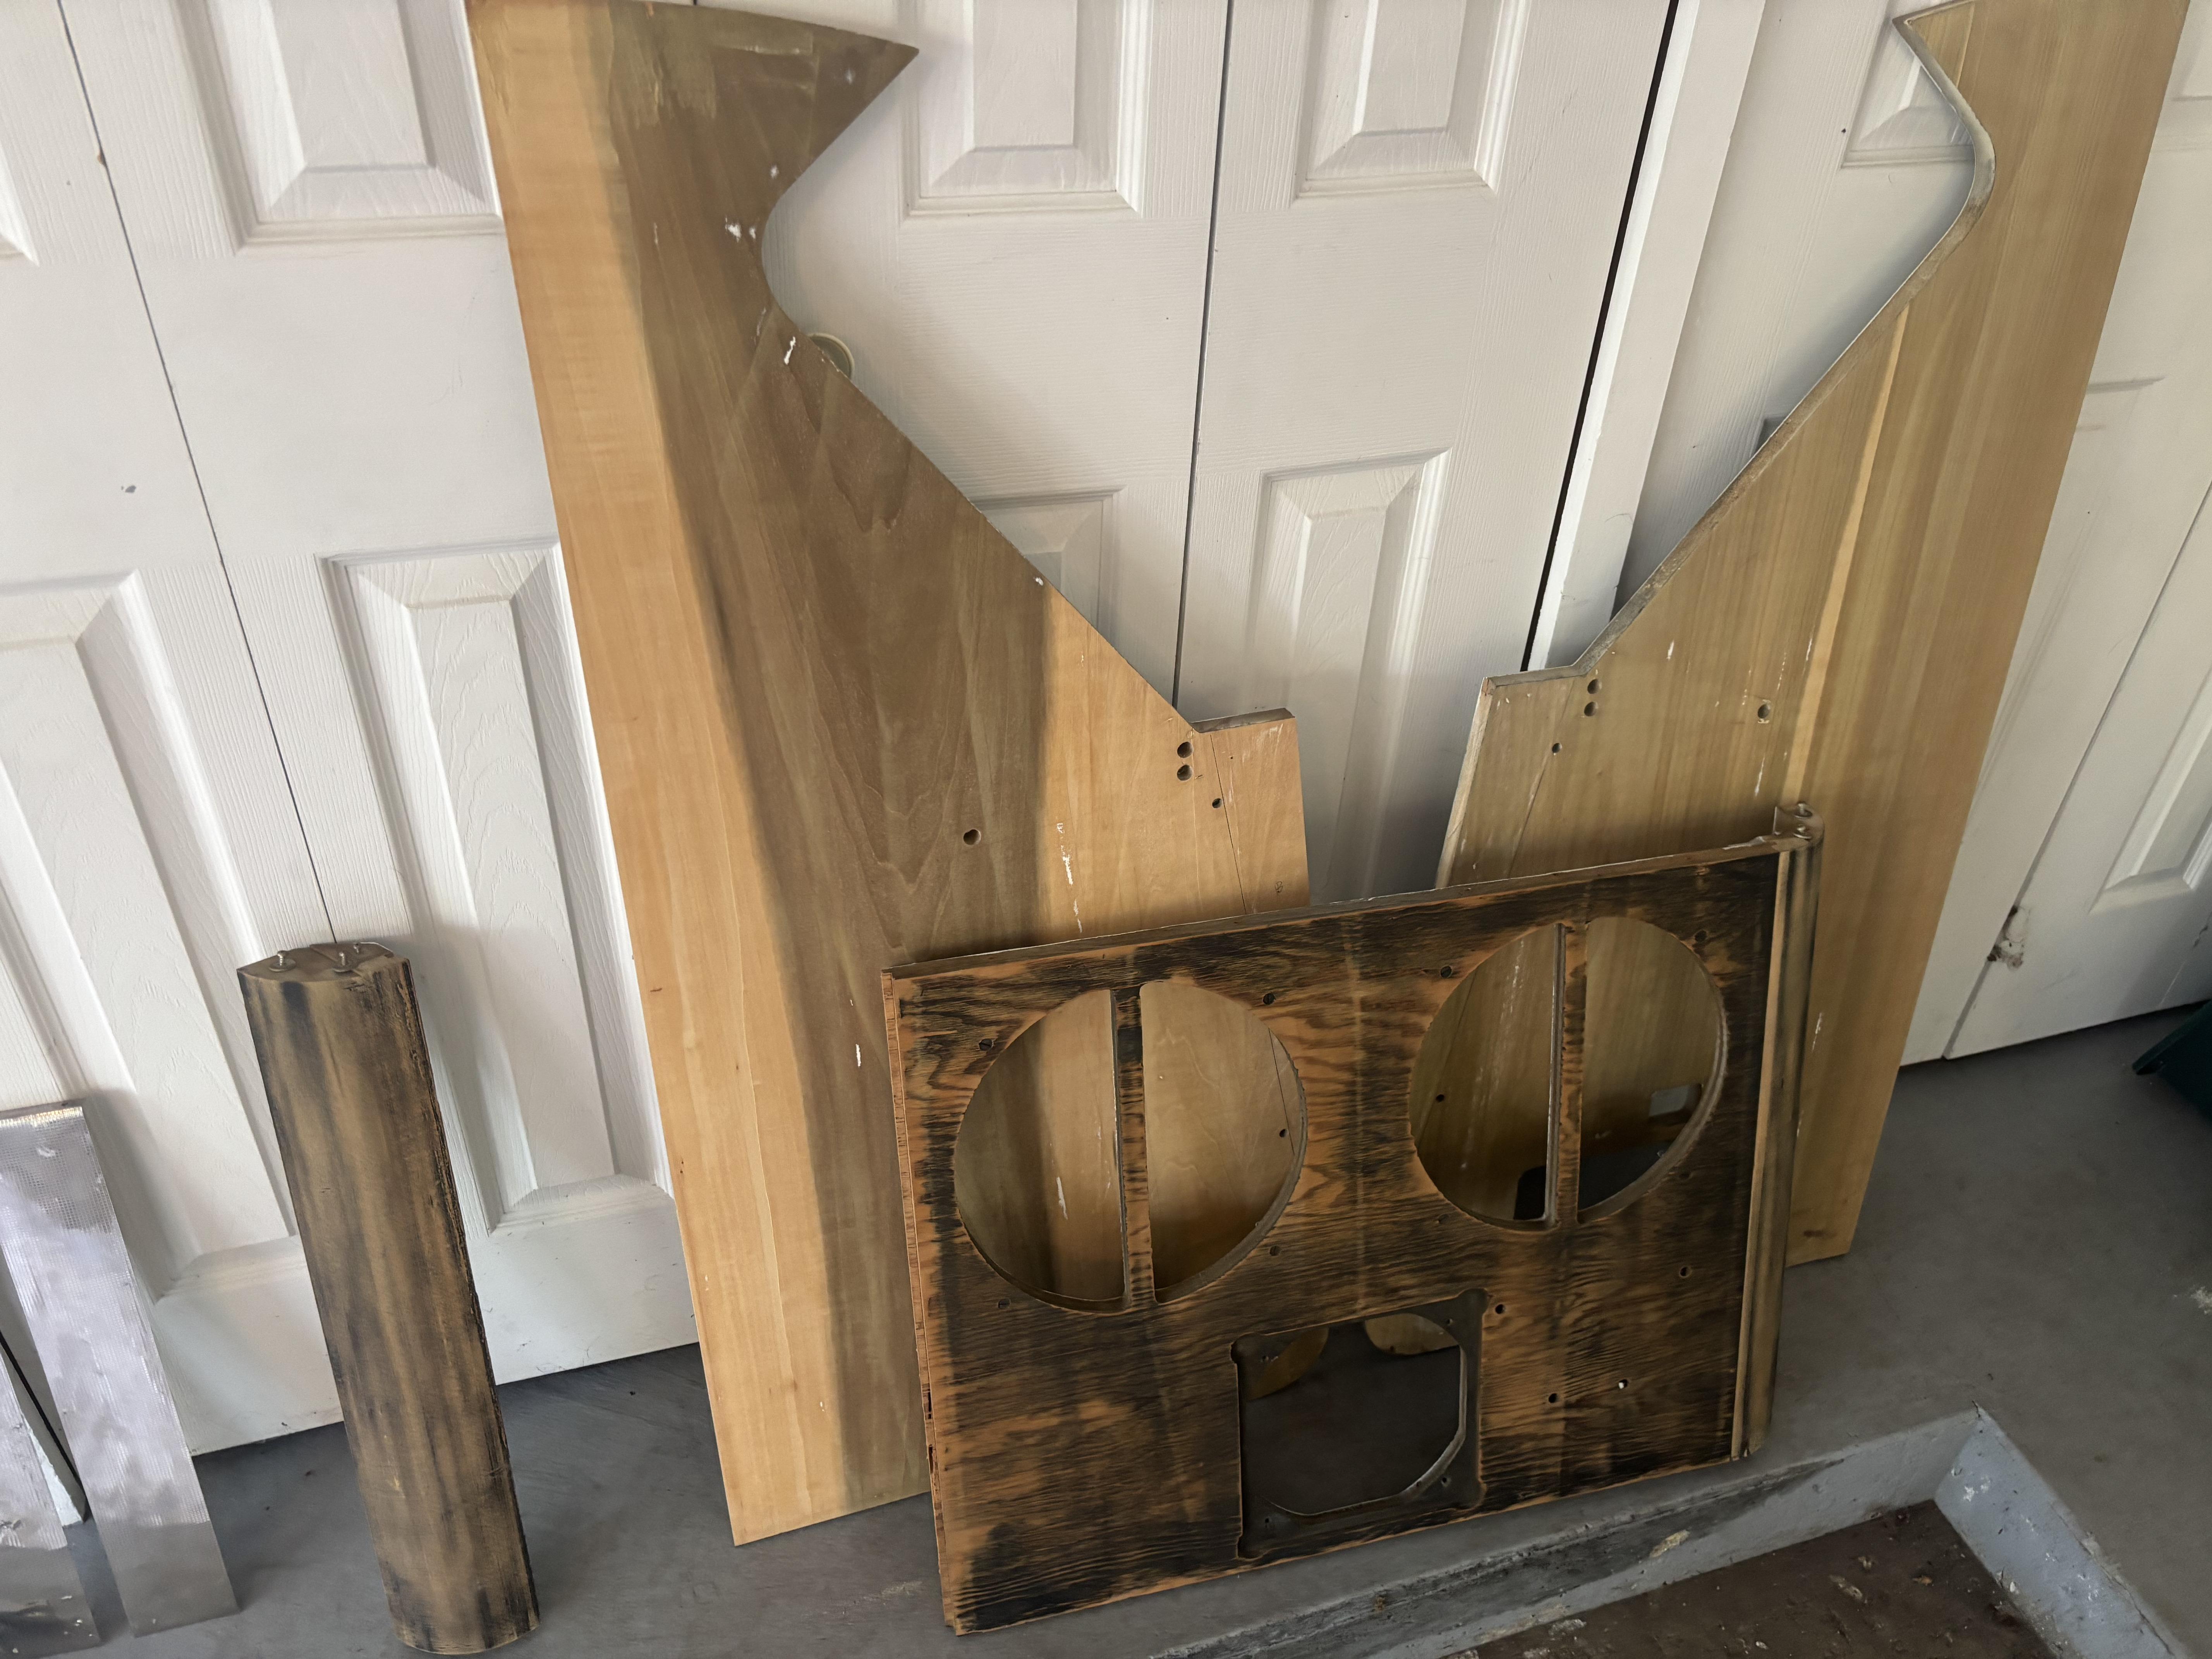 *I found that a handheld wood planar worked best for removing the old veneer/wallpaper
 Maple Wood Veneer with 10 Mil Paper Backer
I was planning on replacing the kickplate sheets but I couldn't find anything that was reasonably priced. So I used a vice and reversed them.
 Reassembling
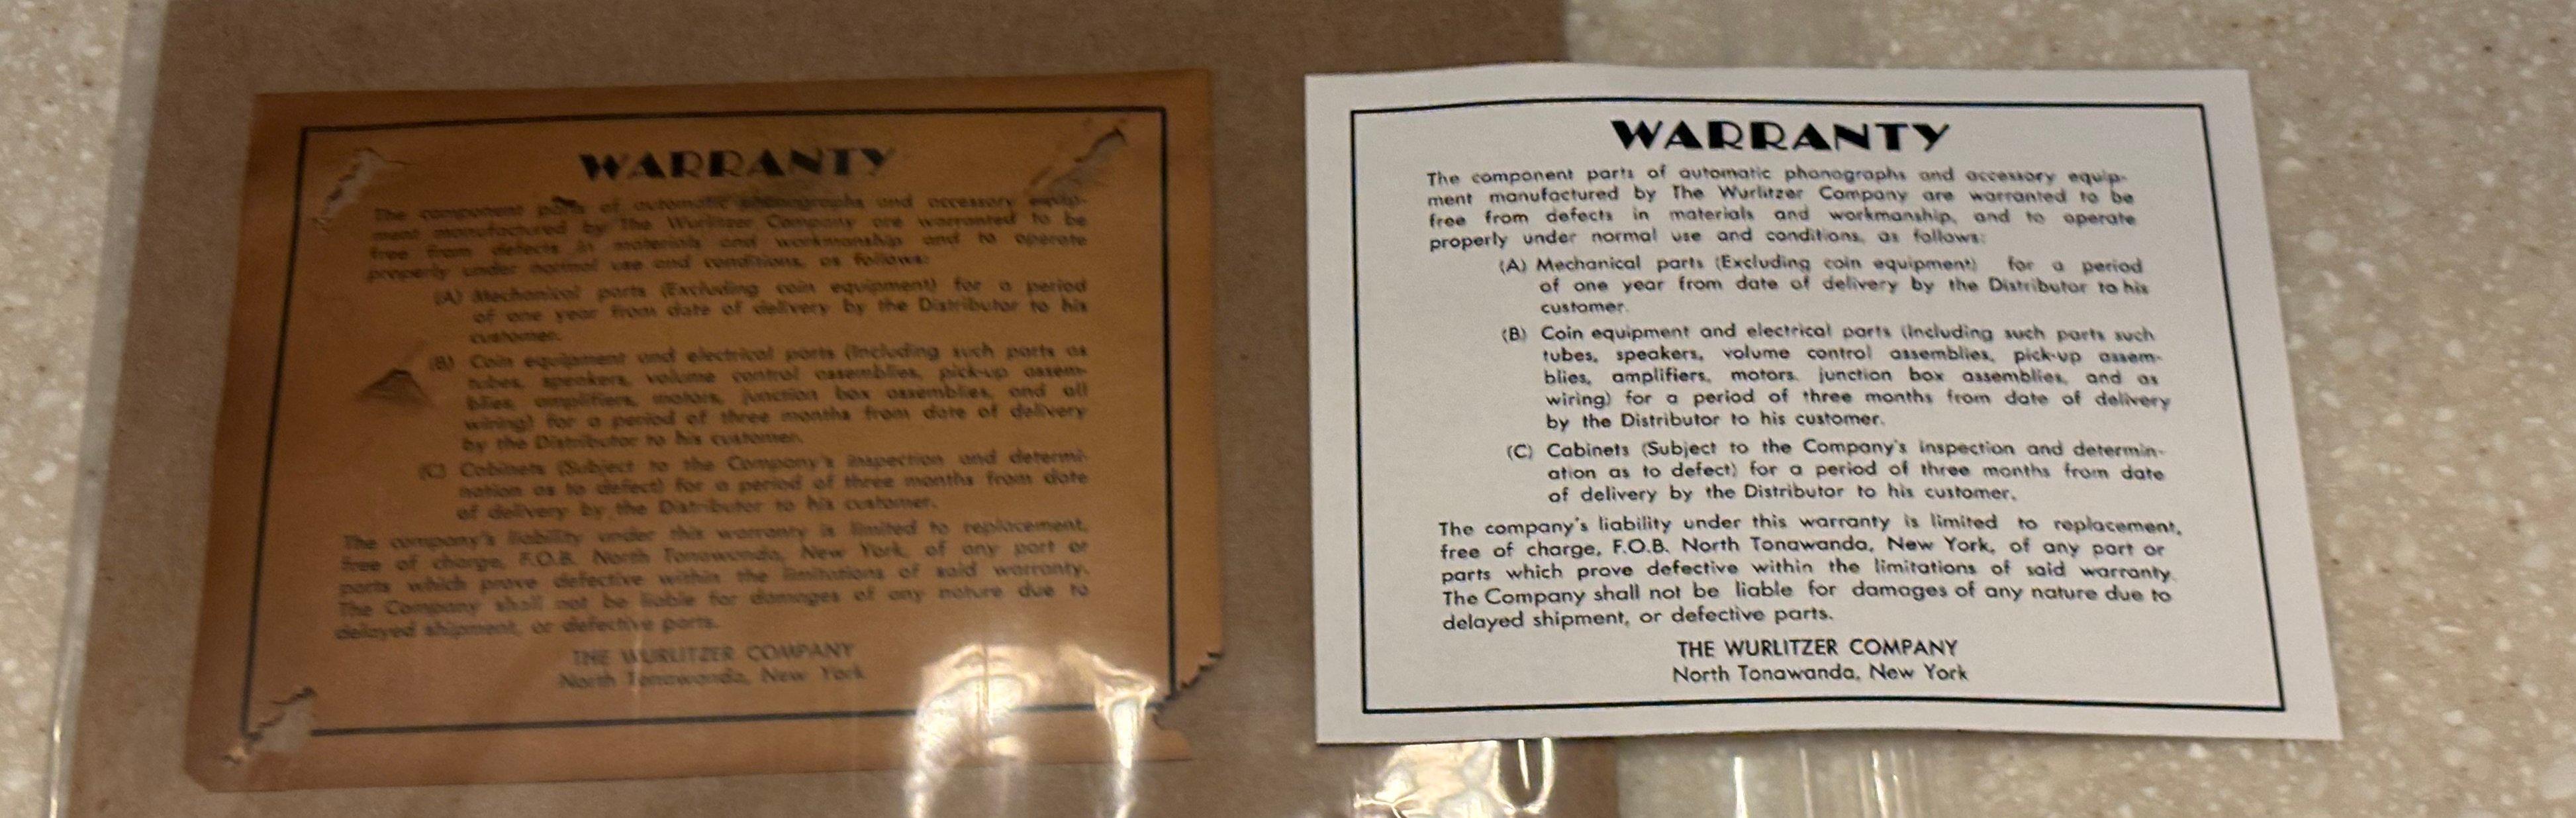 To repaint the back cover I had to remove the fragile warranty tag and recreate it
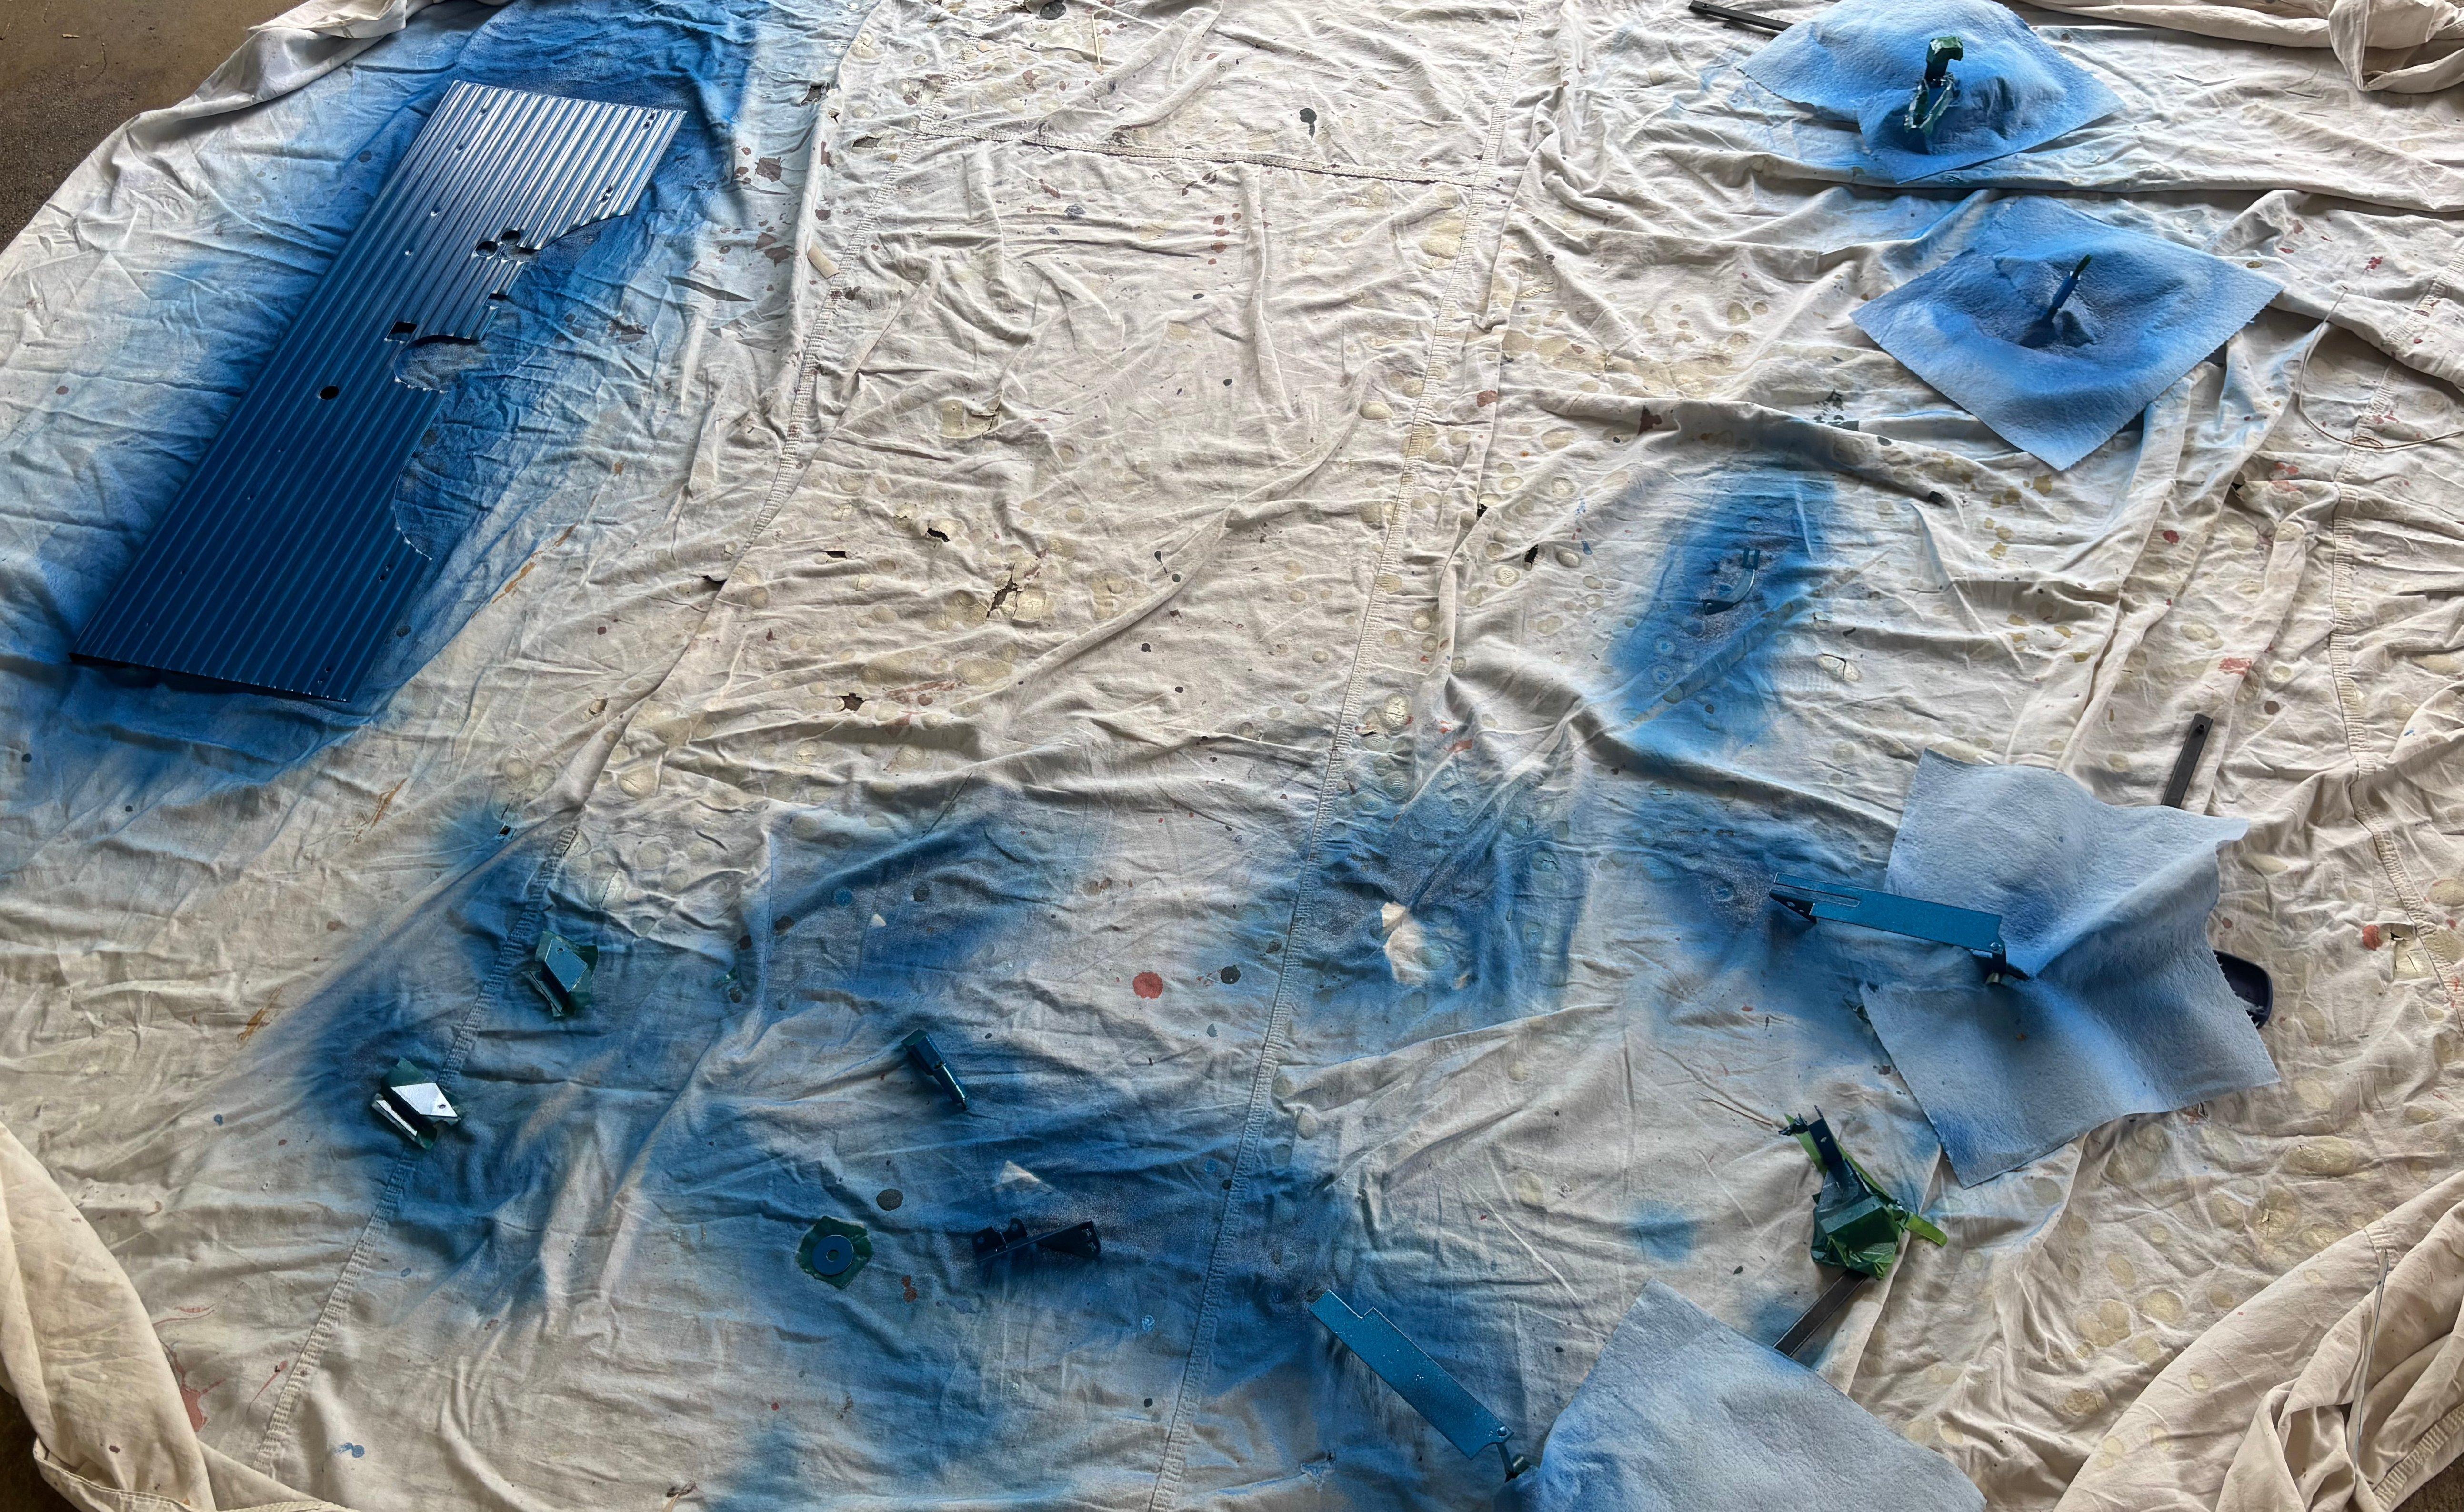
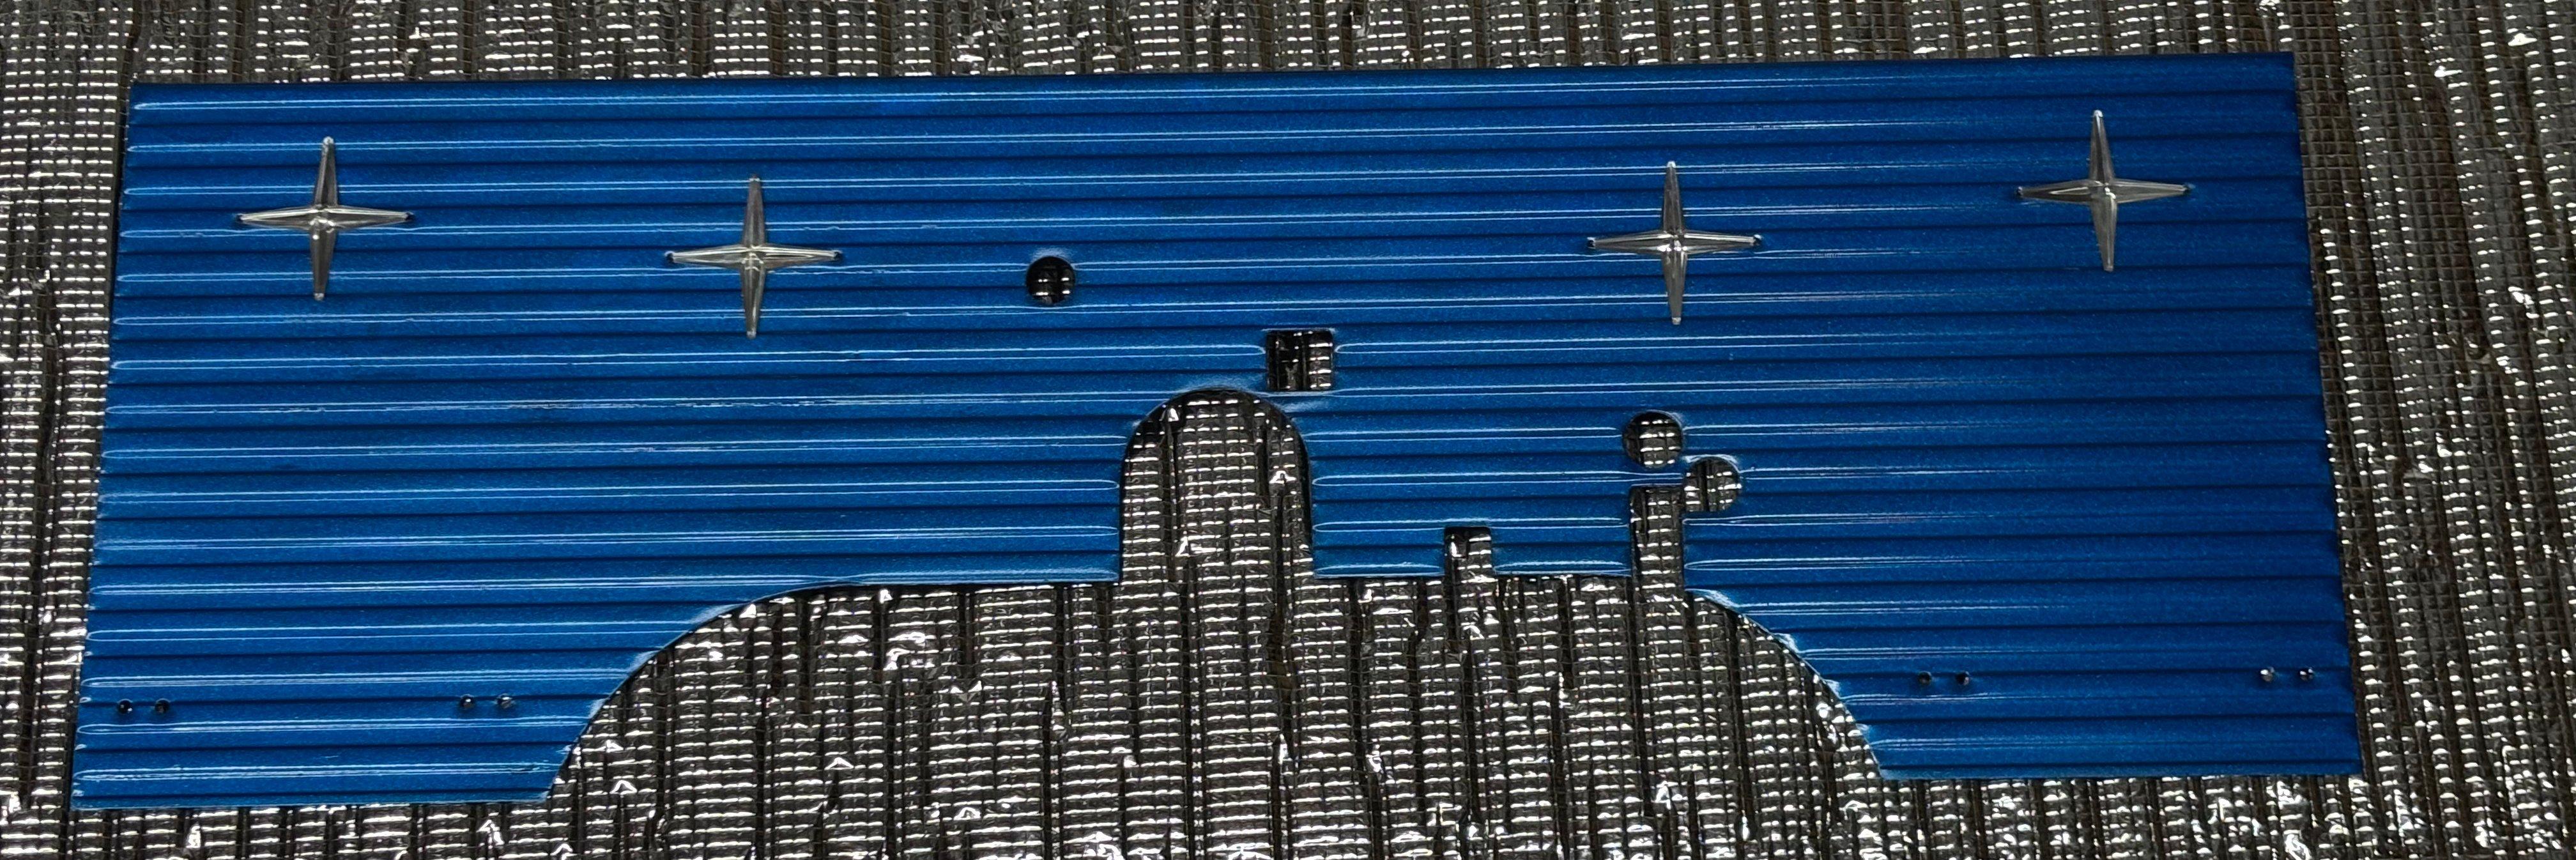
The most frustrating step was stripping the paint. The blue background was incredibly stubborn. I used Jasco paint stripper and let it dwell for a long time; the trick is to apply it generously and bag the small parts to keep it active. For the refinish, I went with Krylon Shimmer Metallic “Candy Blue Razz” for a subtle sparkle, though it’s a bit darker than the original. I also considered Krylon Blue Foil. Be aware that rattle-can finishes are far less durable than the original coating (which may have been an epoxy), so handle accordingly.
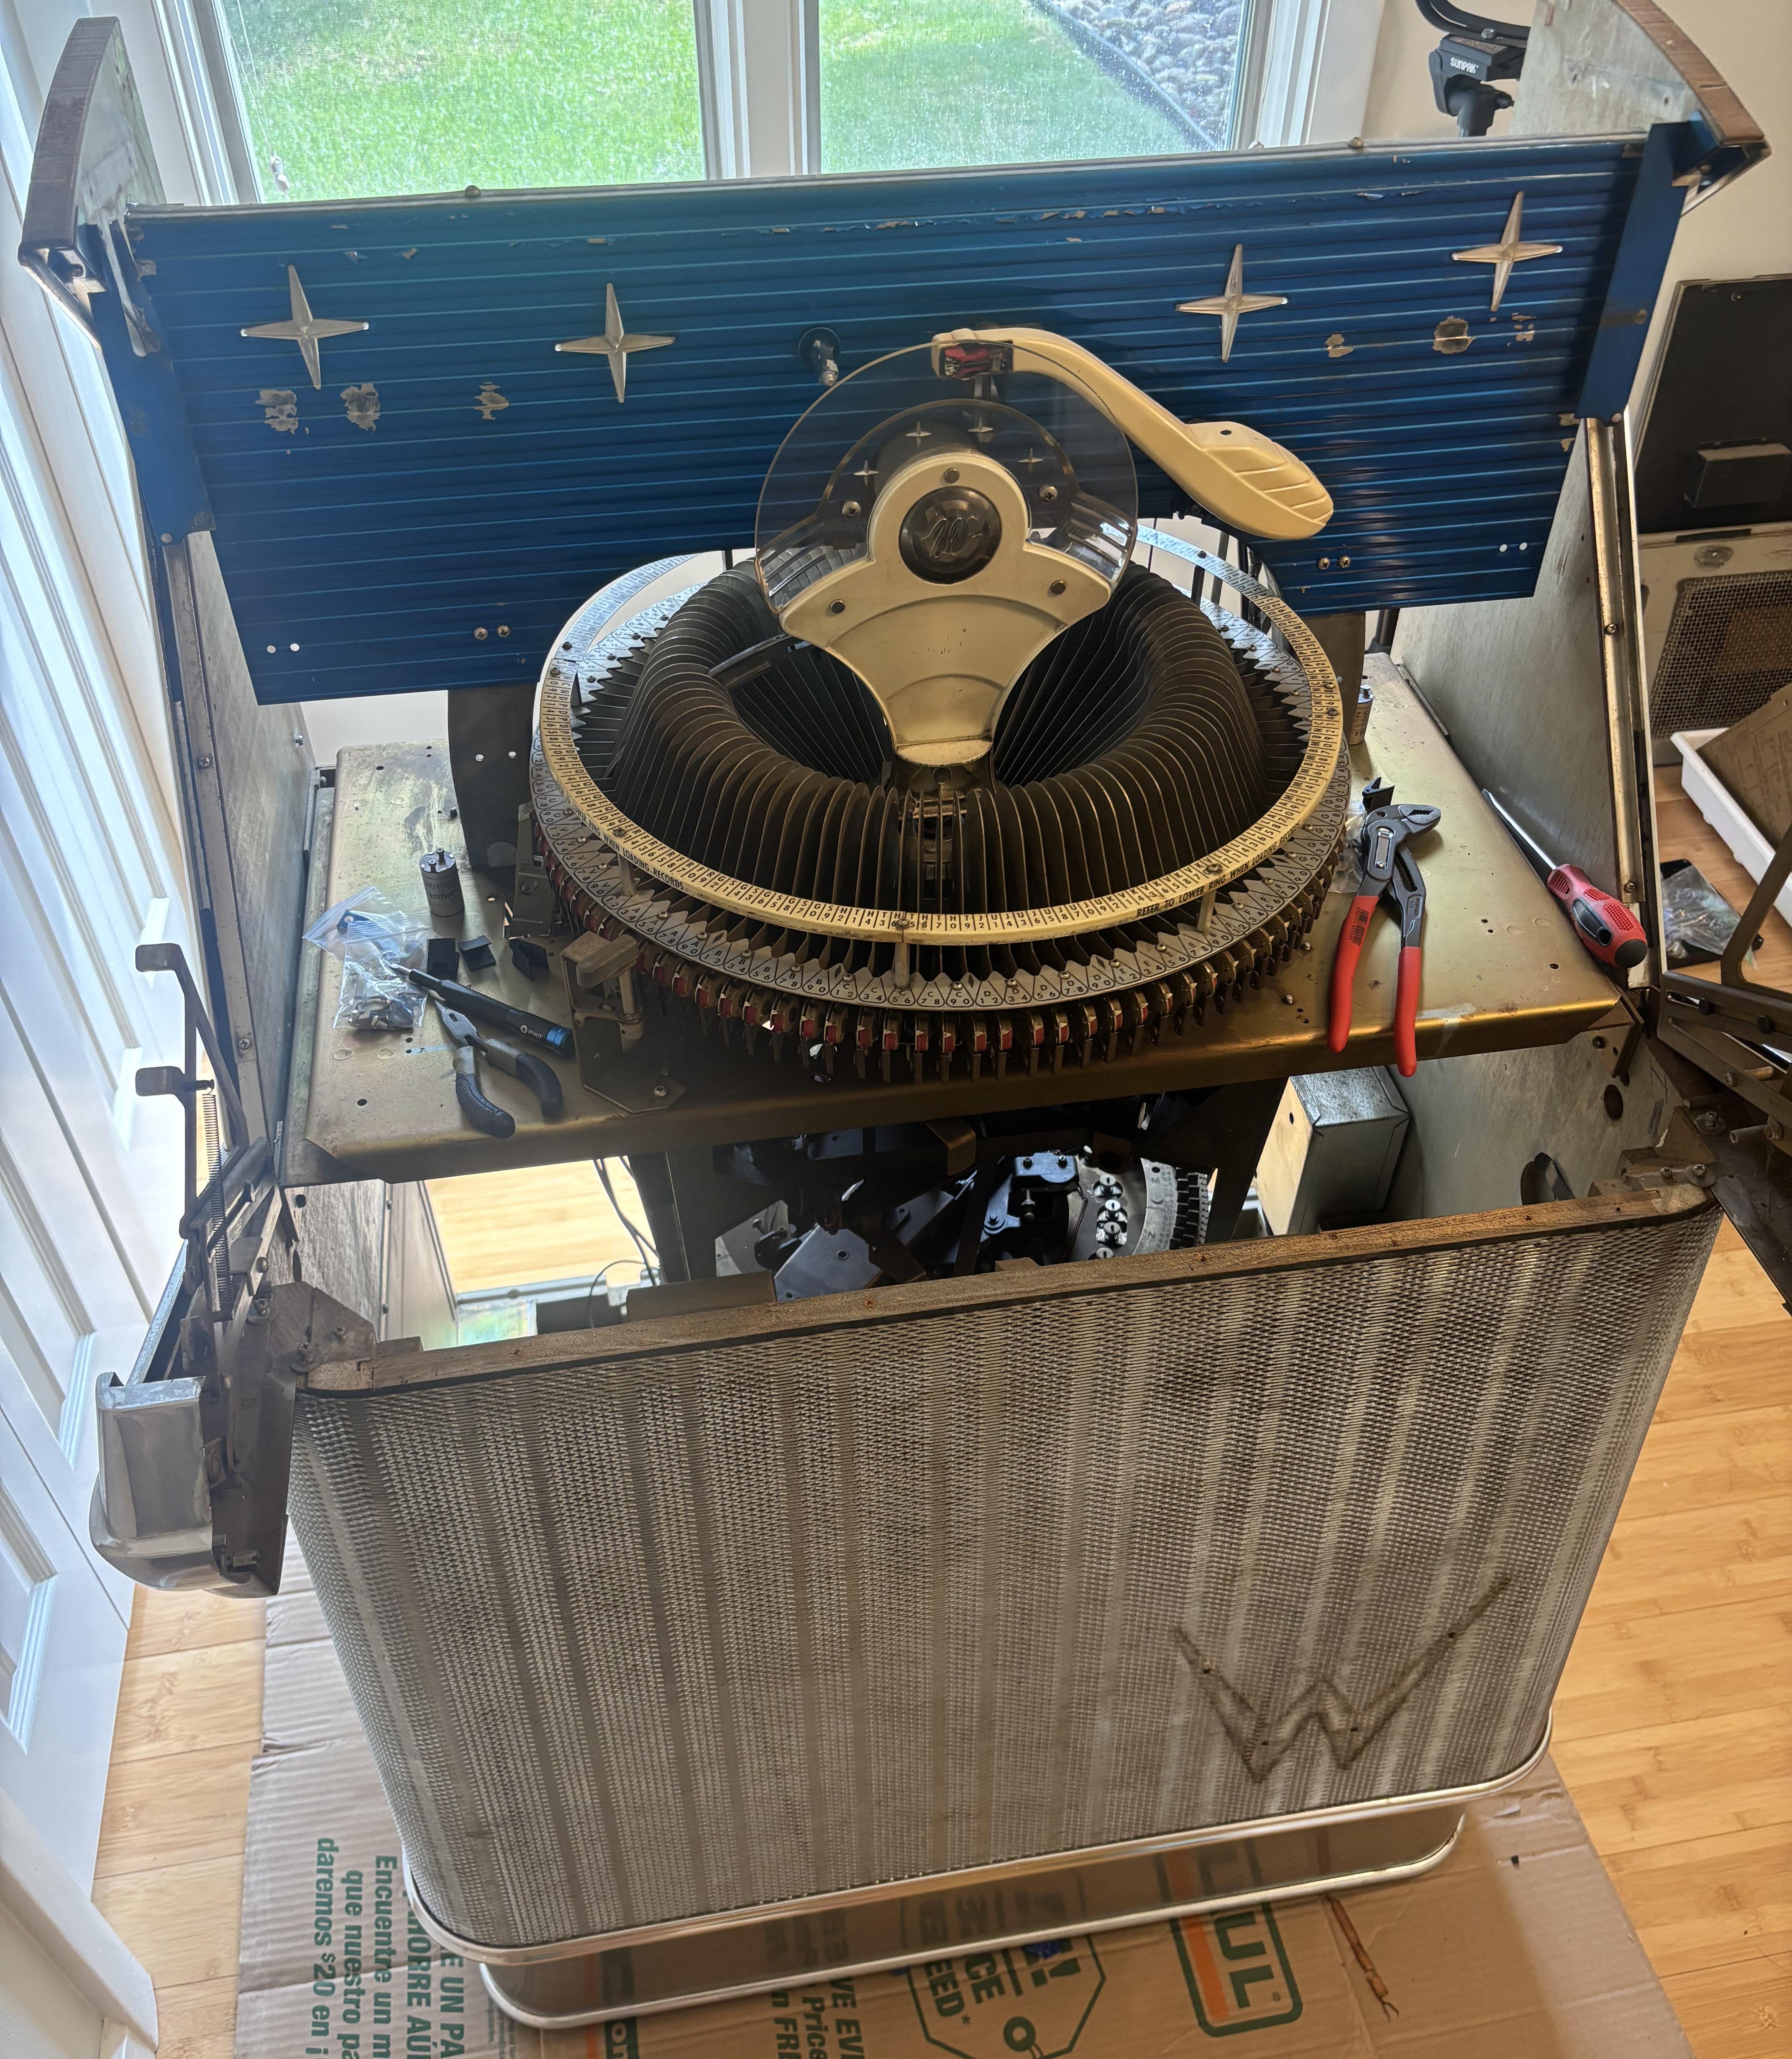
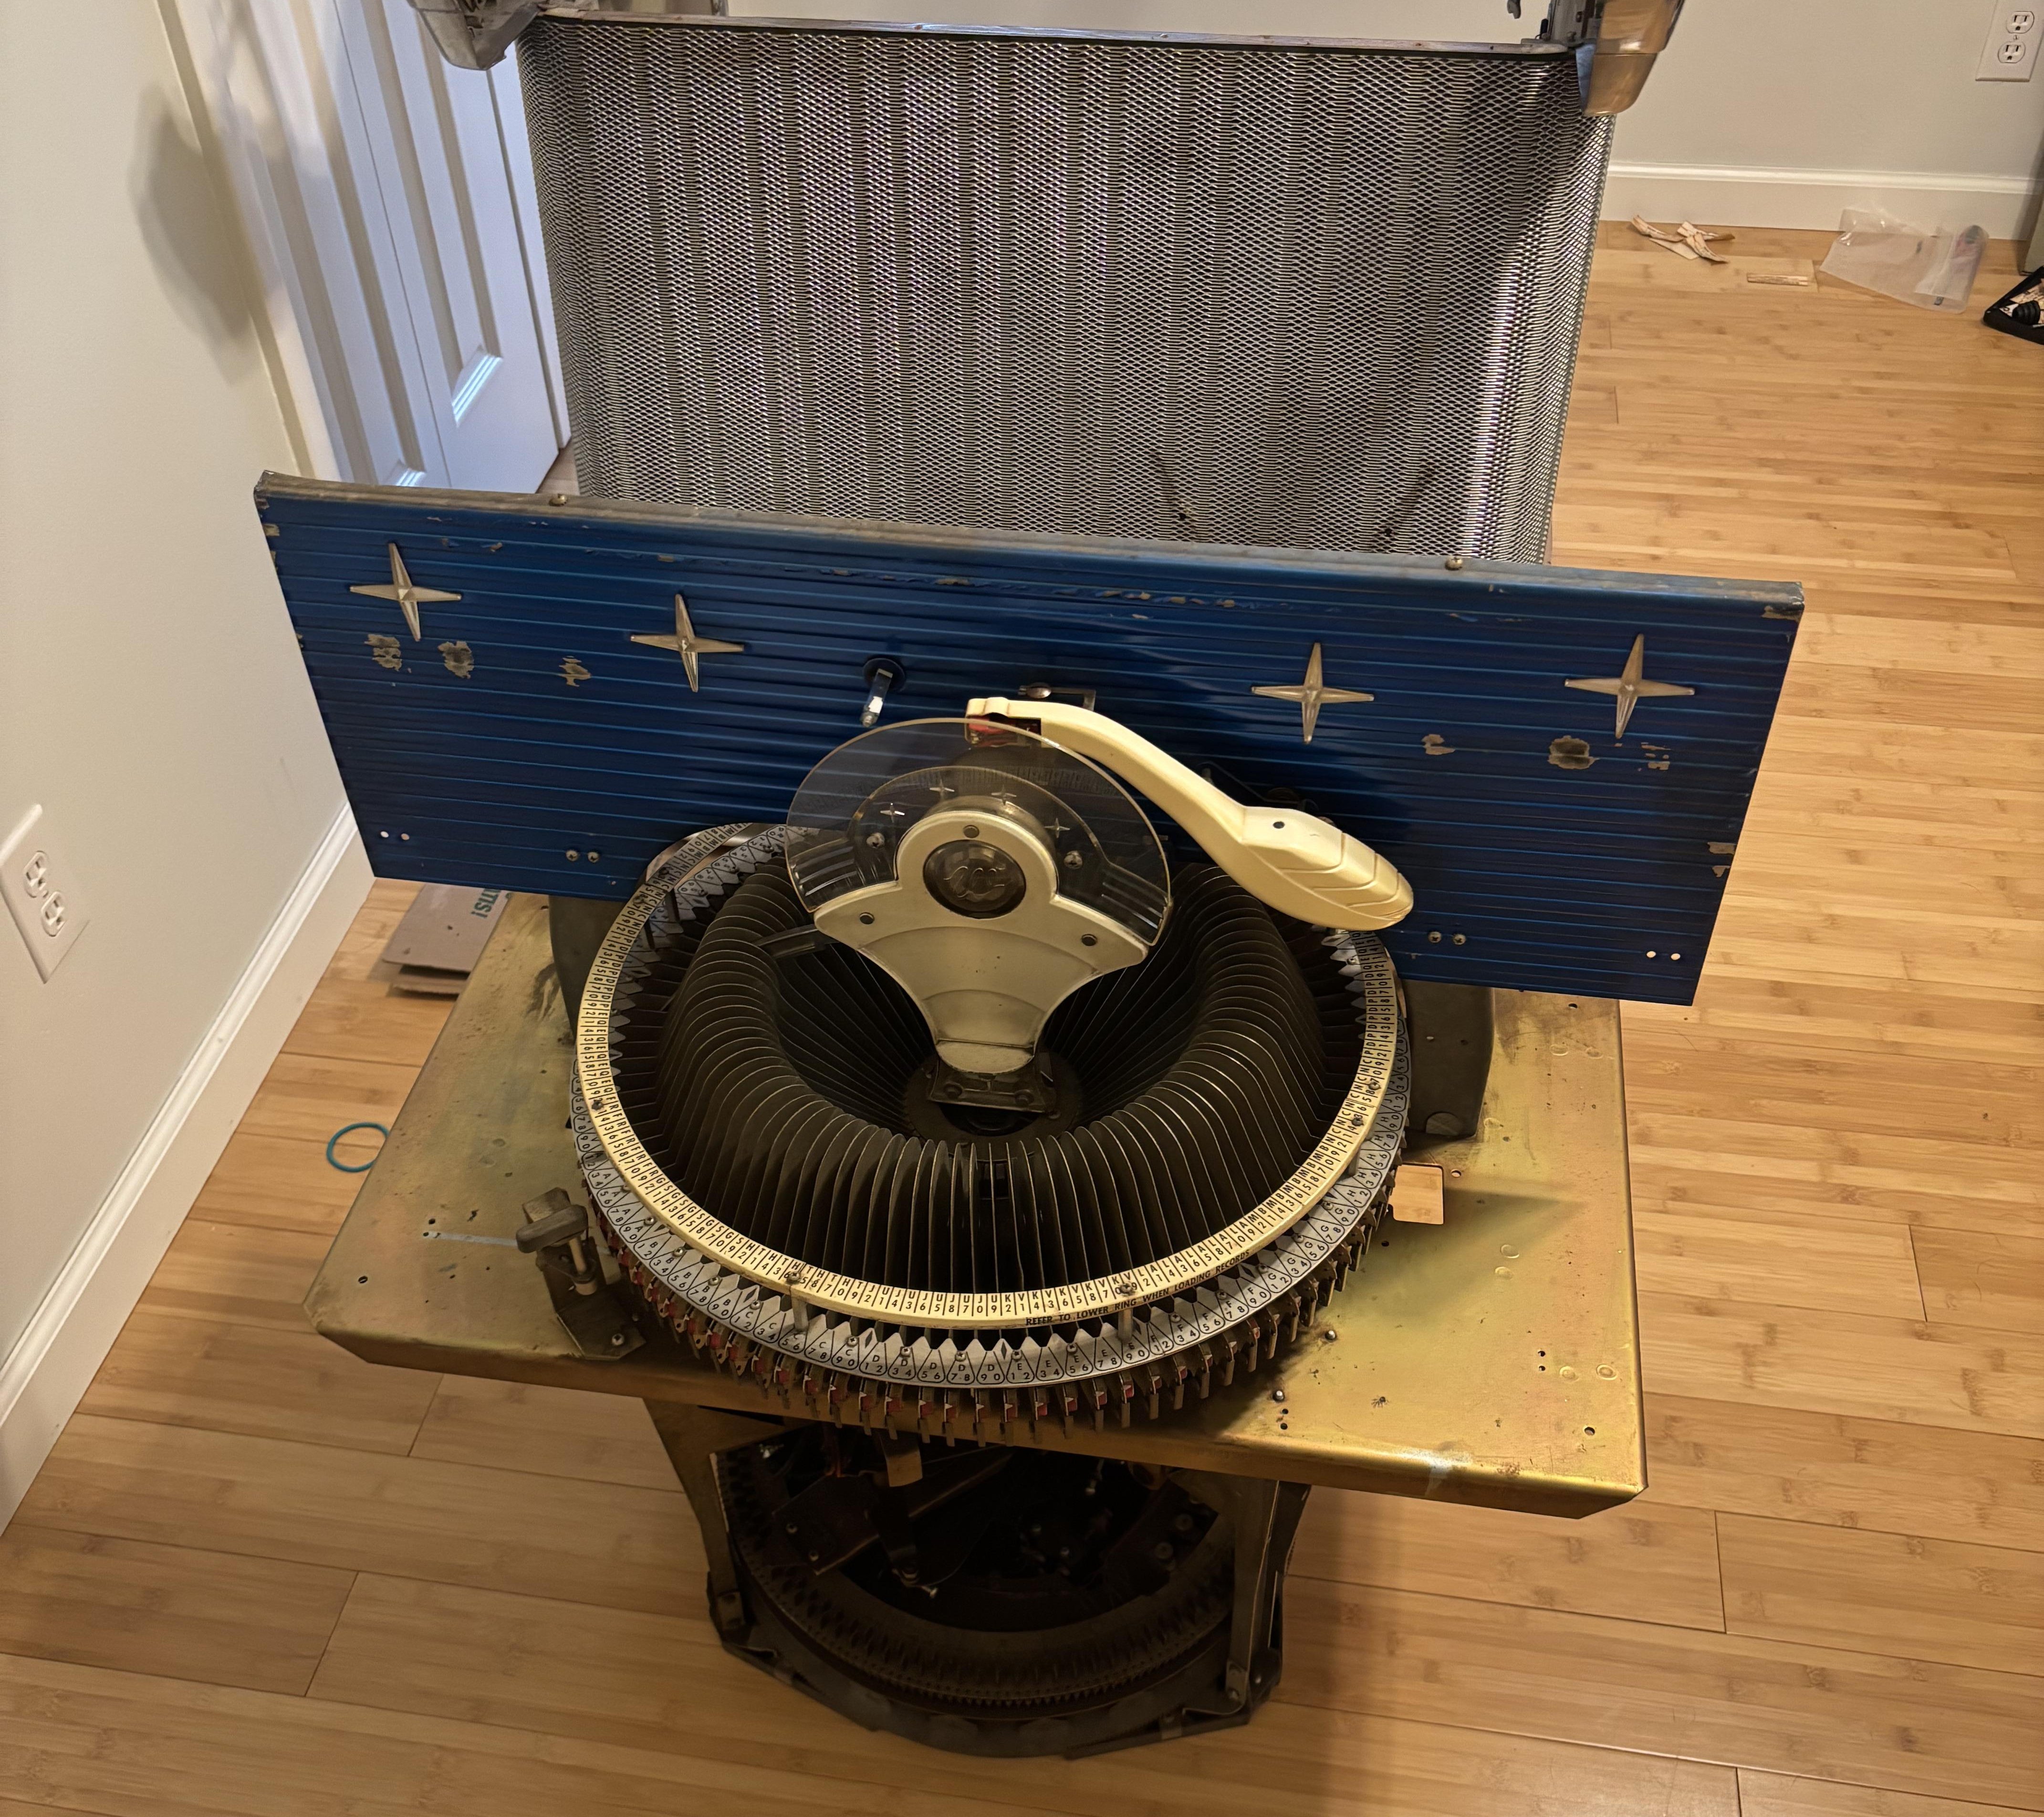
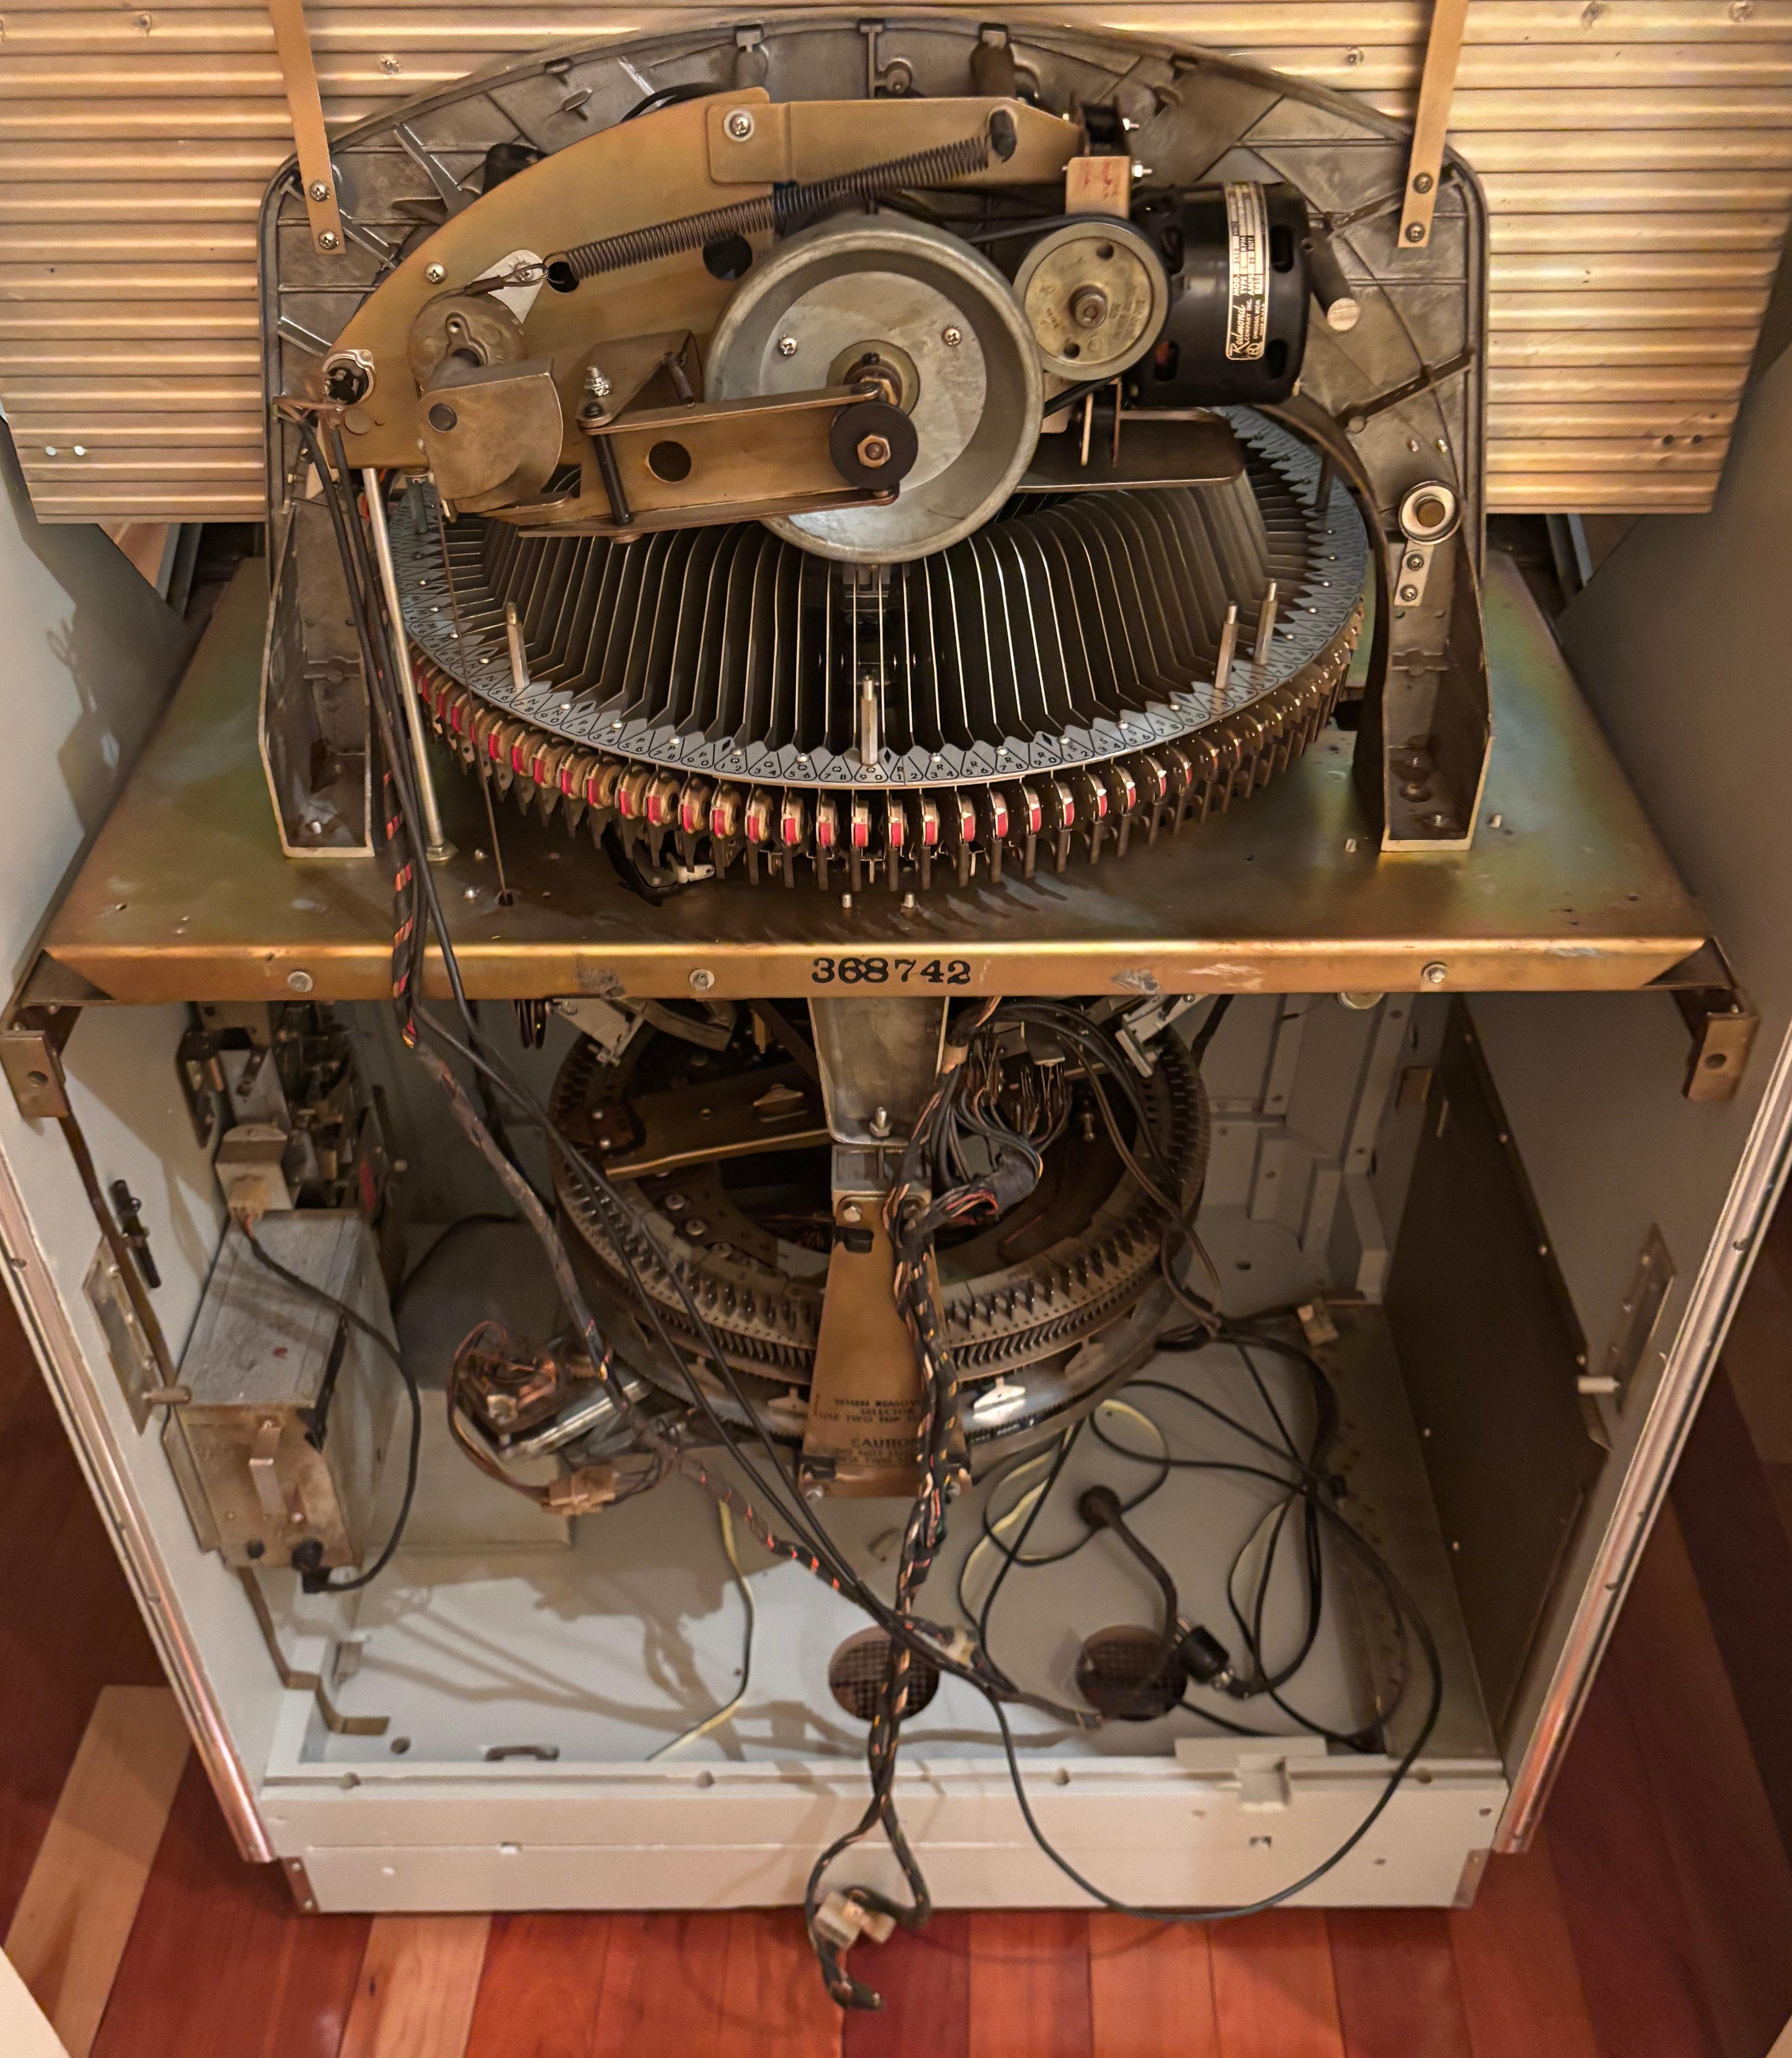
While waiting for stripping I cleaned the mechanism and detached the record storage turntable which I cleaned by washing it off. I cleaned all of the dirt/dust out of the mechanism and used synthetic oil to lubricate all moving parts. I elected not to take apart the bottom mechanism since it was functioning well, the top mechanism had to be disassembled to clean it up.
I wiped down the acrylic with water, Brasso actually worked well here too. For the tone arm and record holder I used a White Gloss spray paint.
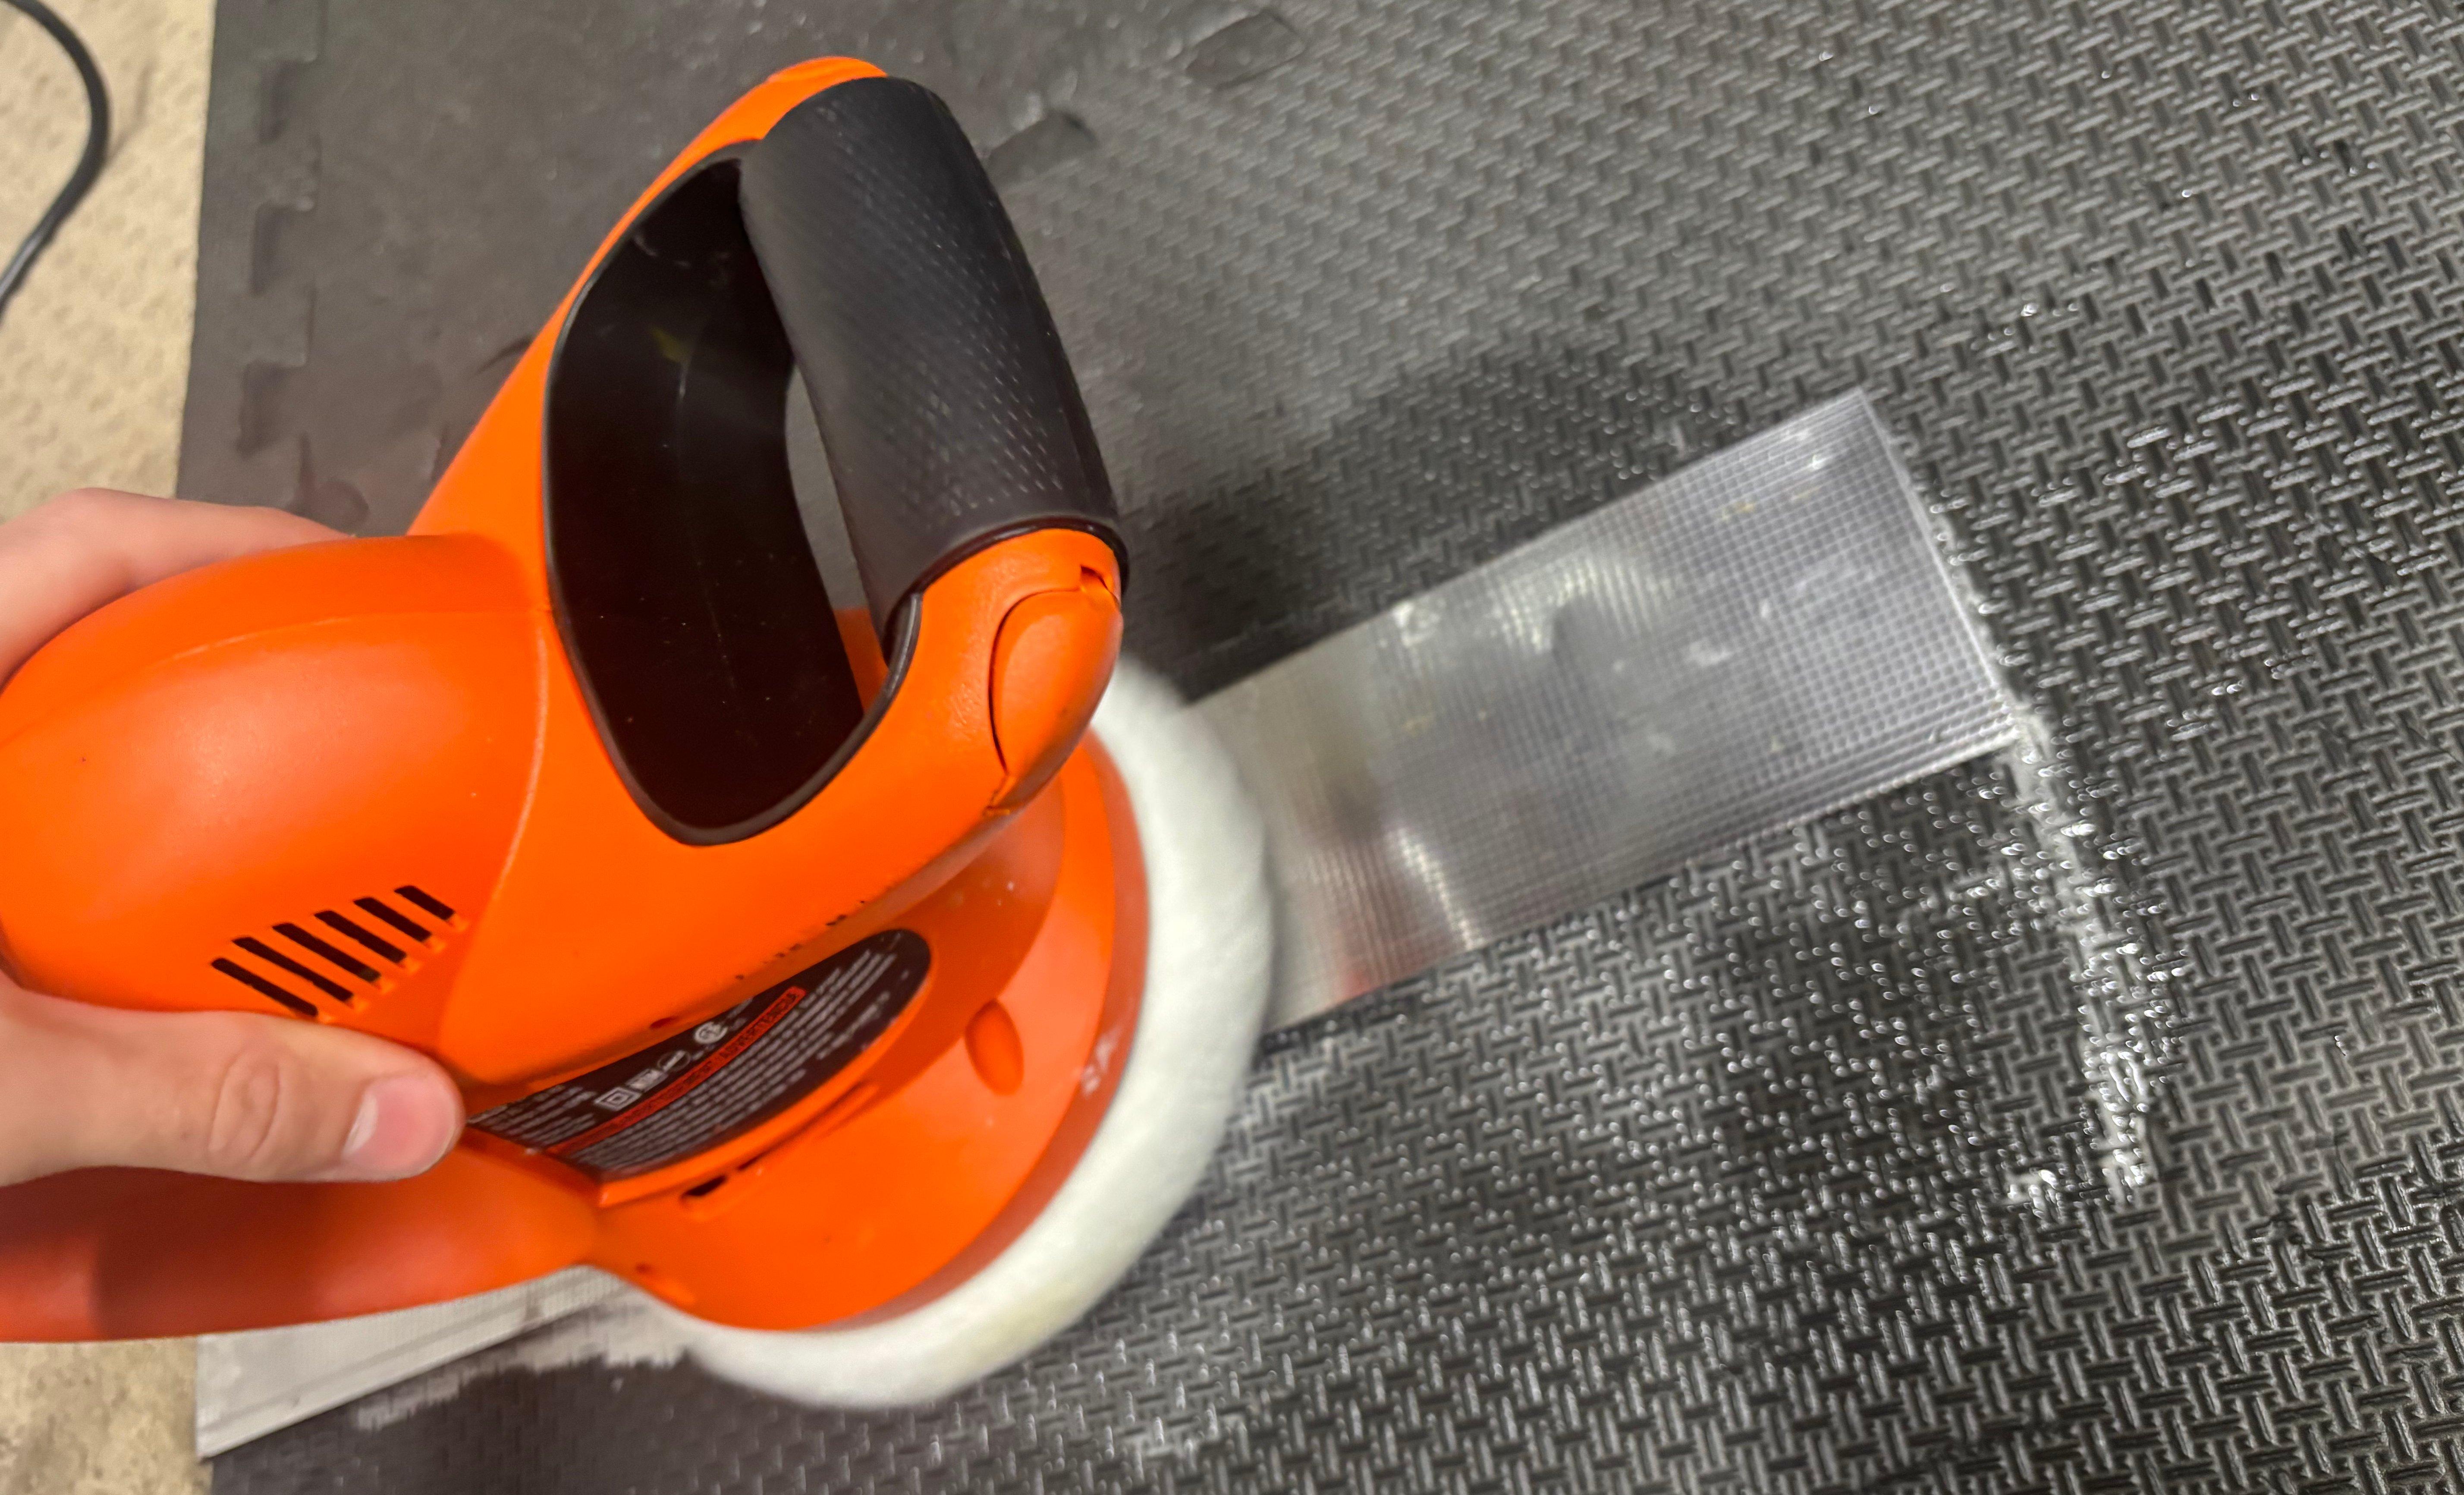
All chrome parts and most other metal parts (especially visible parts) I polished with Brasso and a microfiber cloth.
 I replaced the bottom trim (mine was broken) with 1/2" stick-on chrome trim
 Rear view
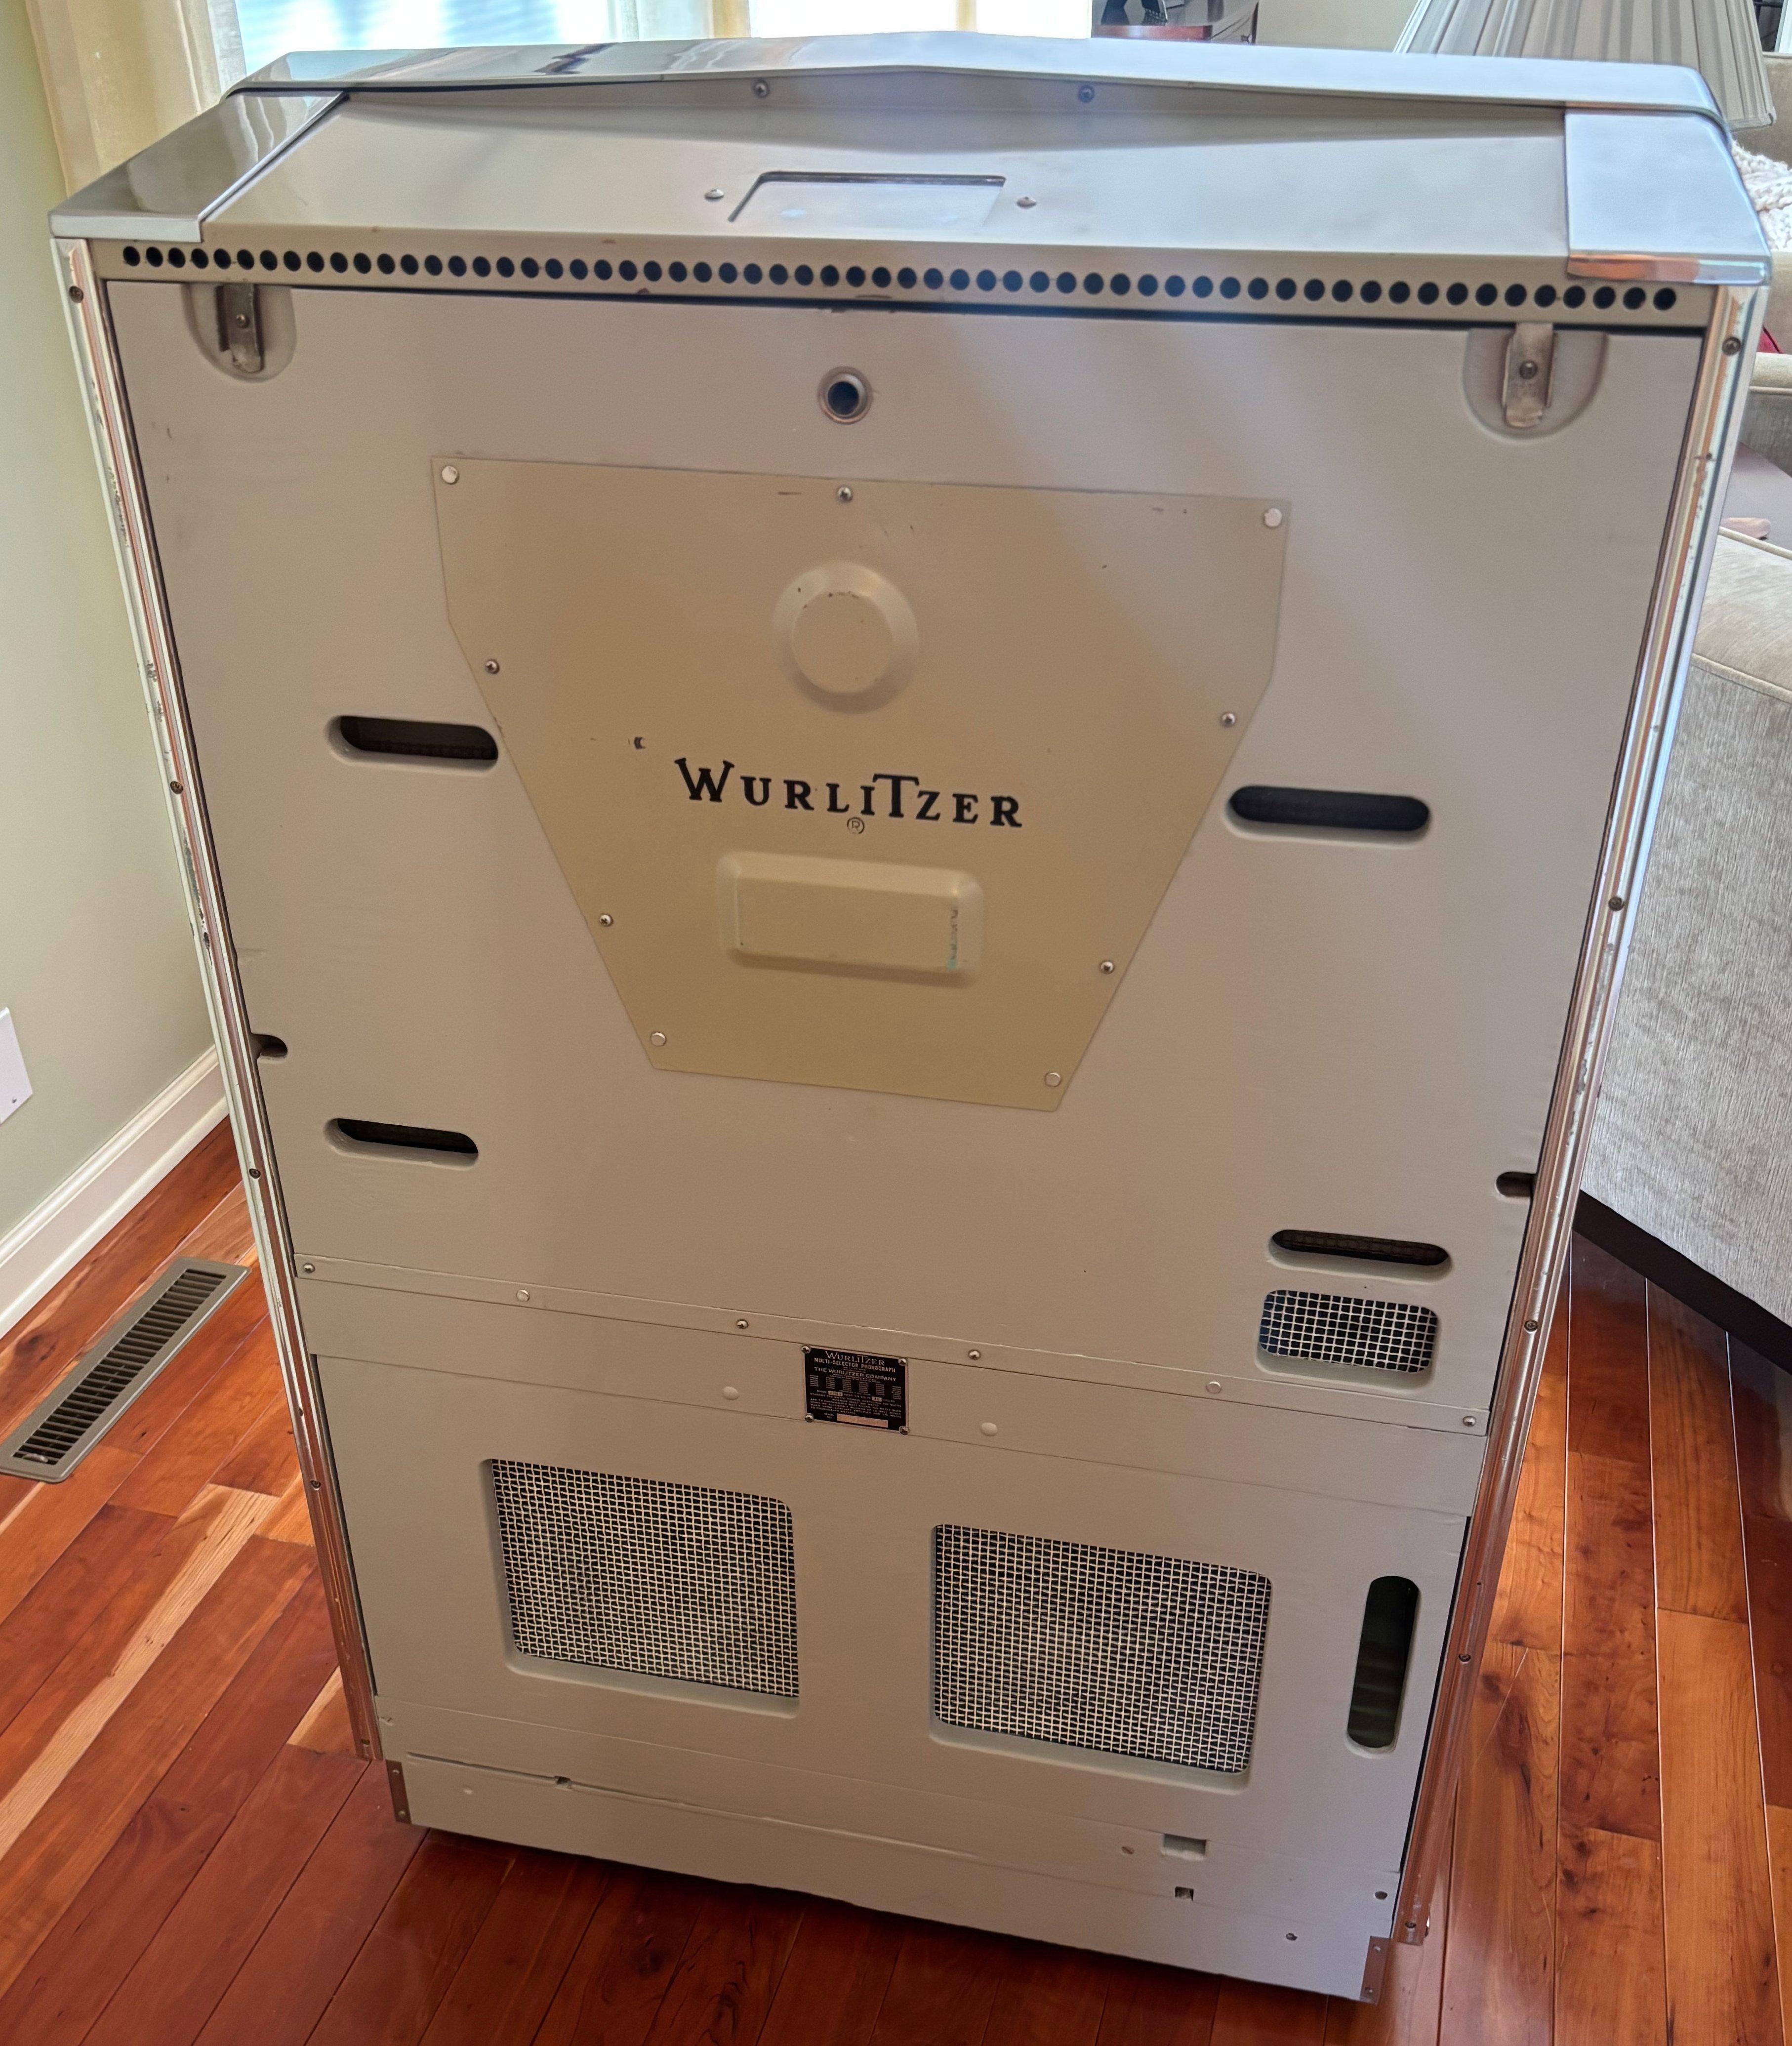 Rear view with cover
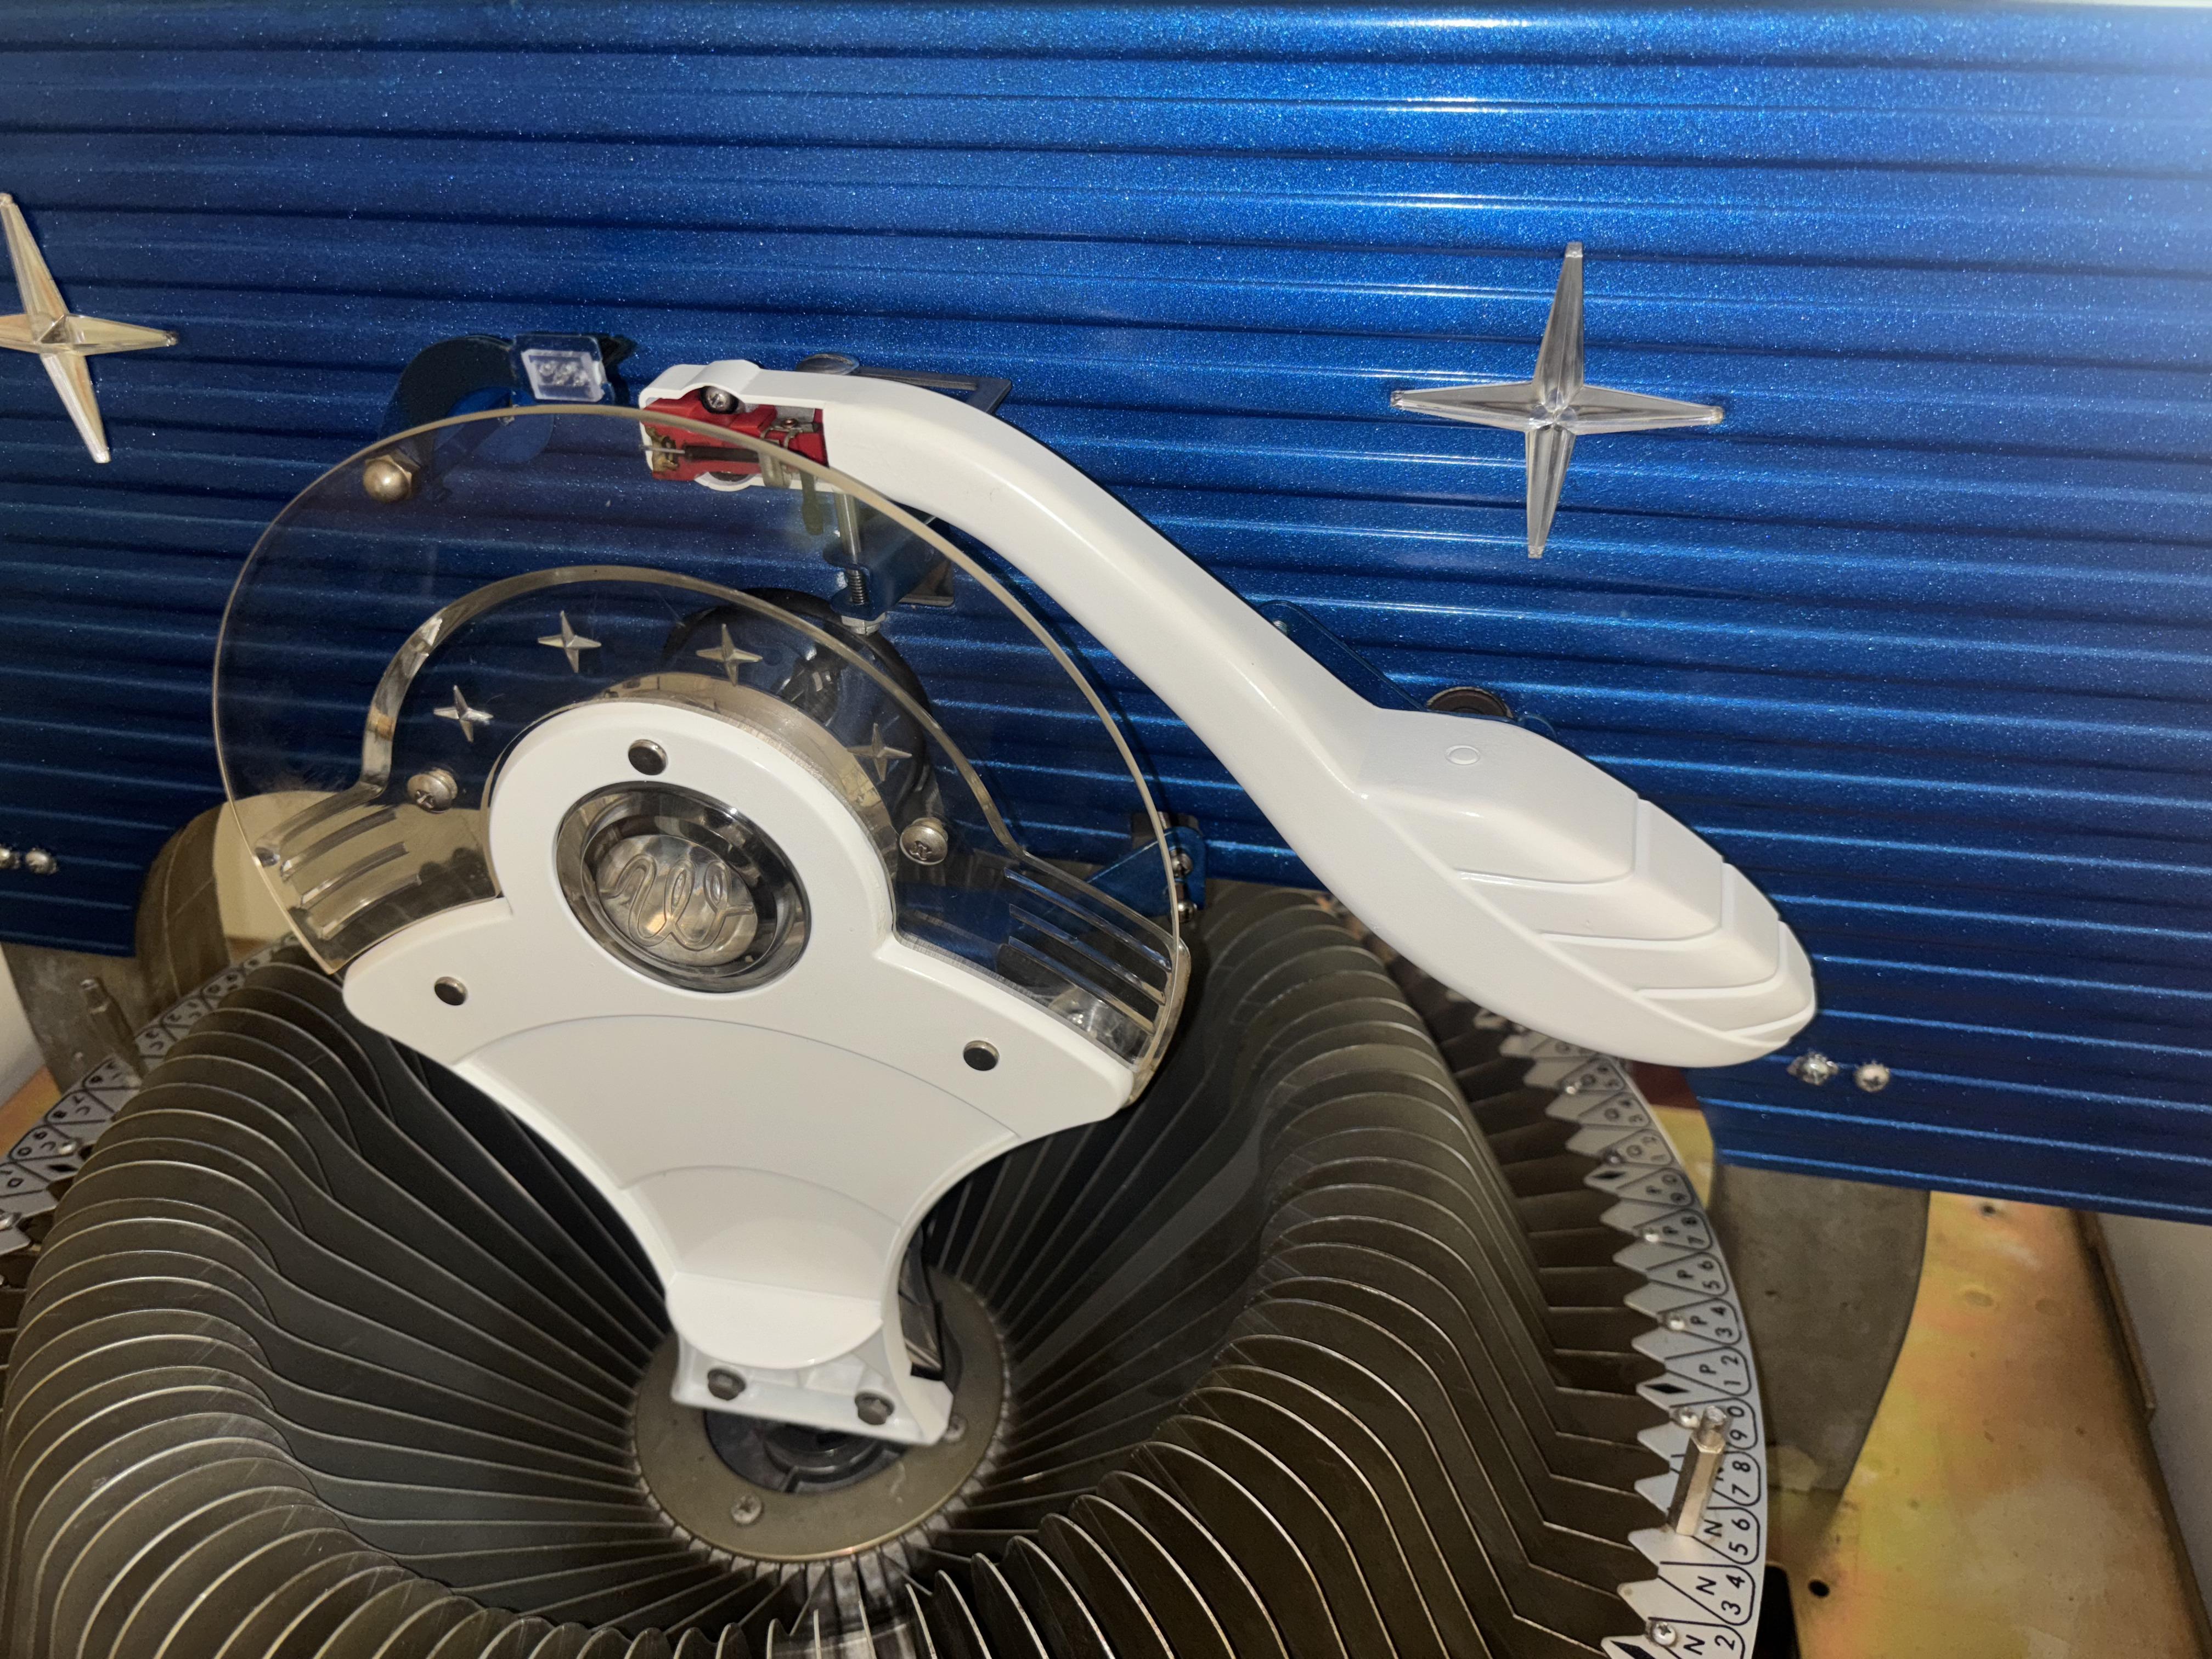
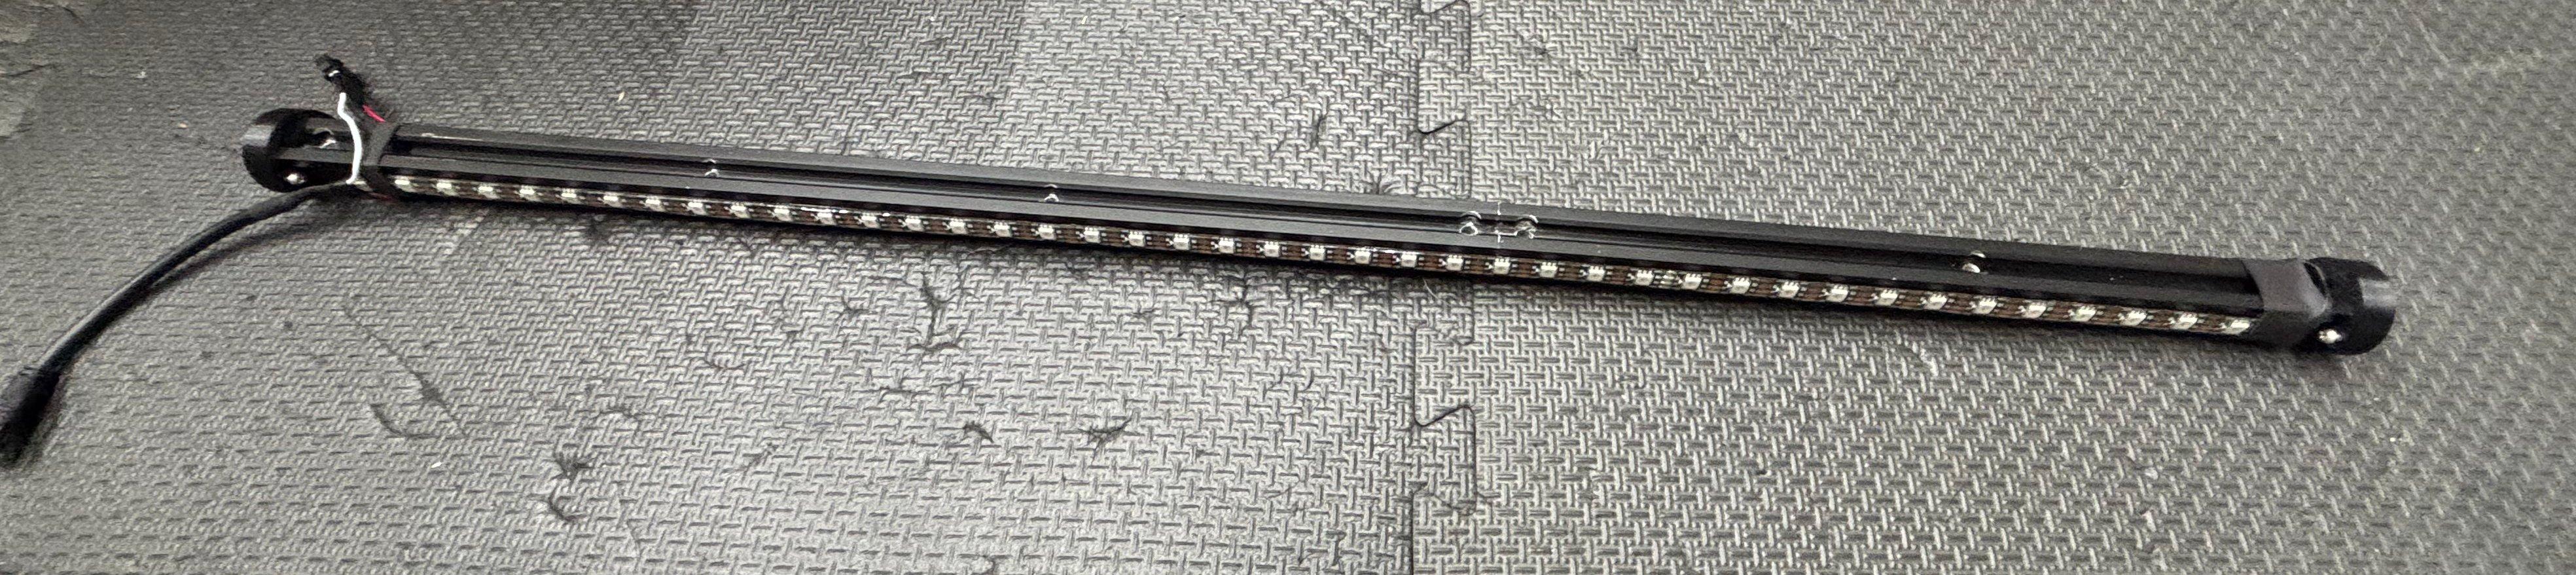
I made my own LED lights to replace the flourescent tubes, the idea here is that they would last longer, have brightness control, and I would not need to buy gel filters for the tinted glass under the selection mechanism.

I had to add a diffuser behind the crest, and top glass windows so that the led diodes were not so peaky.
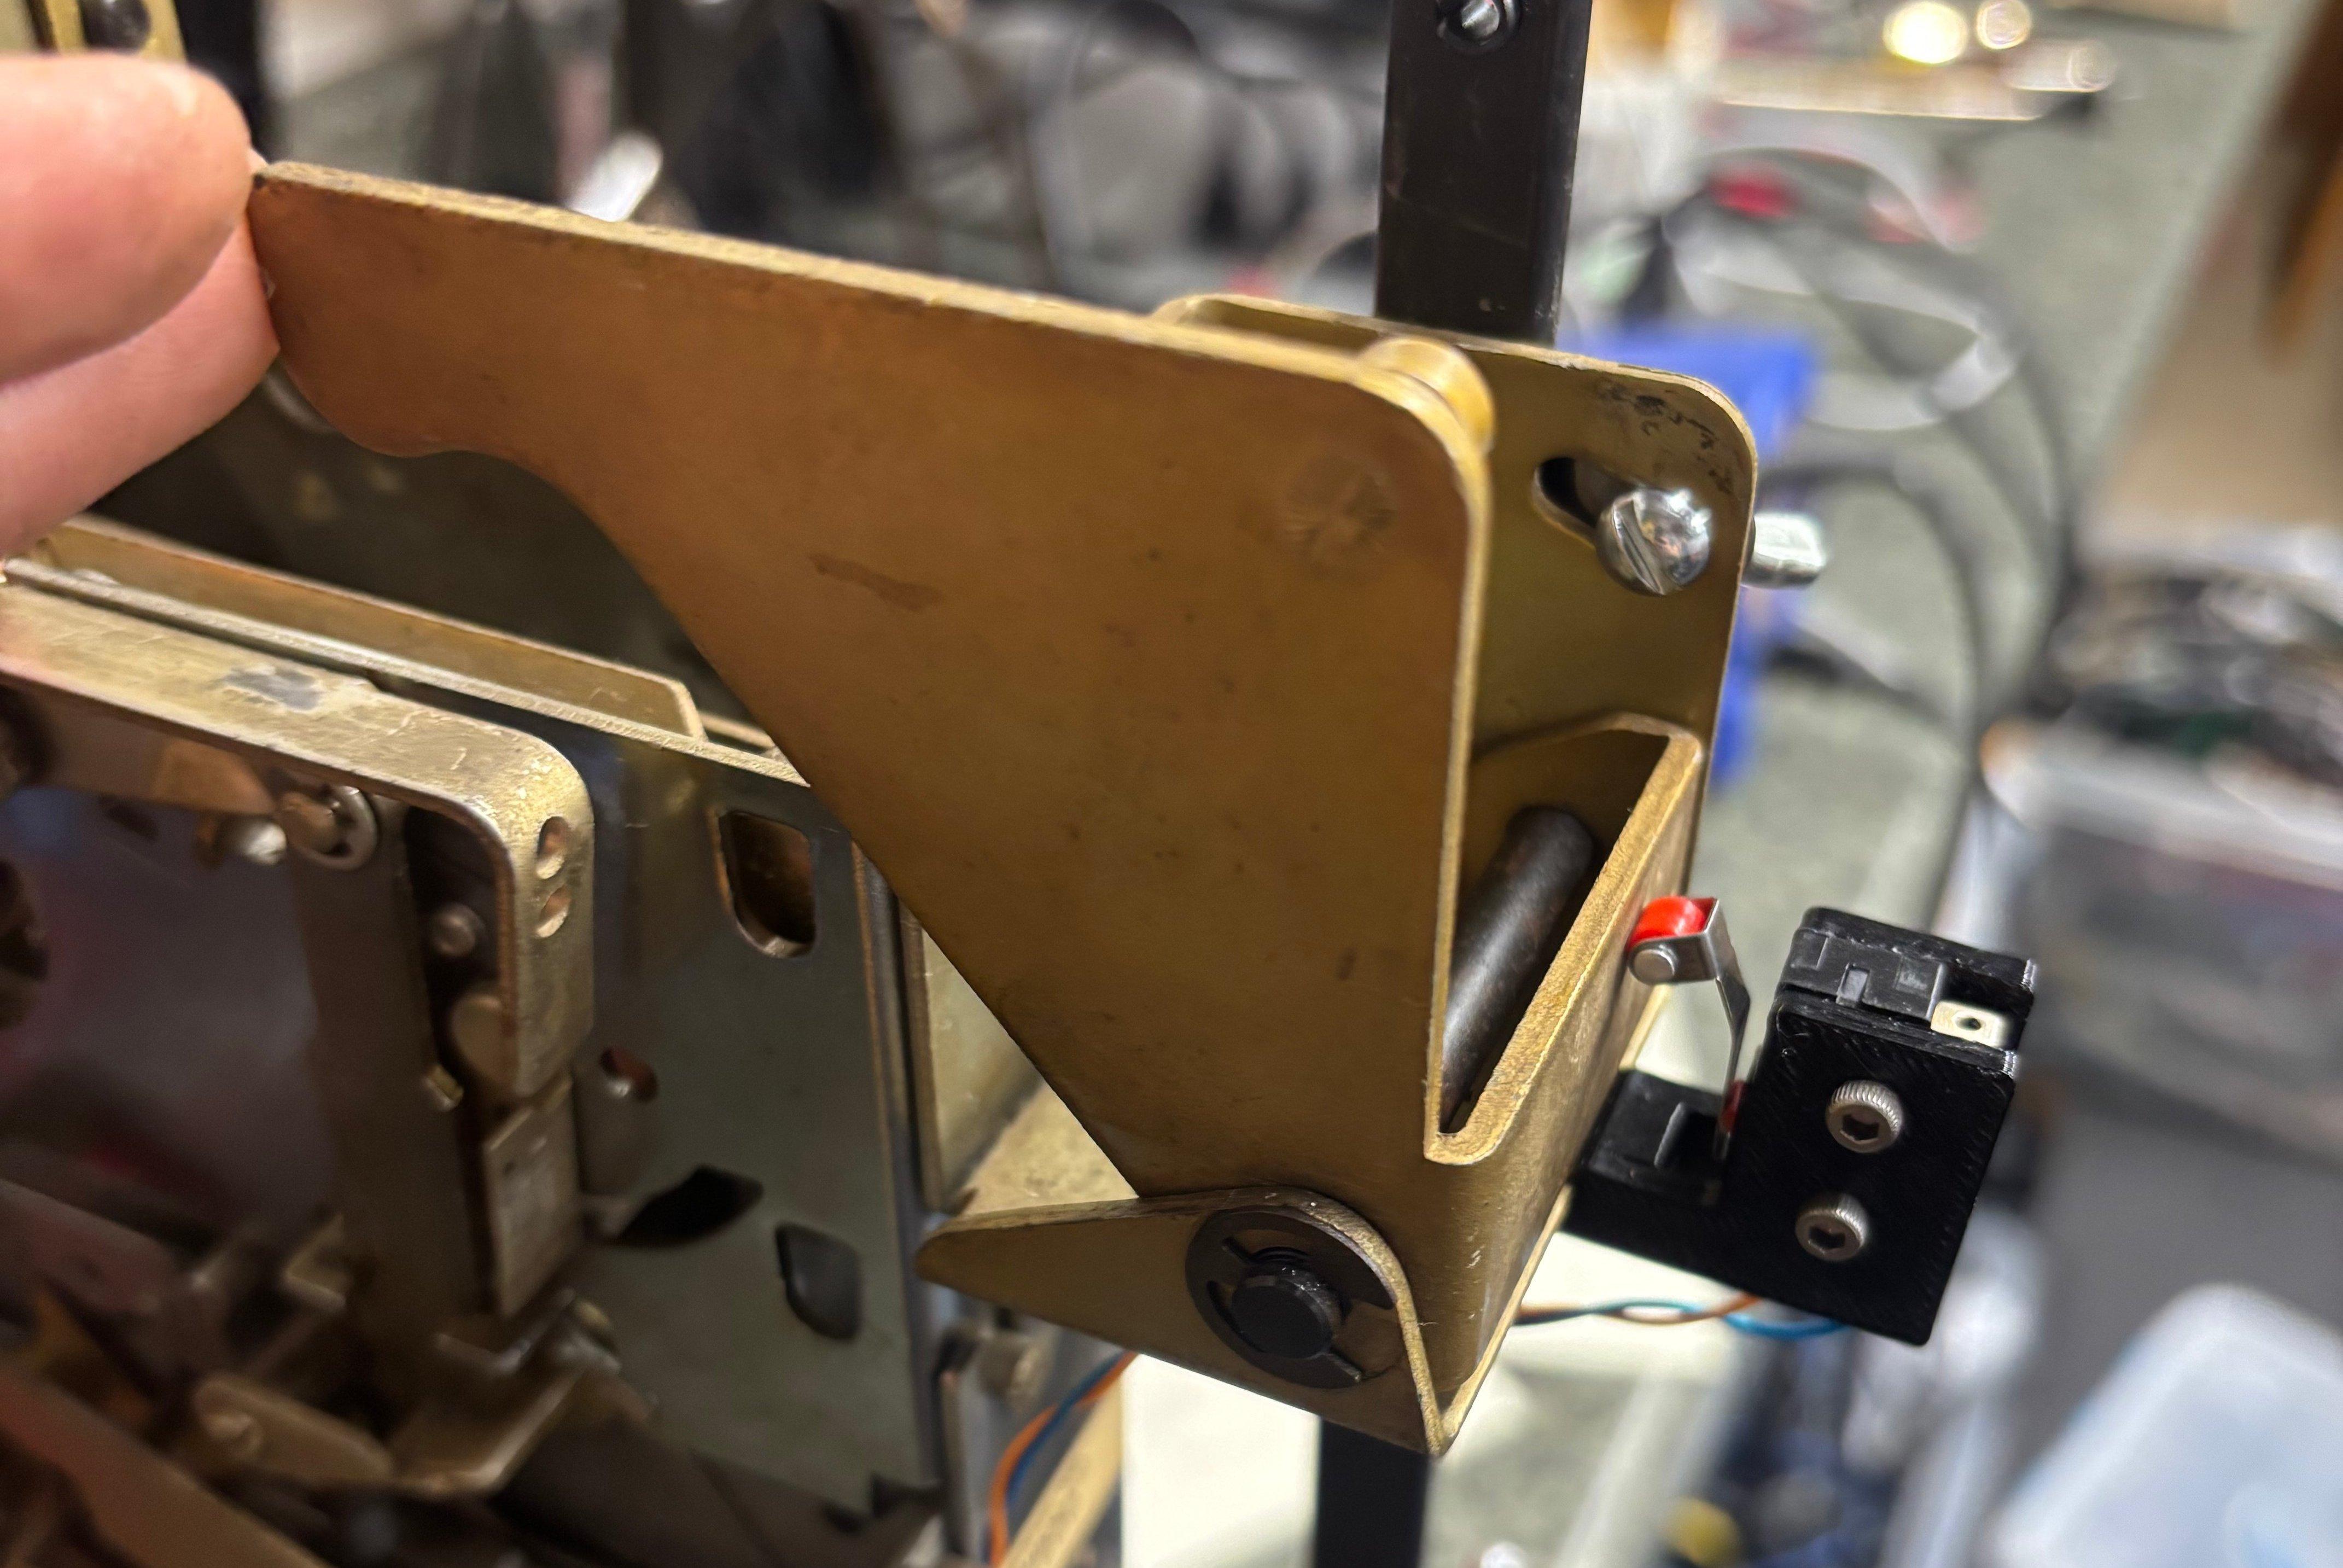
I wanted to keep the coin mechanism functional, however I also wanted some way to play a song if I had no coins (and didn't want to open the coin door). So I modified the coin mechanism with a limit switch bound to the coin return button. This way you can still push on the coin return button, or, pull on it to get one credit. I had to add a spring to balance out force pulling the return button forward.
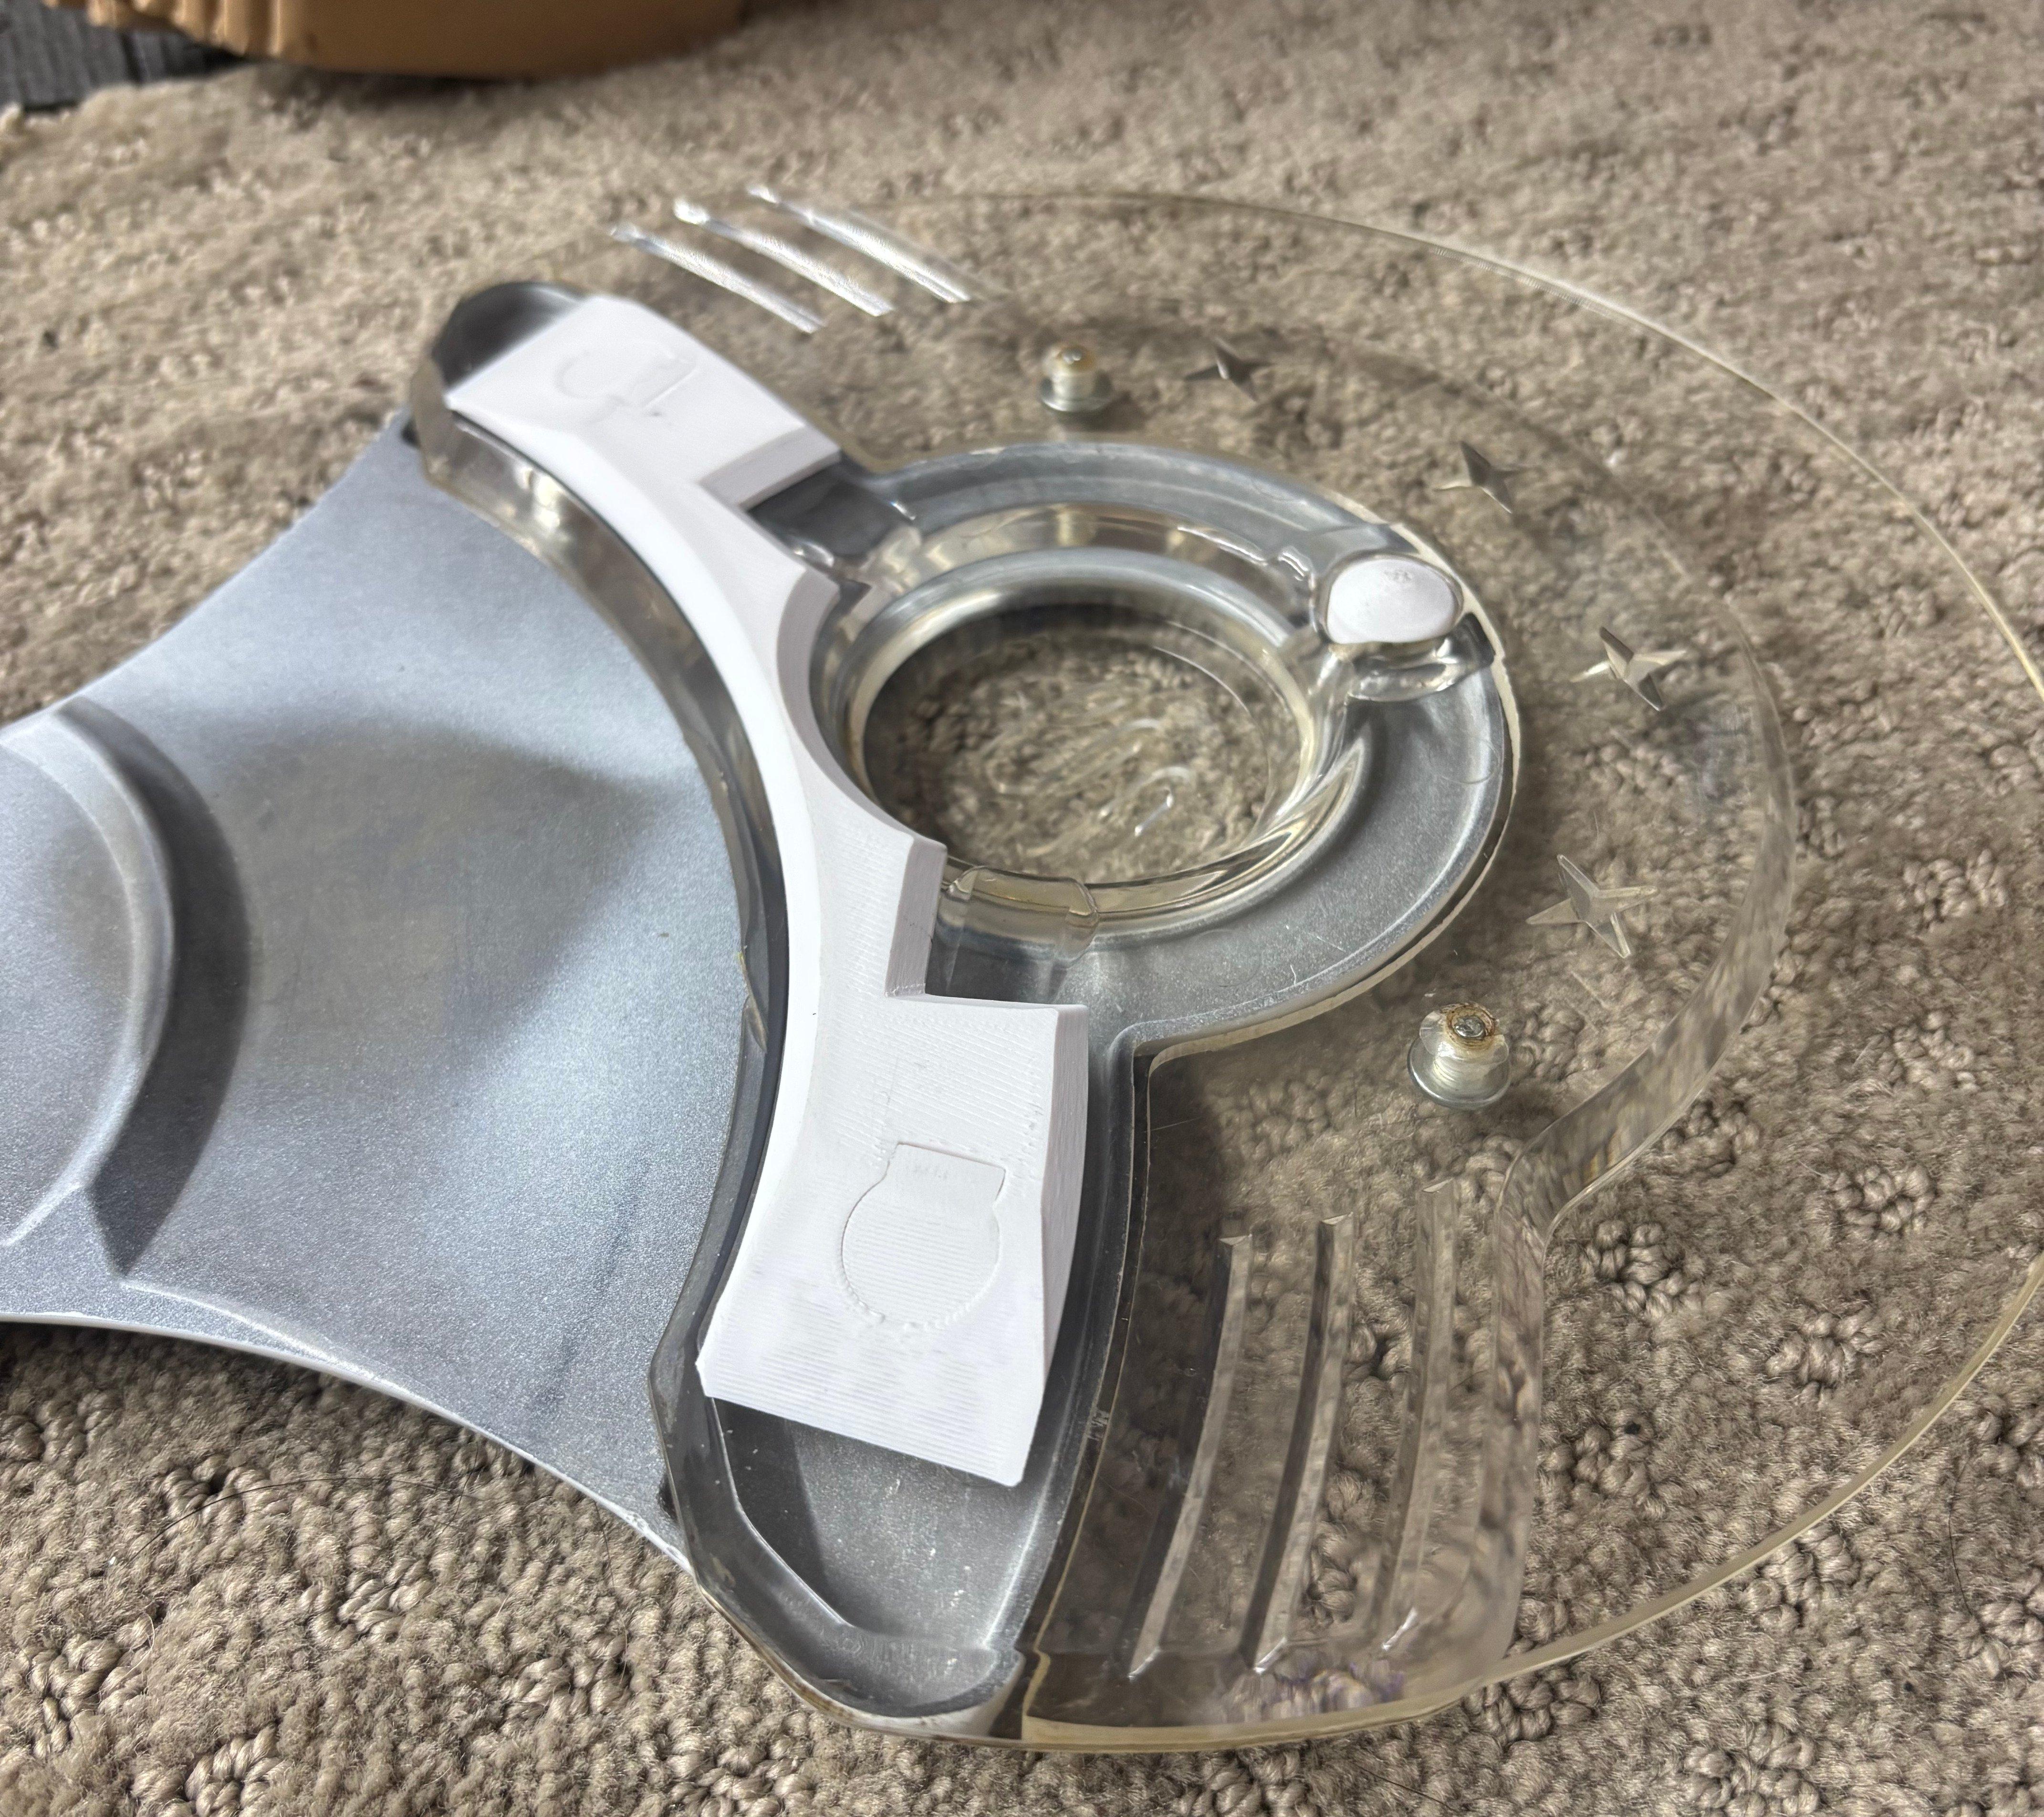
I also ran into intermittent loading failures: the playhead would extend and press the record into the white acrylic cover while trying to spin. There’s a “dead zone” where records positioned too far forward aren’t grabbed and are instead ground into the acrylic.
To fix this, I 3D-printed bumpers that set the records back ~4 mm. I printed them at 0.1 mm layer height and sanded the faces so the records slide smoothly. The large bumper had to be split into three pieces so the edges would sit flush. The only downside is that I had to replace the original smooth-head screws on the white zinc casting, so that detail no longer matches the factory look.
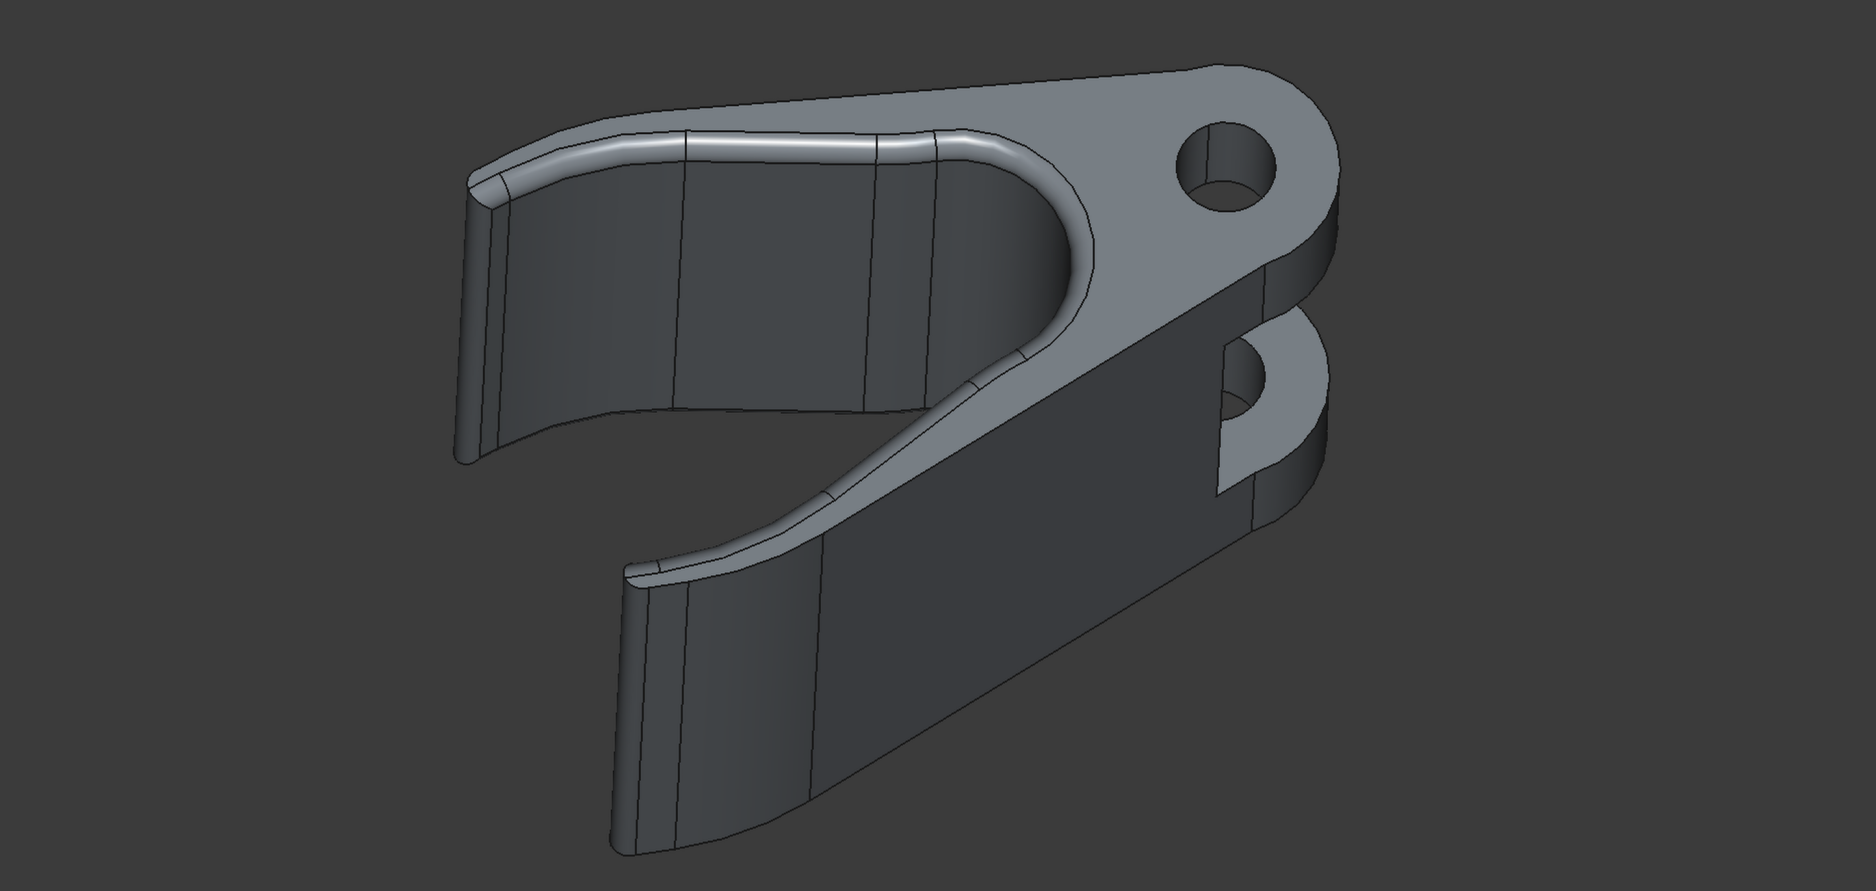
I also changed the record lifting arm hands, one of the springs was broken on the original. Since I didn't want to pay $30 for a replacement set I printed new ones in tpu which flex instead of using a spring.
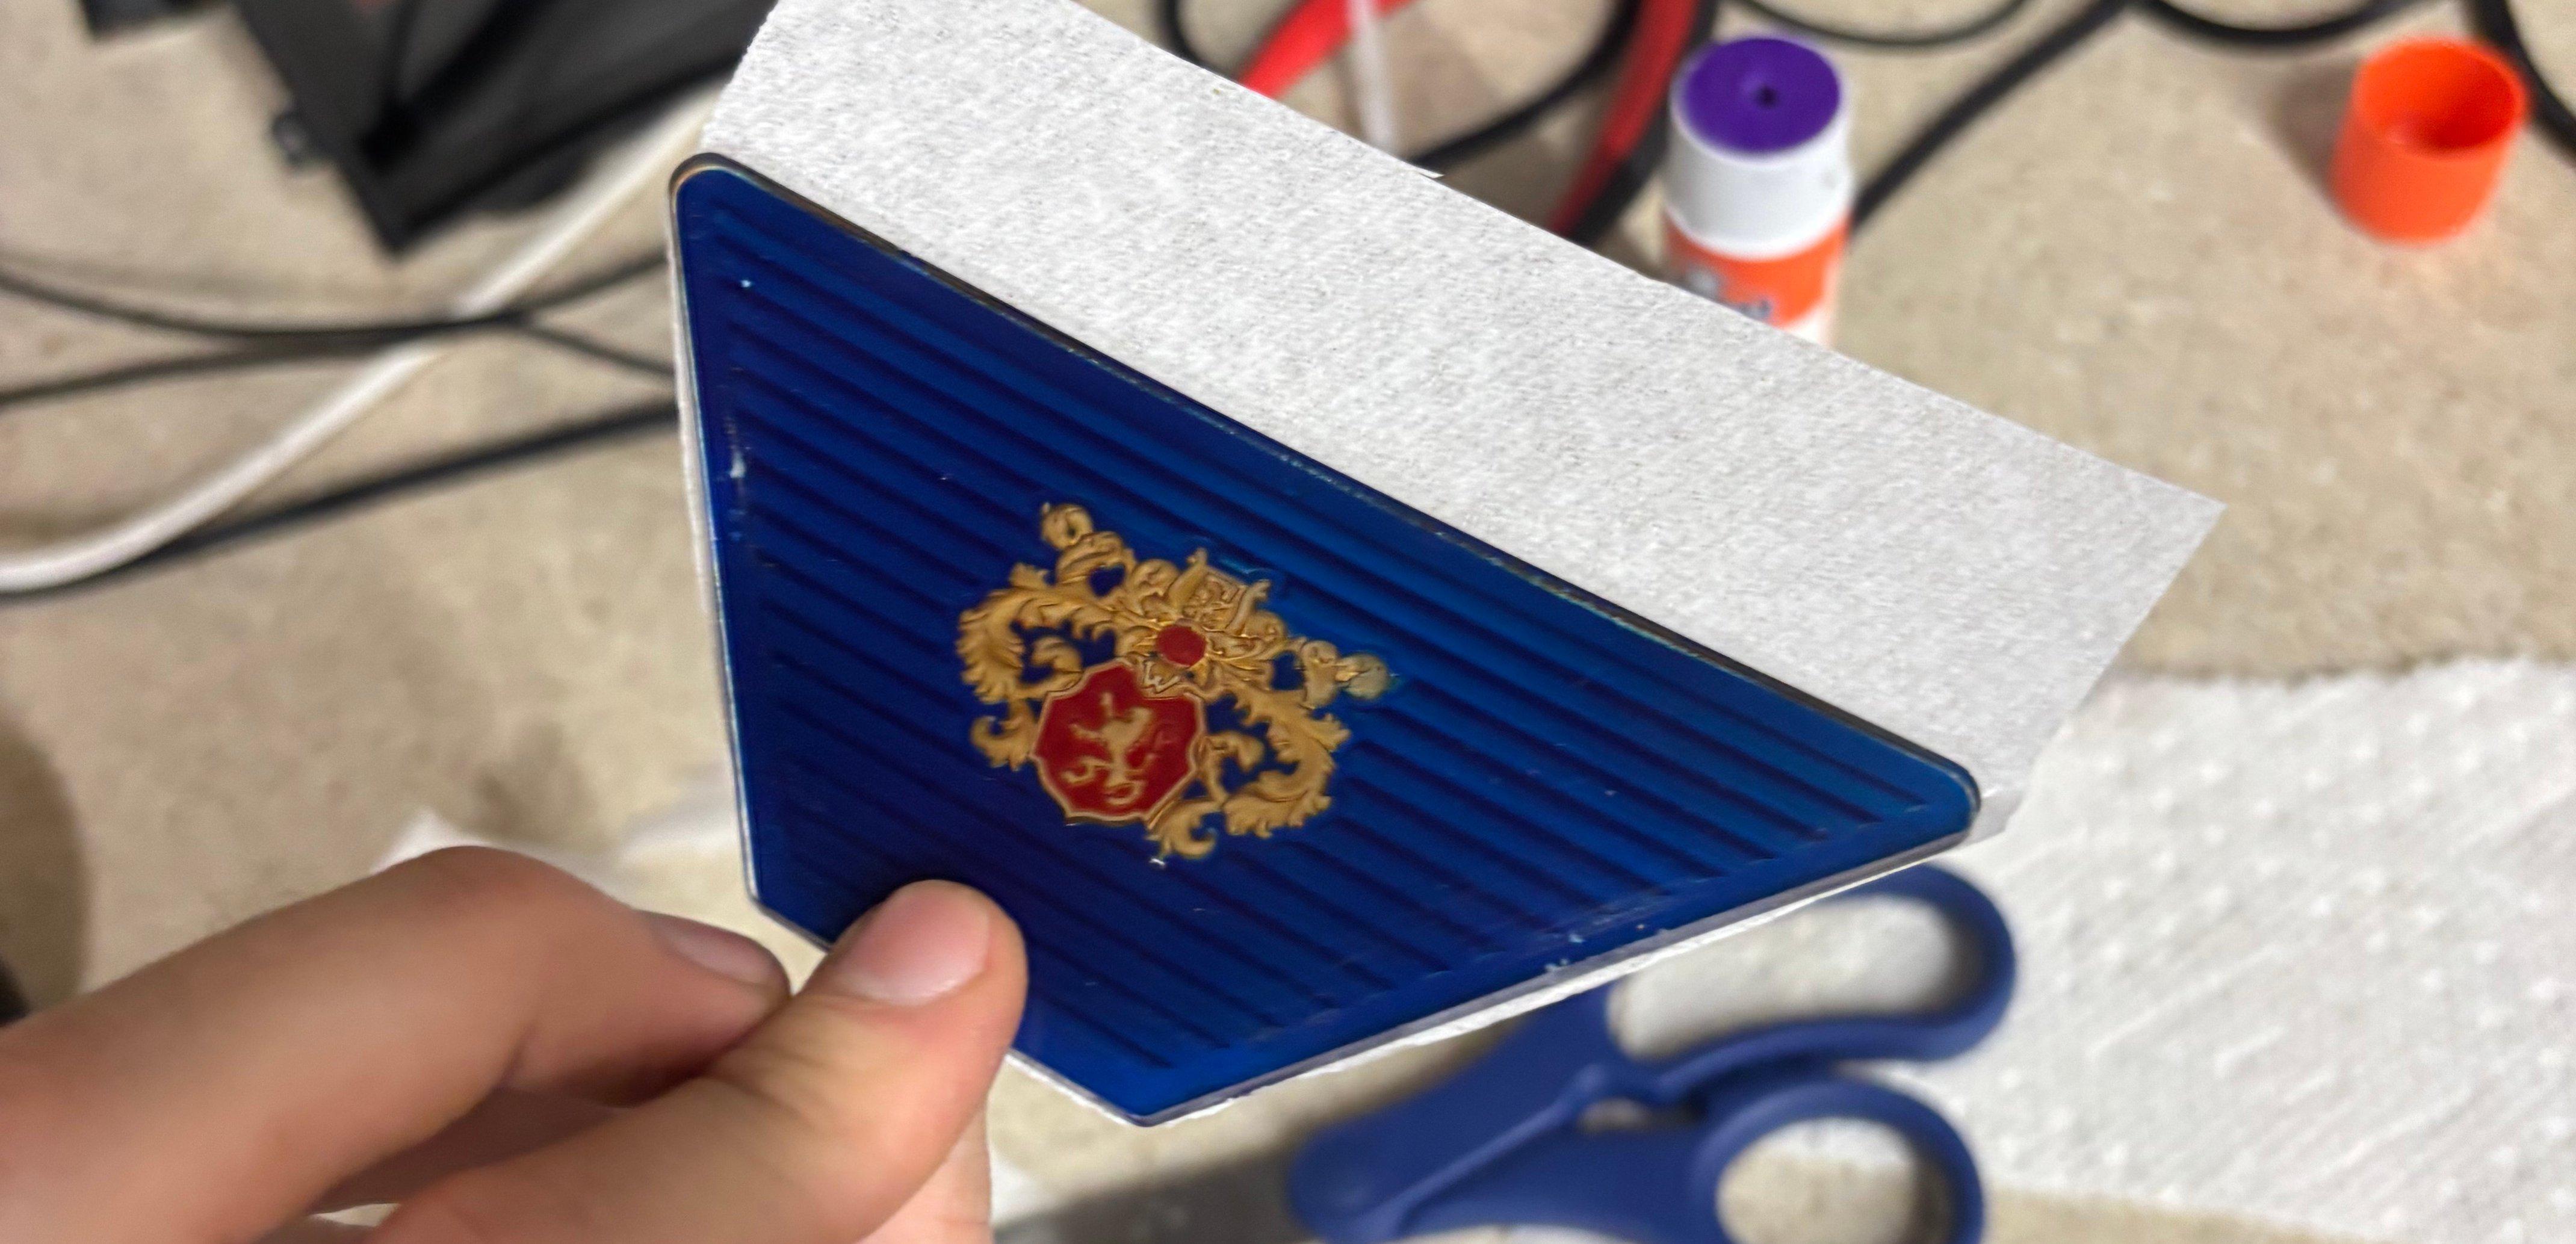
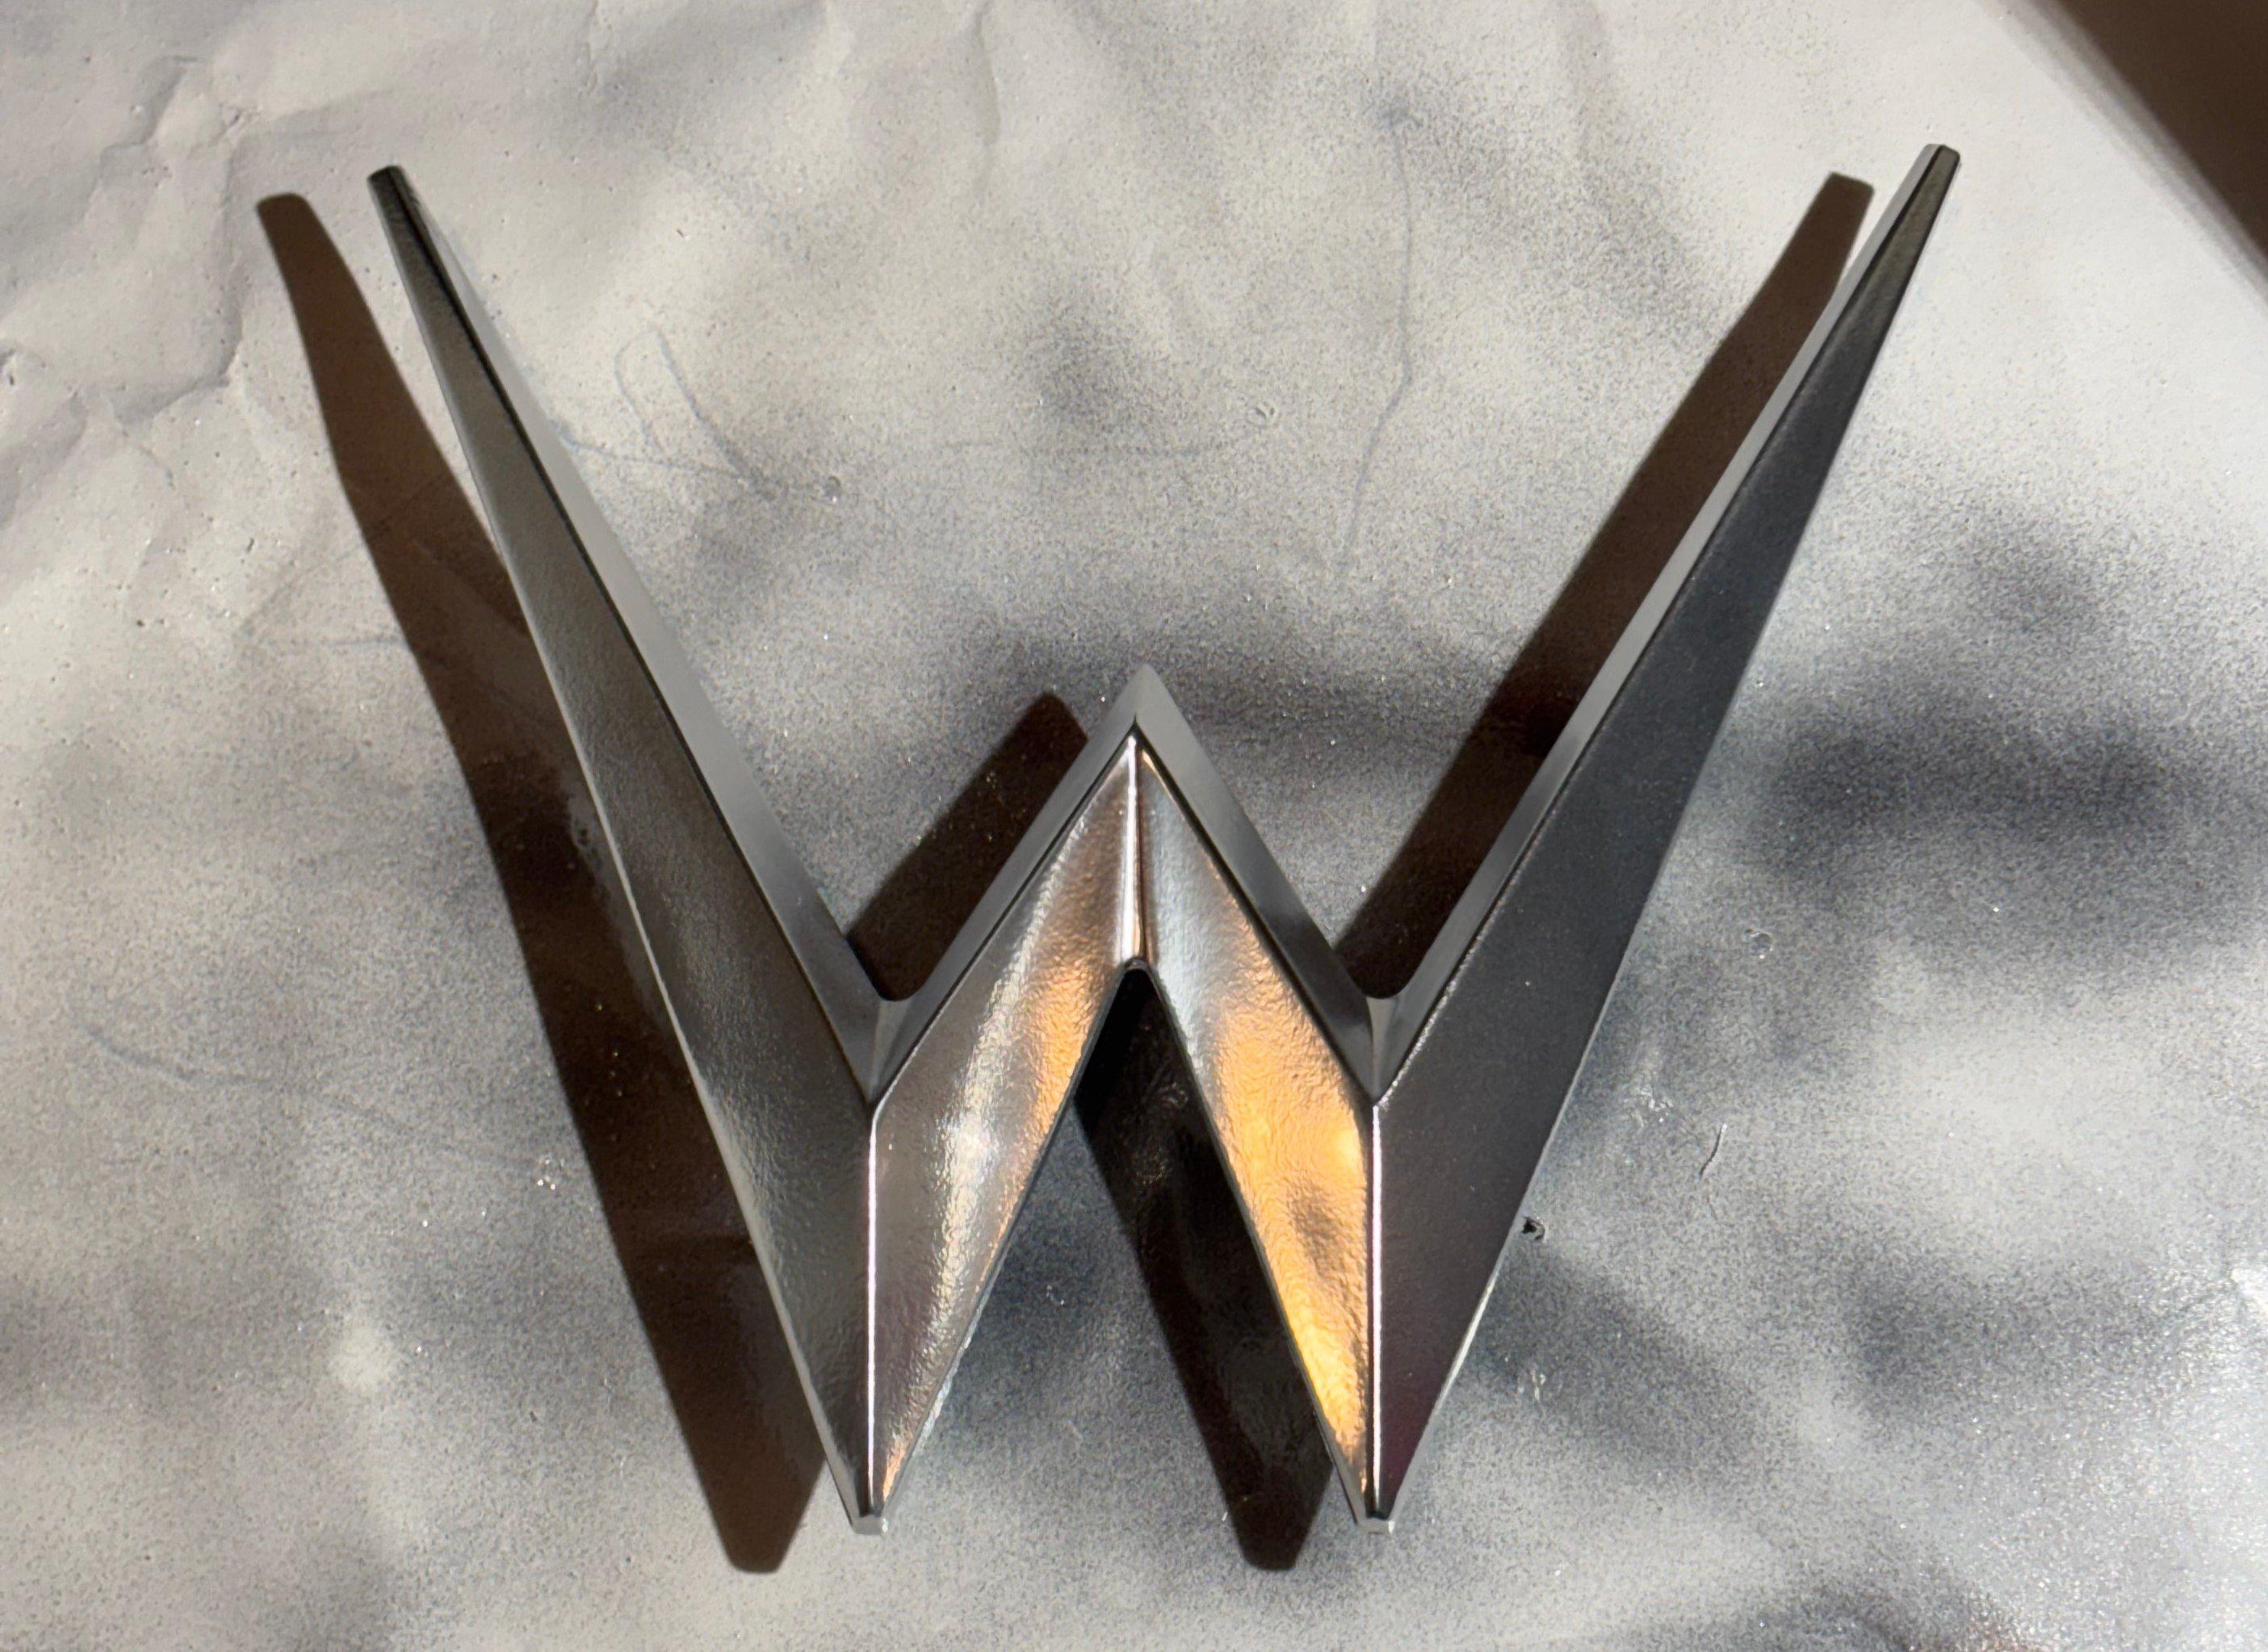
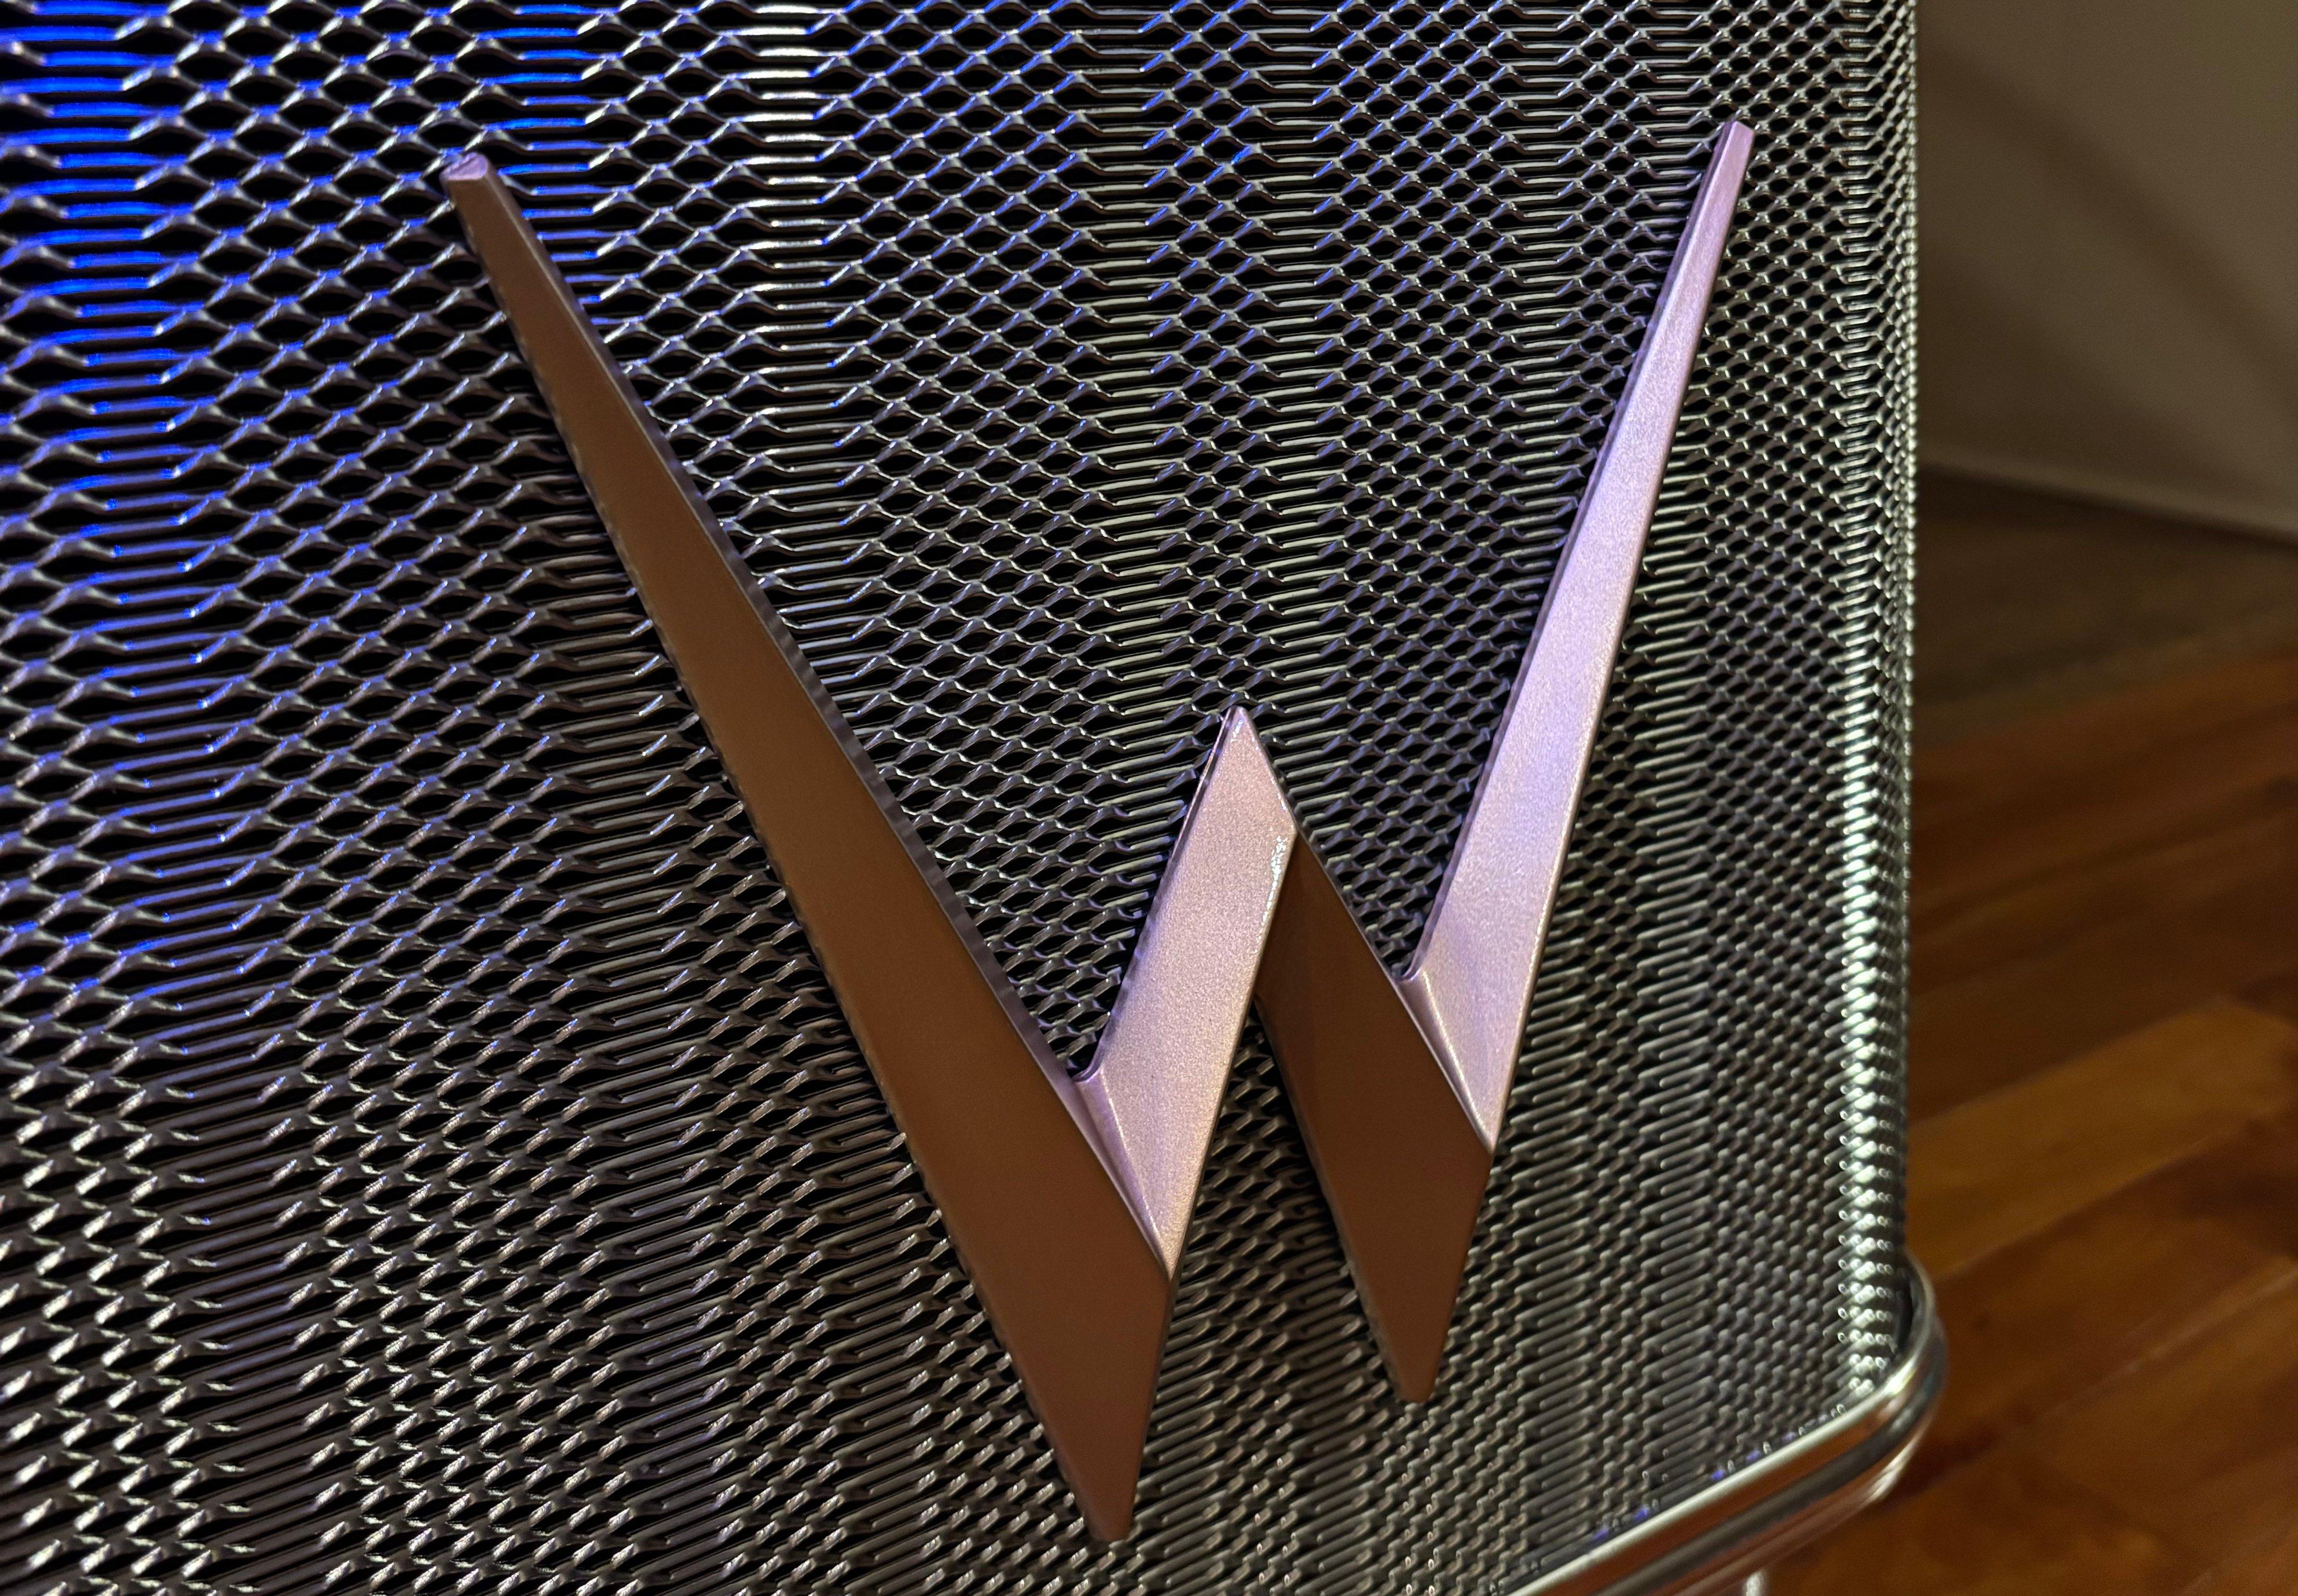
The “W” logo casting was the toughest part to restore. The original is a zinc-alloy casting with copper electroplate, polished nickel, and a gold lacquer tint. I called every local electroplating/metal-finishing shop I could find, but none would take a one-off or had the right capabilities (at-home finishing seemed unreliable). I considered a vinyl wrap, but the geometry is too tough (and chrome vinyl goes opaque when overstretched). I also tried a grey-gloss base with Alclad II 107 chrome, but never achieved the mirror finish I wanted. In the end I settled on gold spray paint with several gloss clear coats. It’s duller than the original, but it’s good enough for now; if I revisit it, I’ll do a proper gold or brass electroplate.
 heavy Alclad 107 Chrome on light grey base
 Gold Spray Paint with several gloss coats
The last step was to load the records. To digitize the labels I took pictures of 12 in a grid, then flipped them in place and took another picture - these two pictures were sent into ChatGPT to grab the information and output a csv. Then I used a title strip maker and installed the strips.
This is where I concluded the cosmetic overhaul. I left out a lot in this post such as mechanism tuning, other random cleaning, and probably a lot of steps that I forgot.
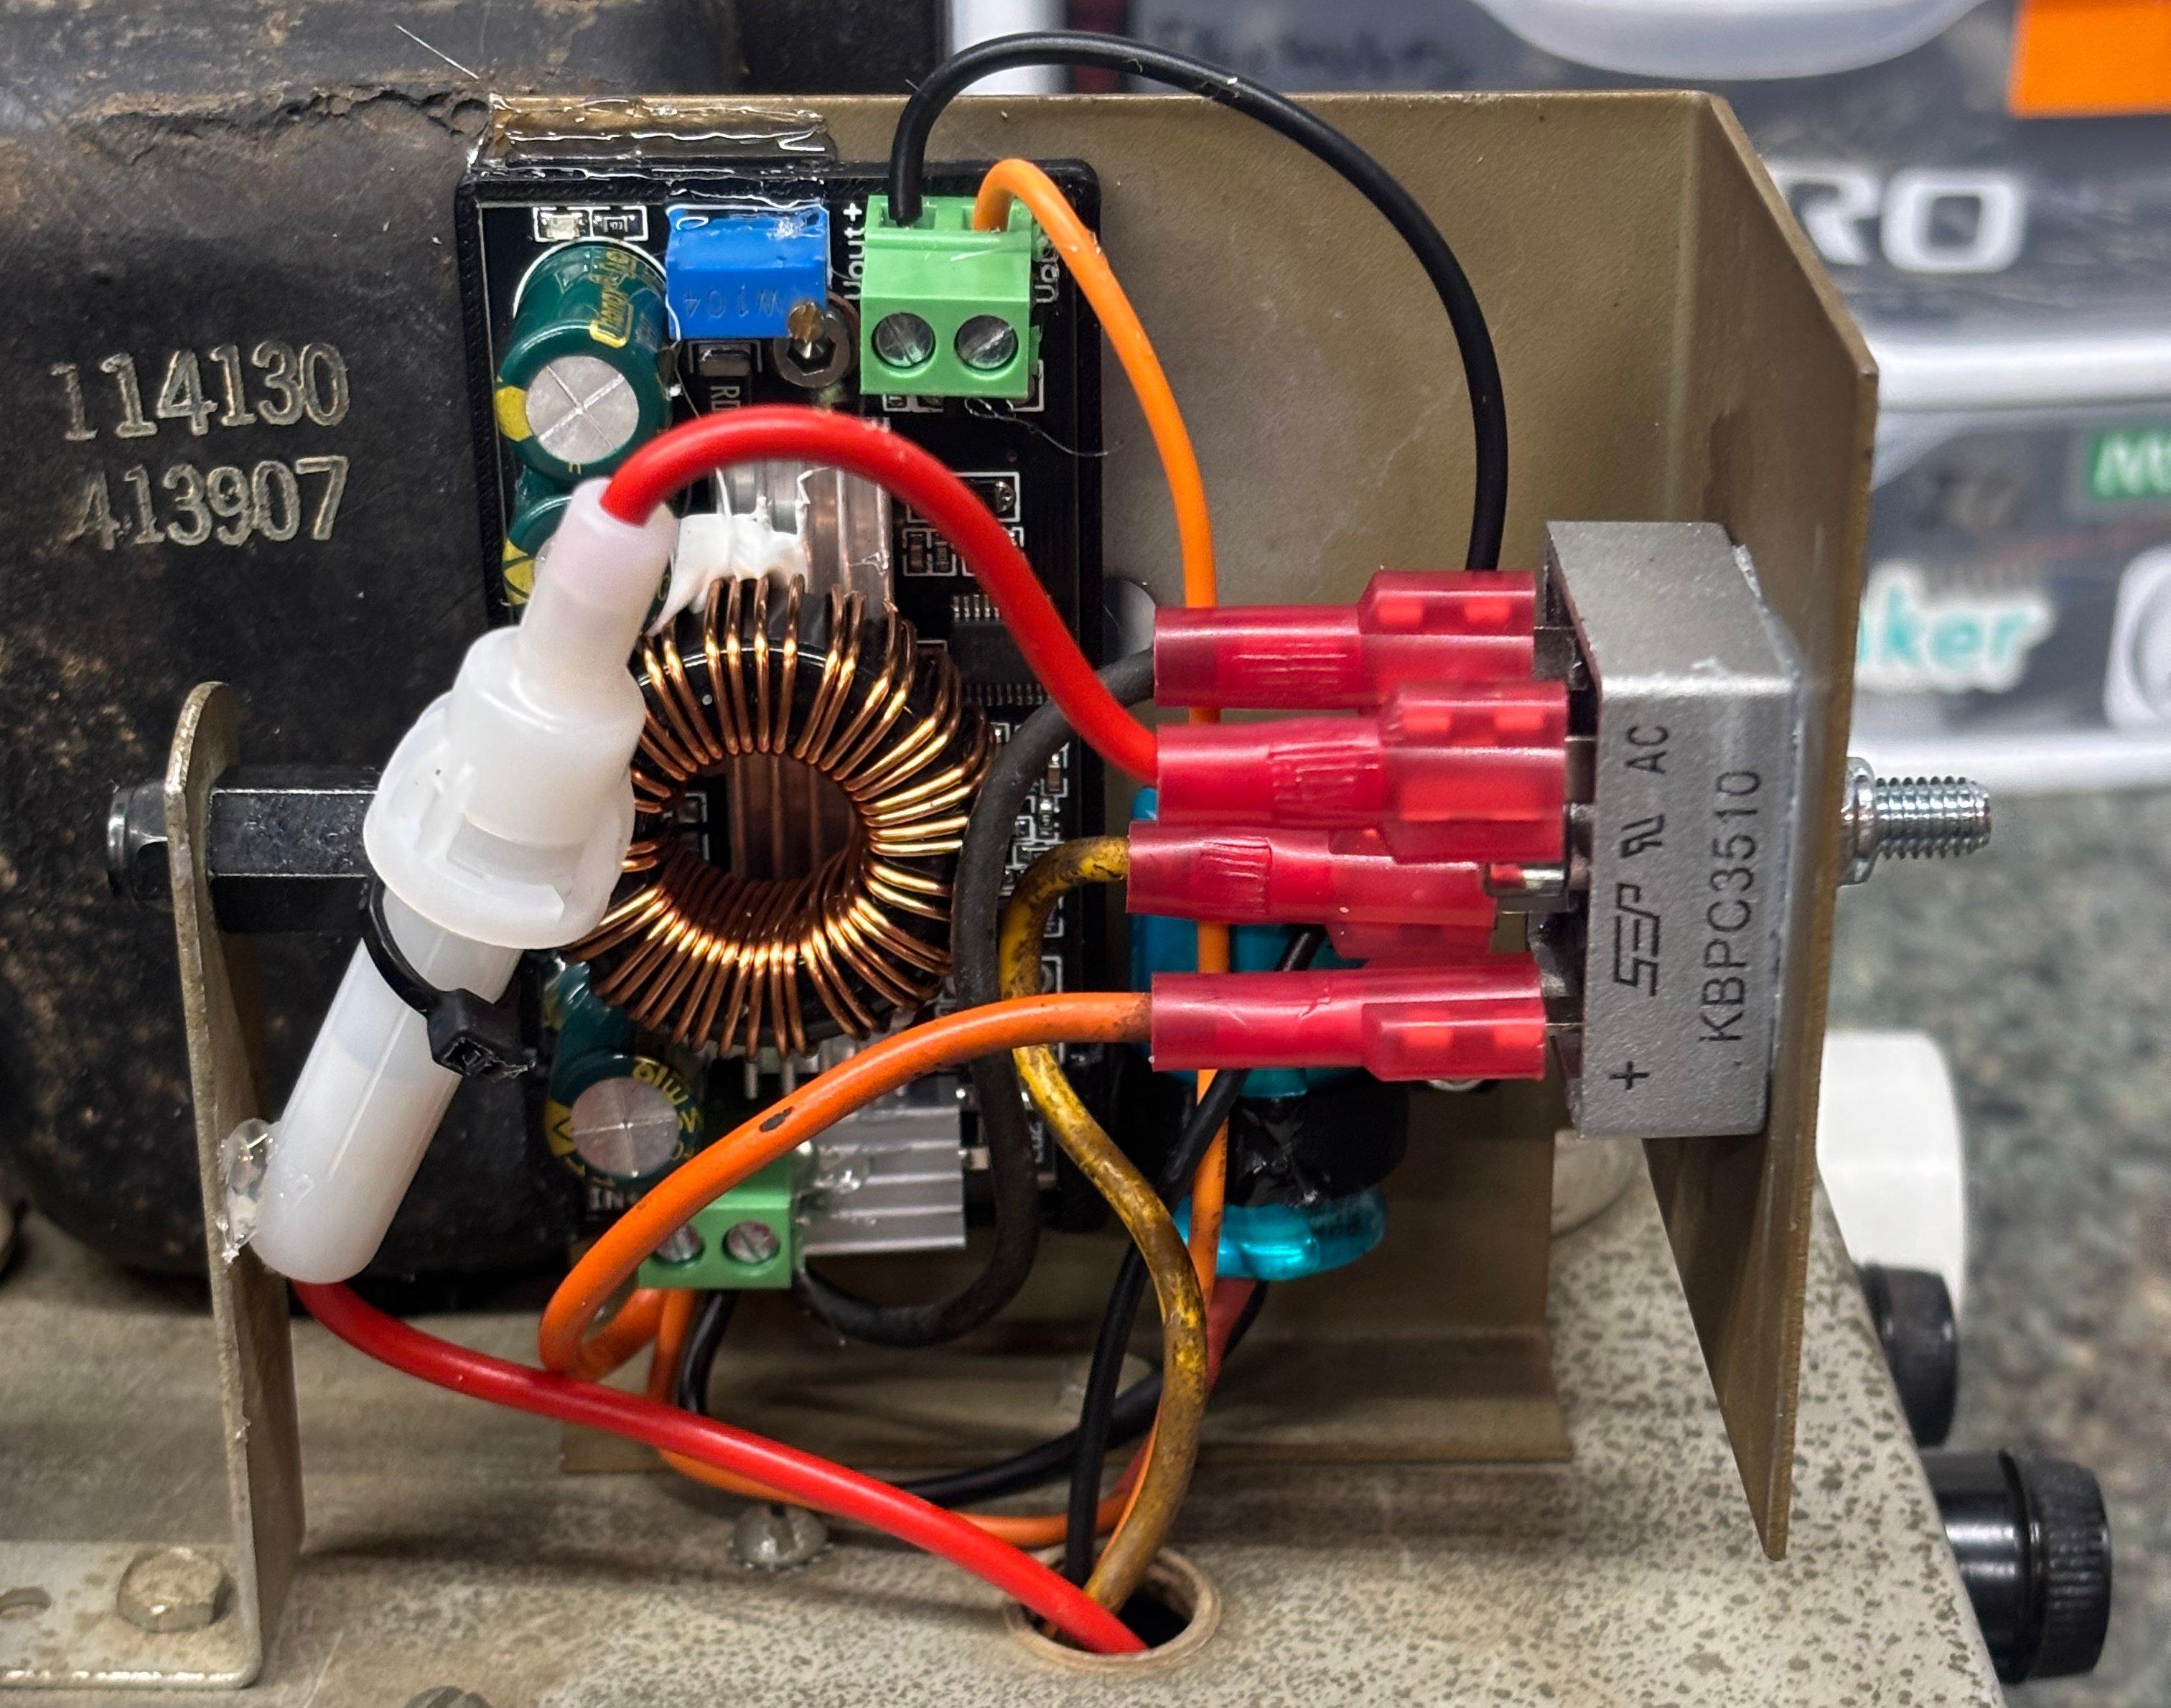
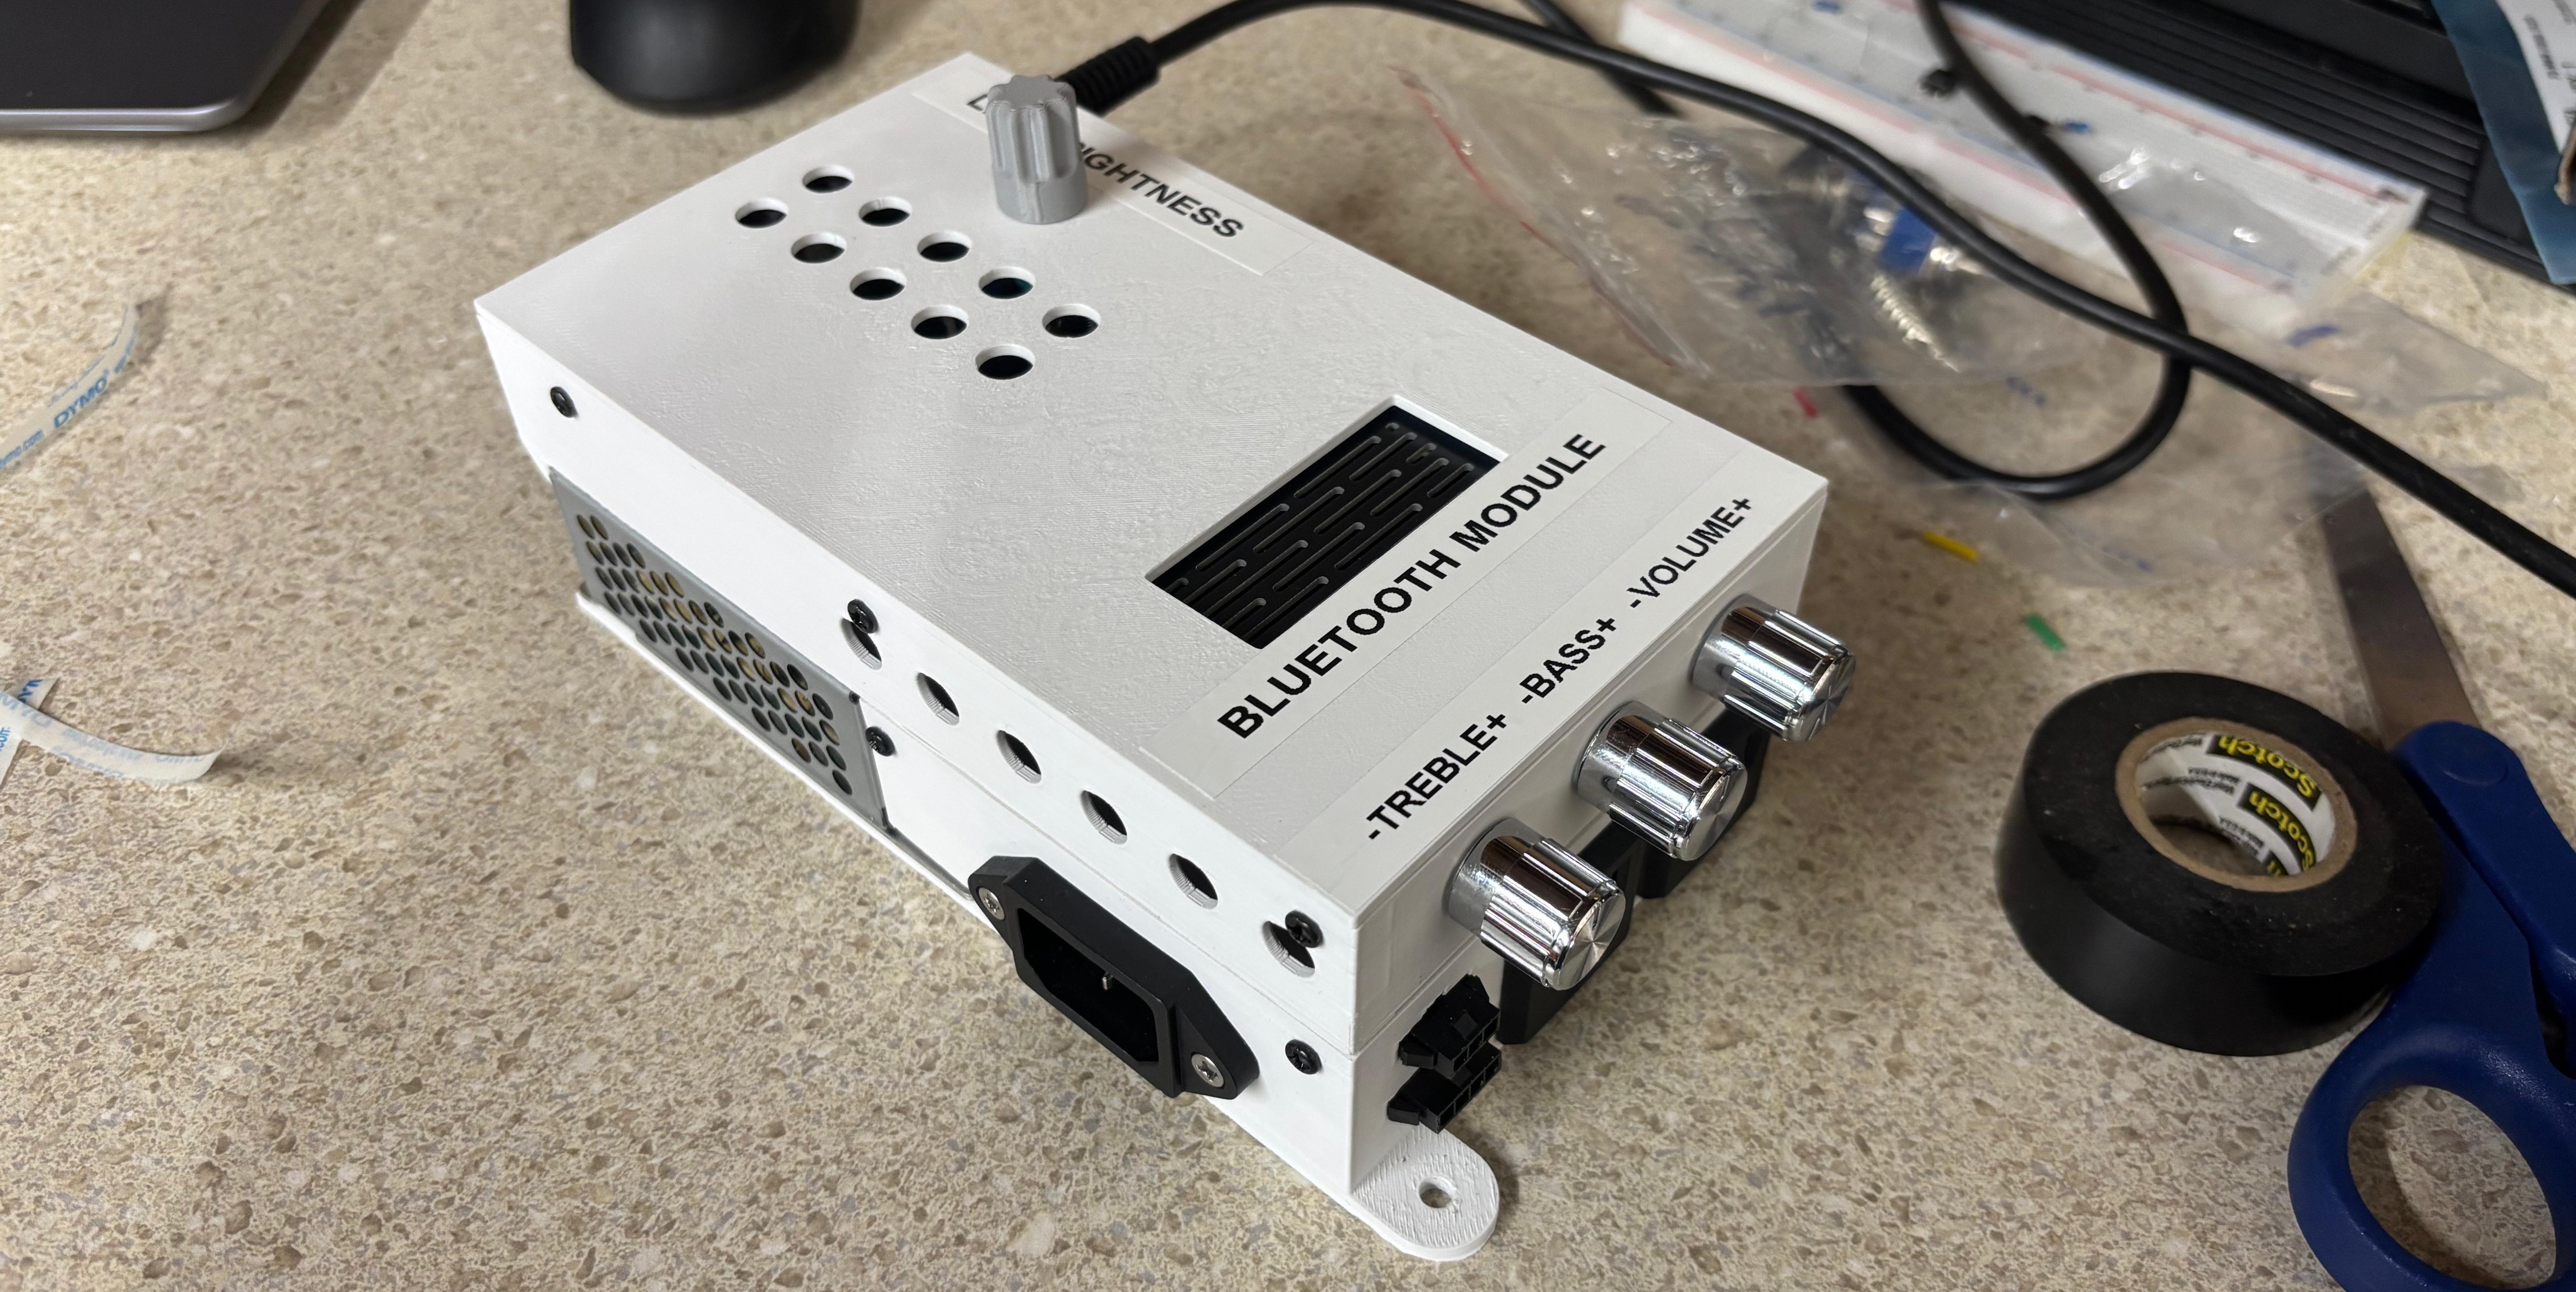
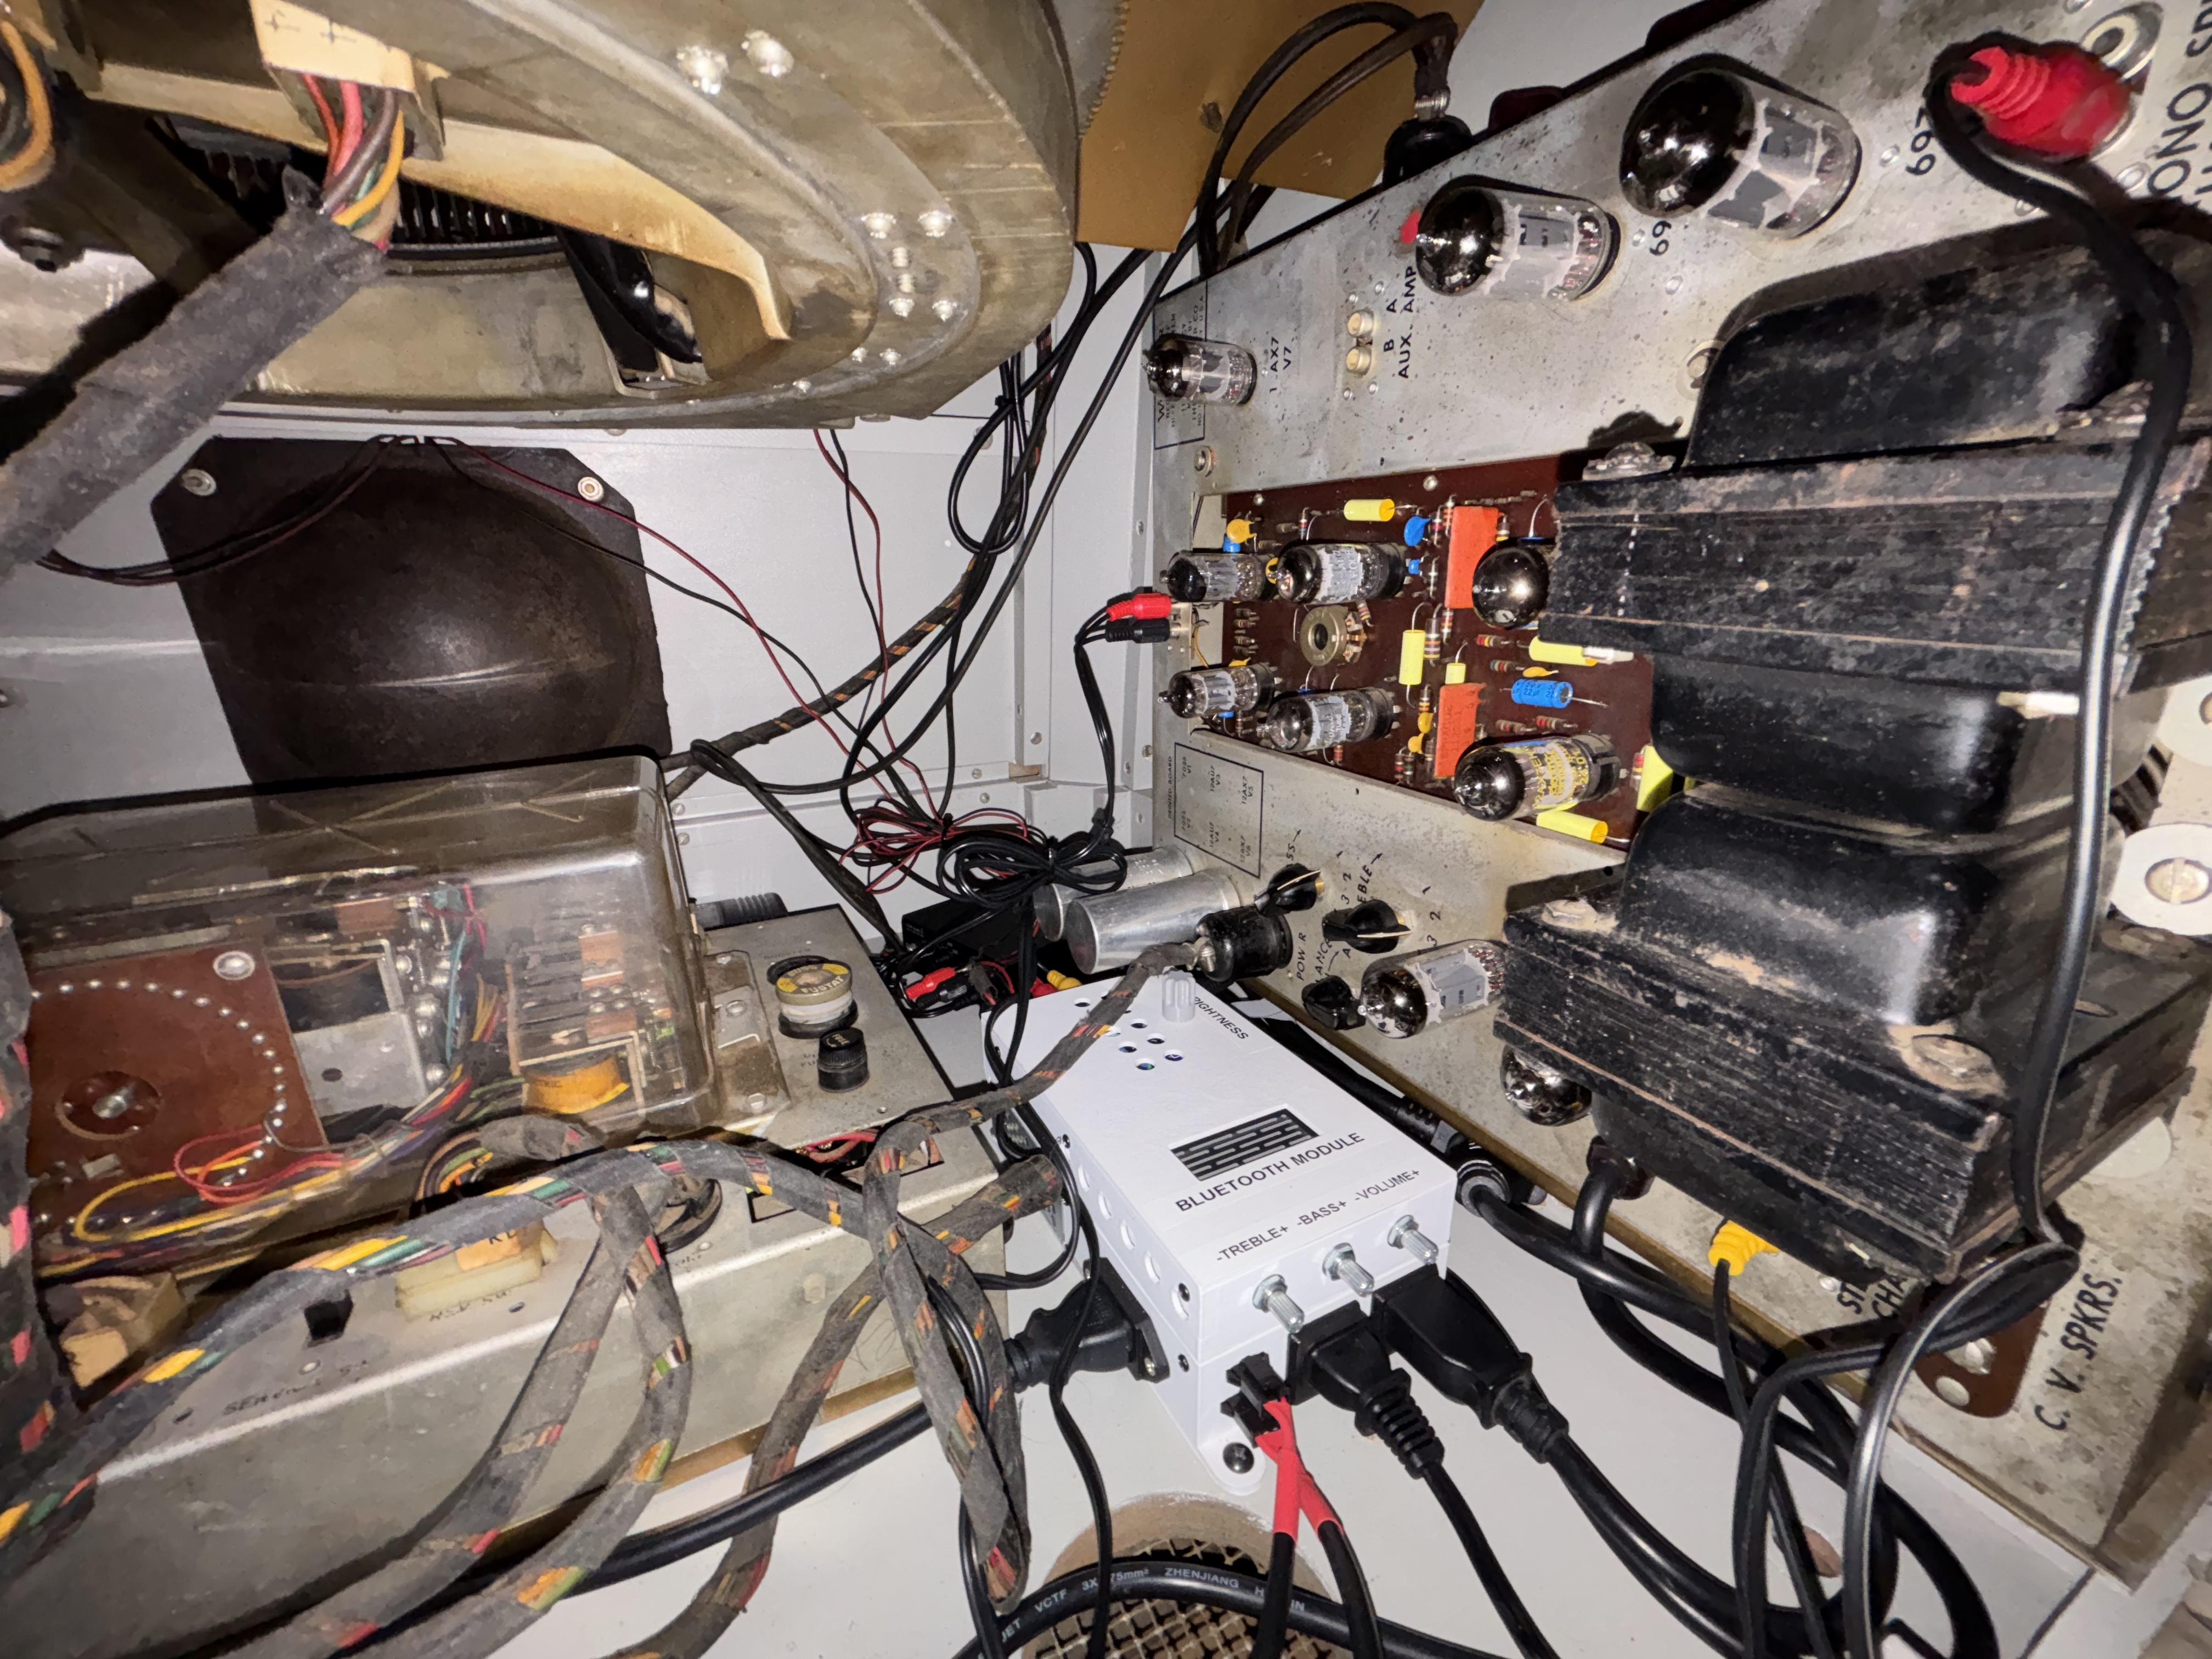
Then I decided that I wanted to add a Bluetooth module since it is very annoying to switch out records and I can then extend the life of the amp this way. I went with a Wuzhi ZK-1002Q bluetooth amplifier and a series of relays that allows me to switch between powering the jukebox or Bluetooth Amplifier. I also switch the audio output since I didn't want to risk backfeeding the jukebox amplifier. The diagram below does not contain a relay that is used for bridging grounds (needed for the bluetooth amp).
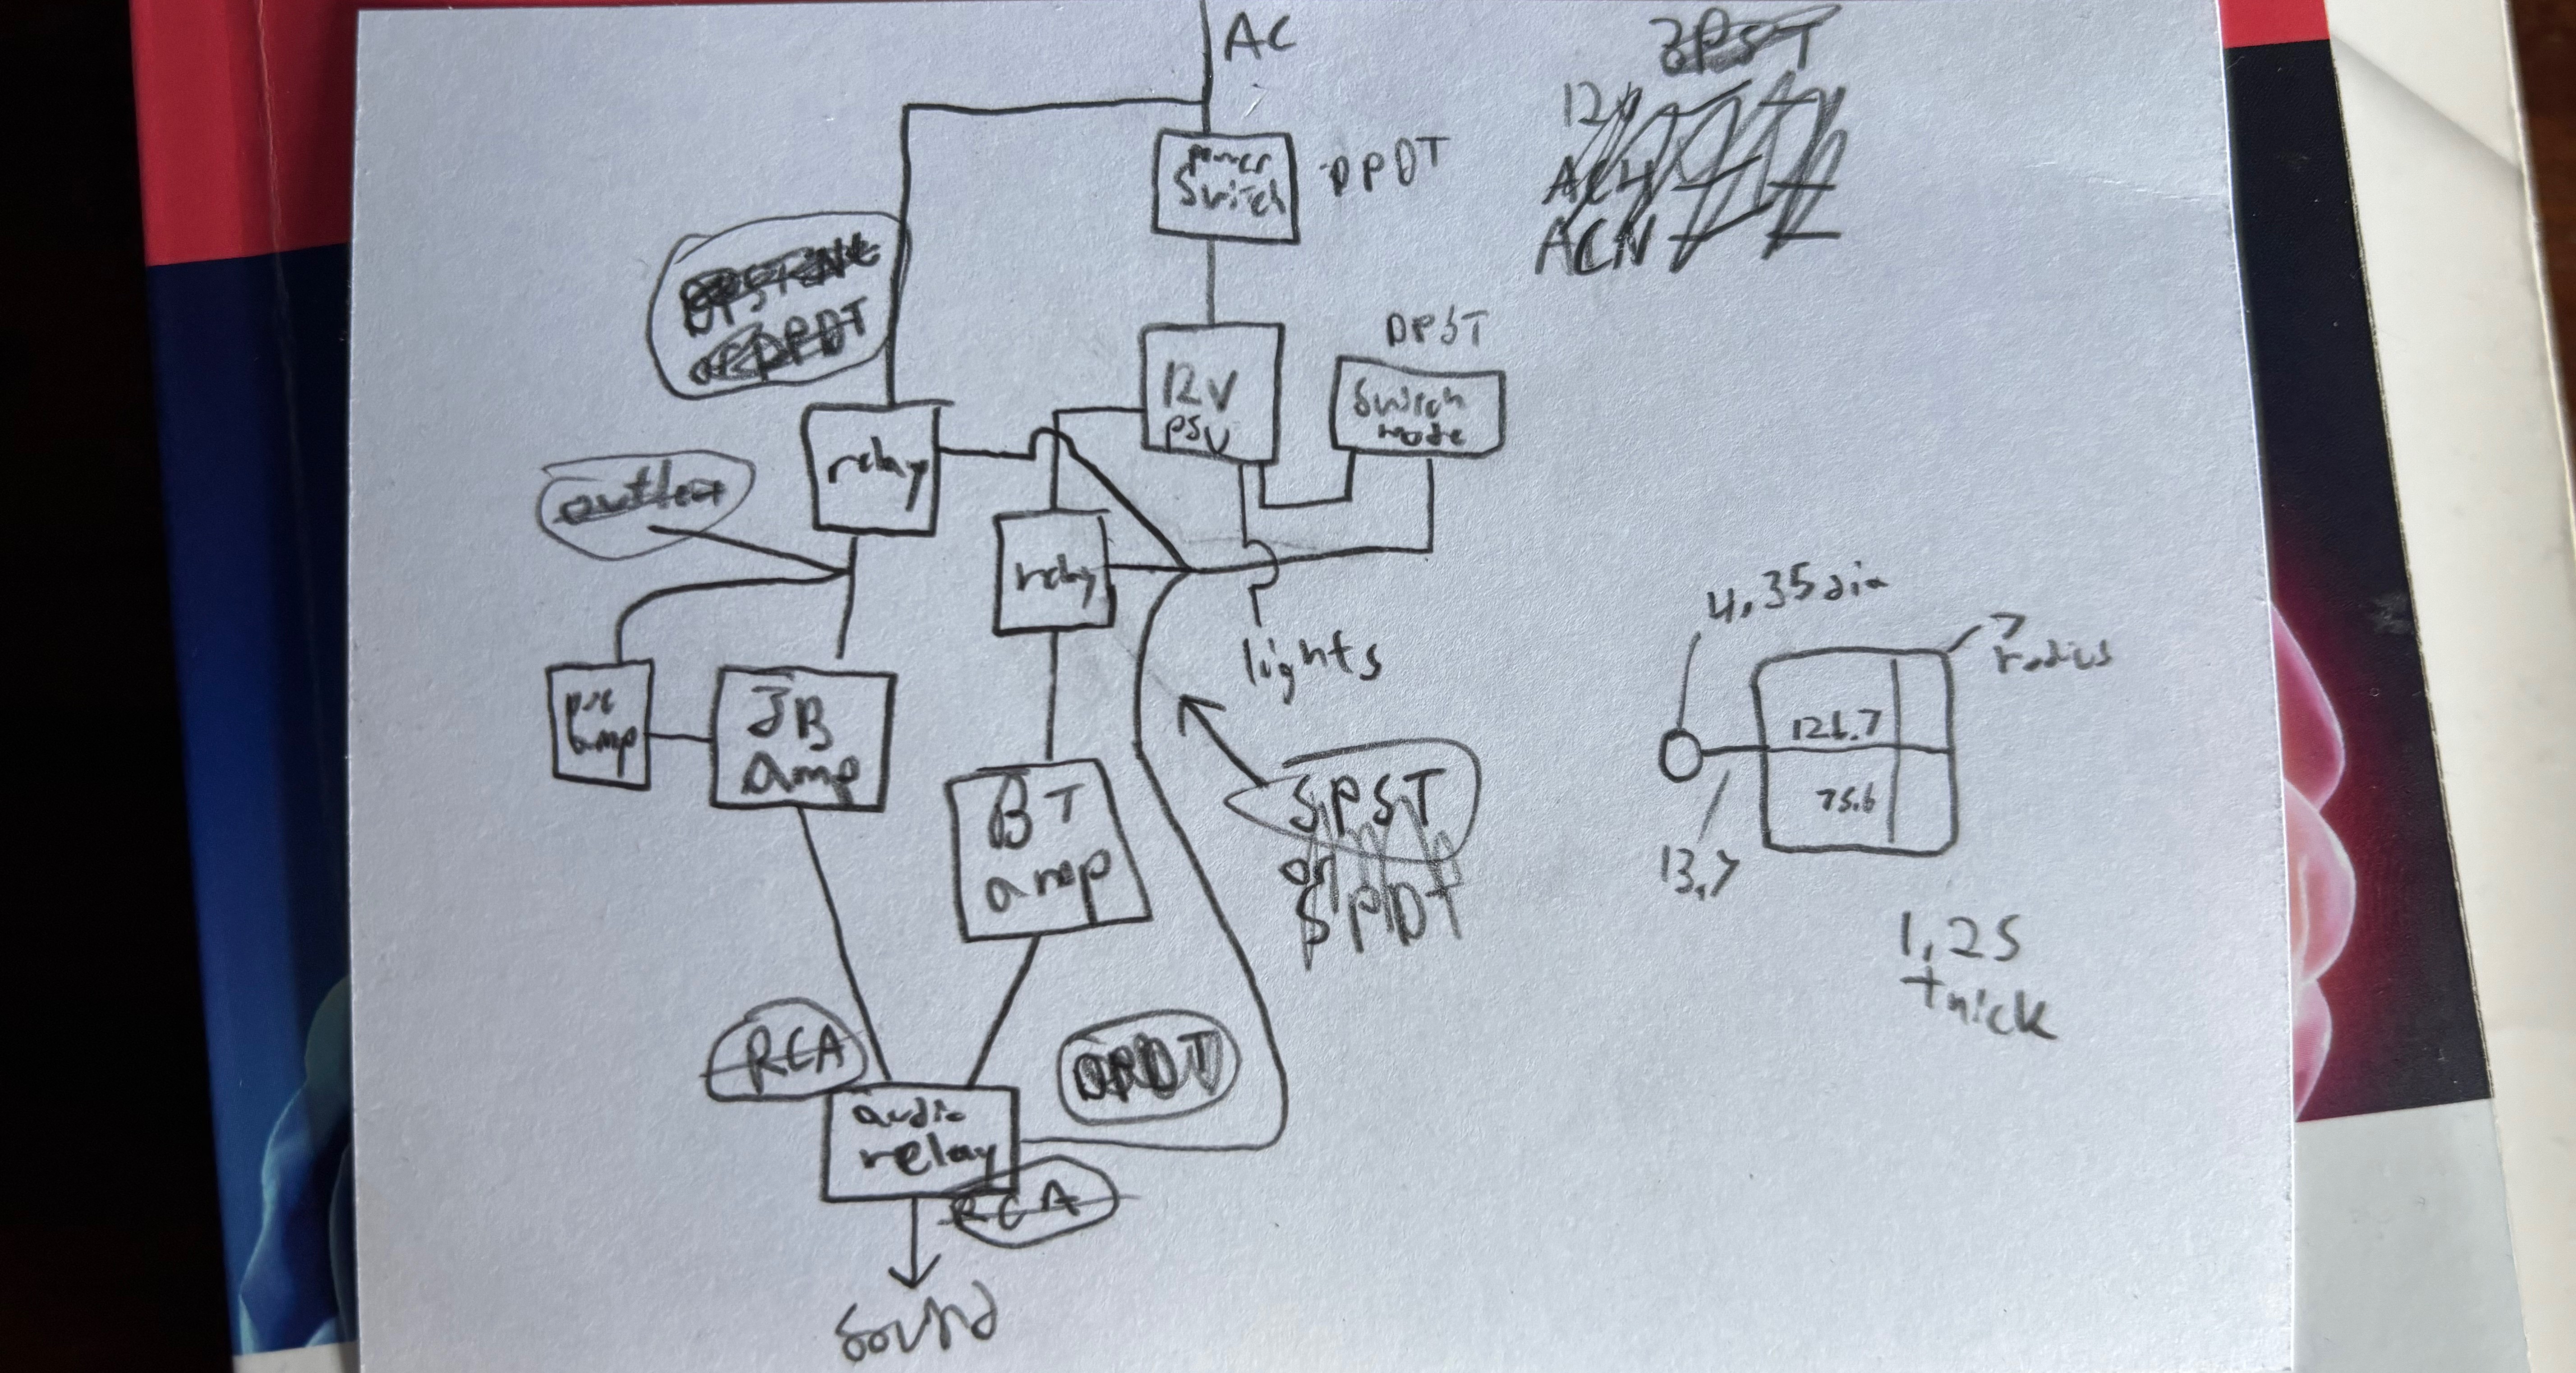 Simple diagram of the mode switcher.
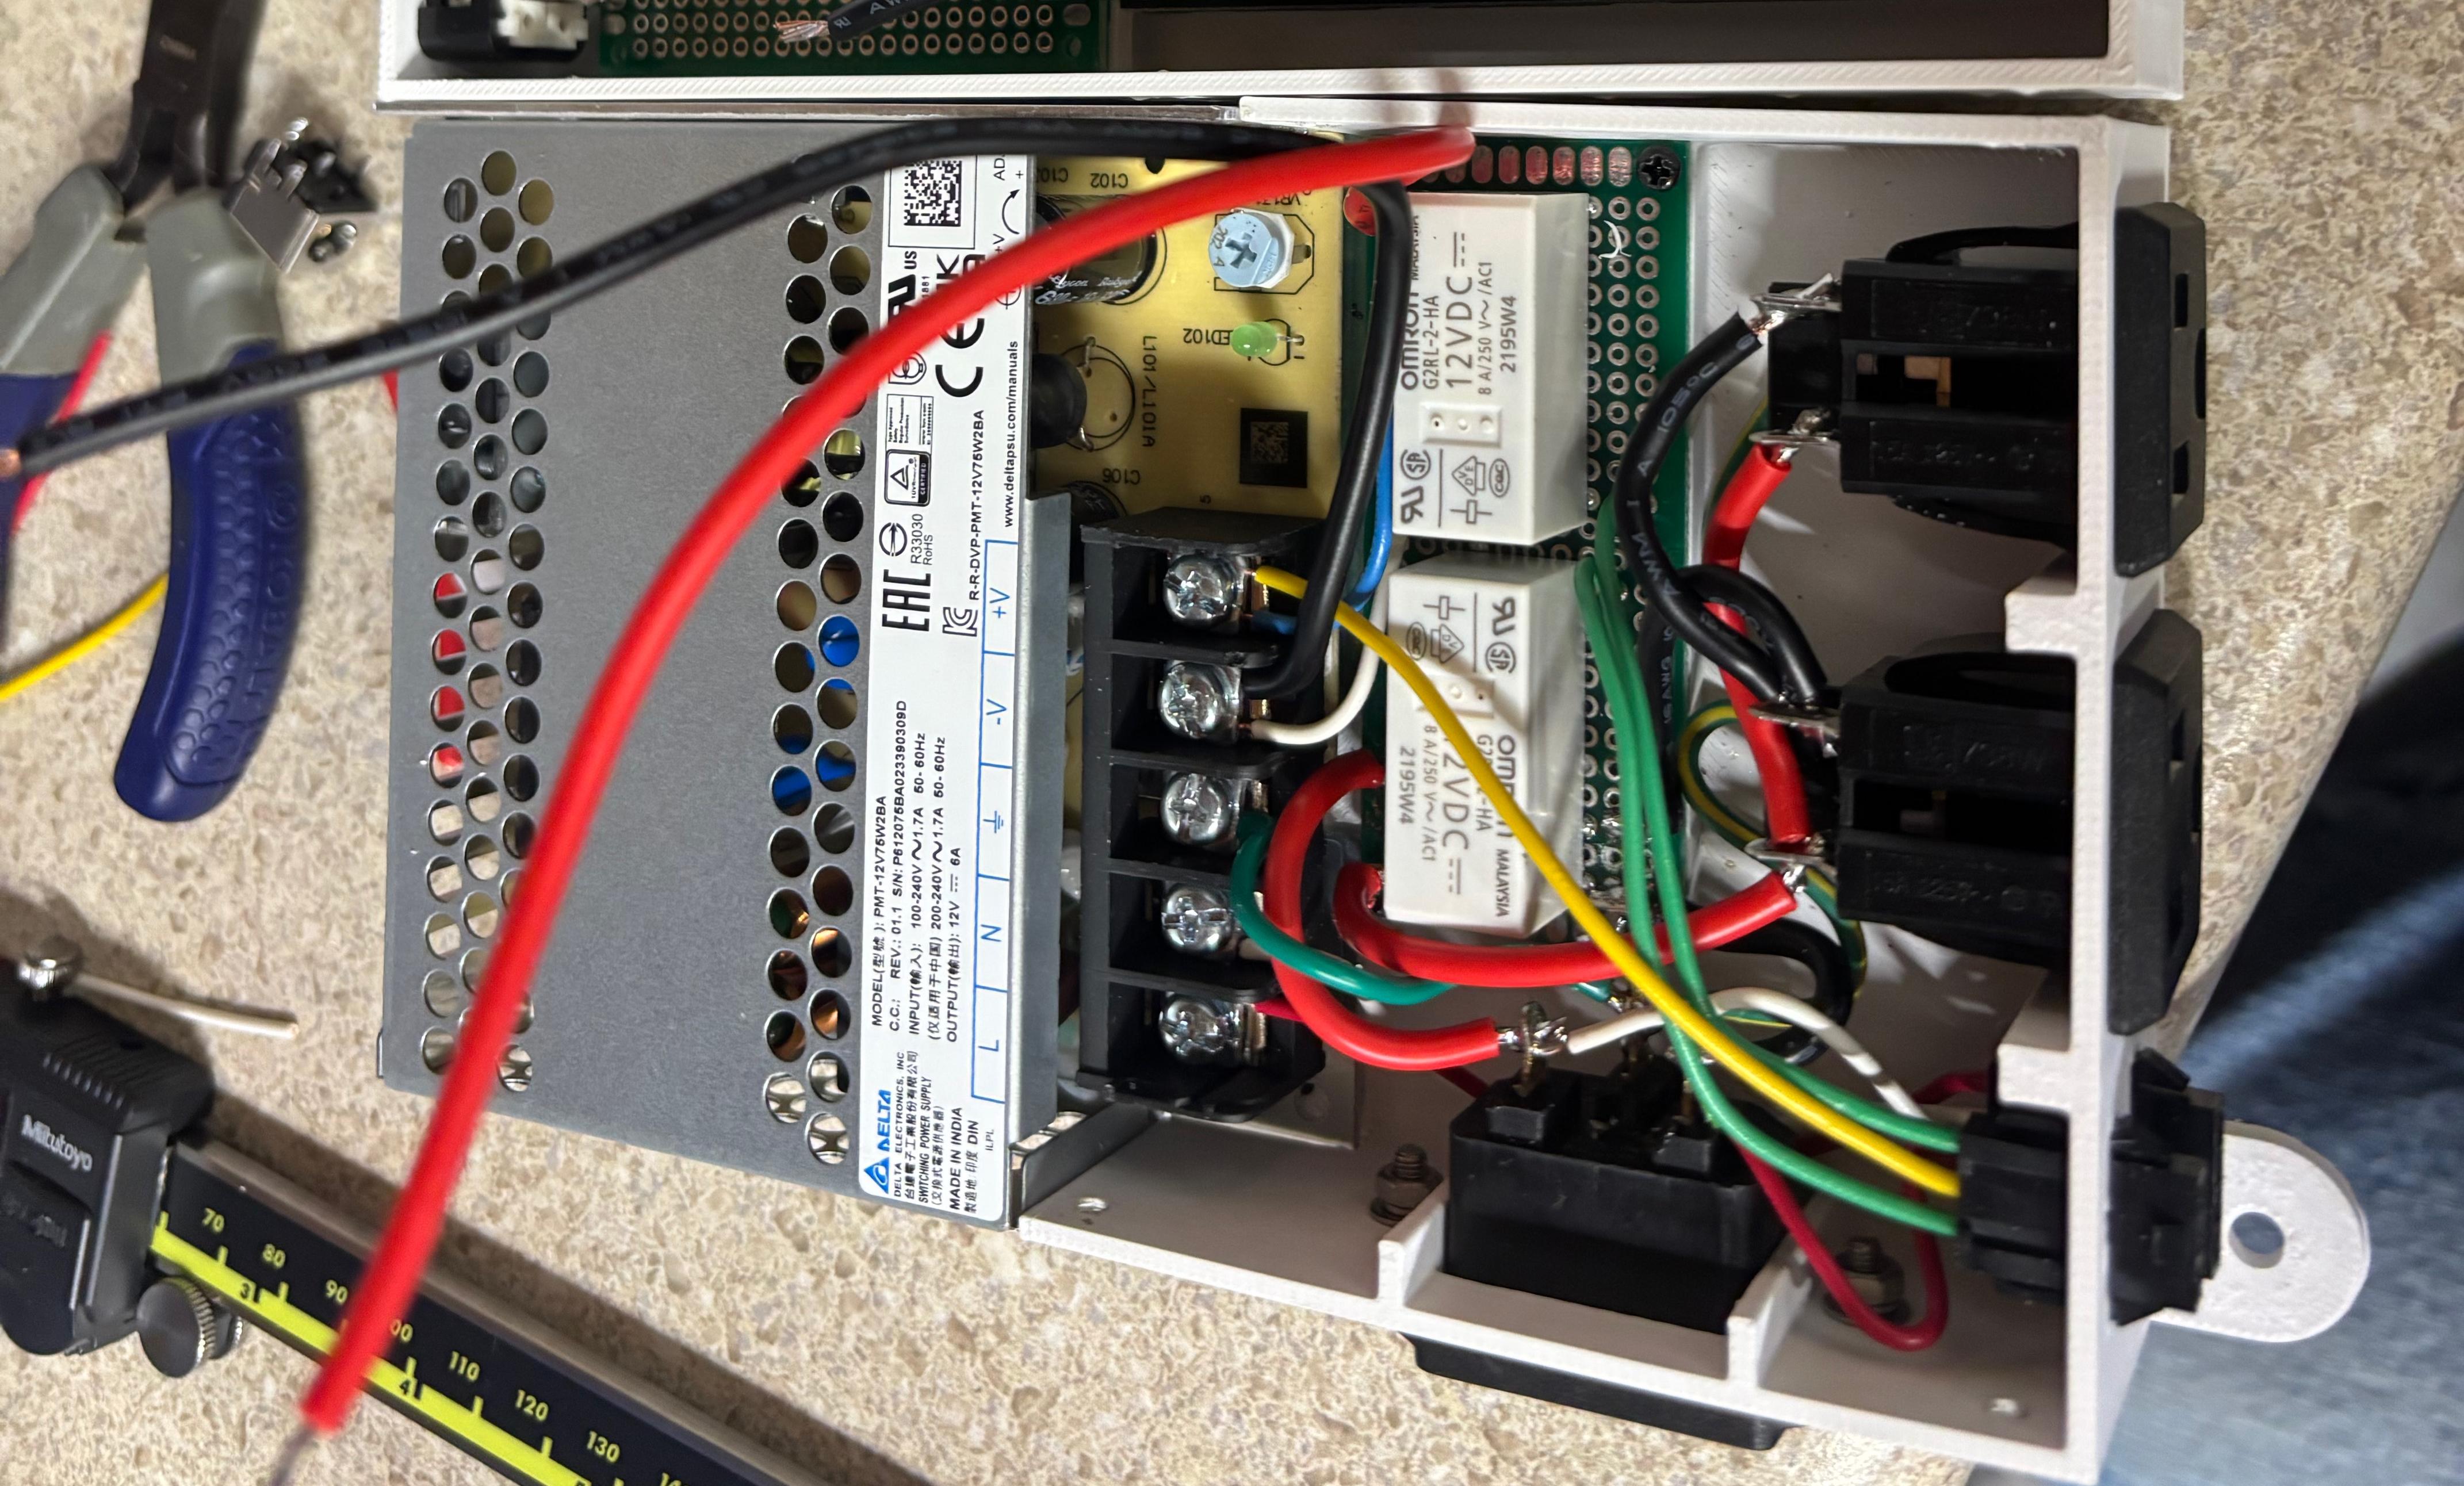 Power supply and switching module
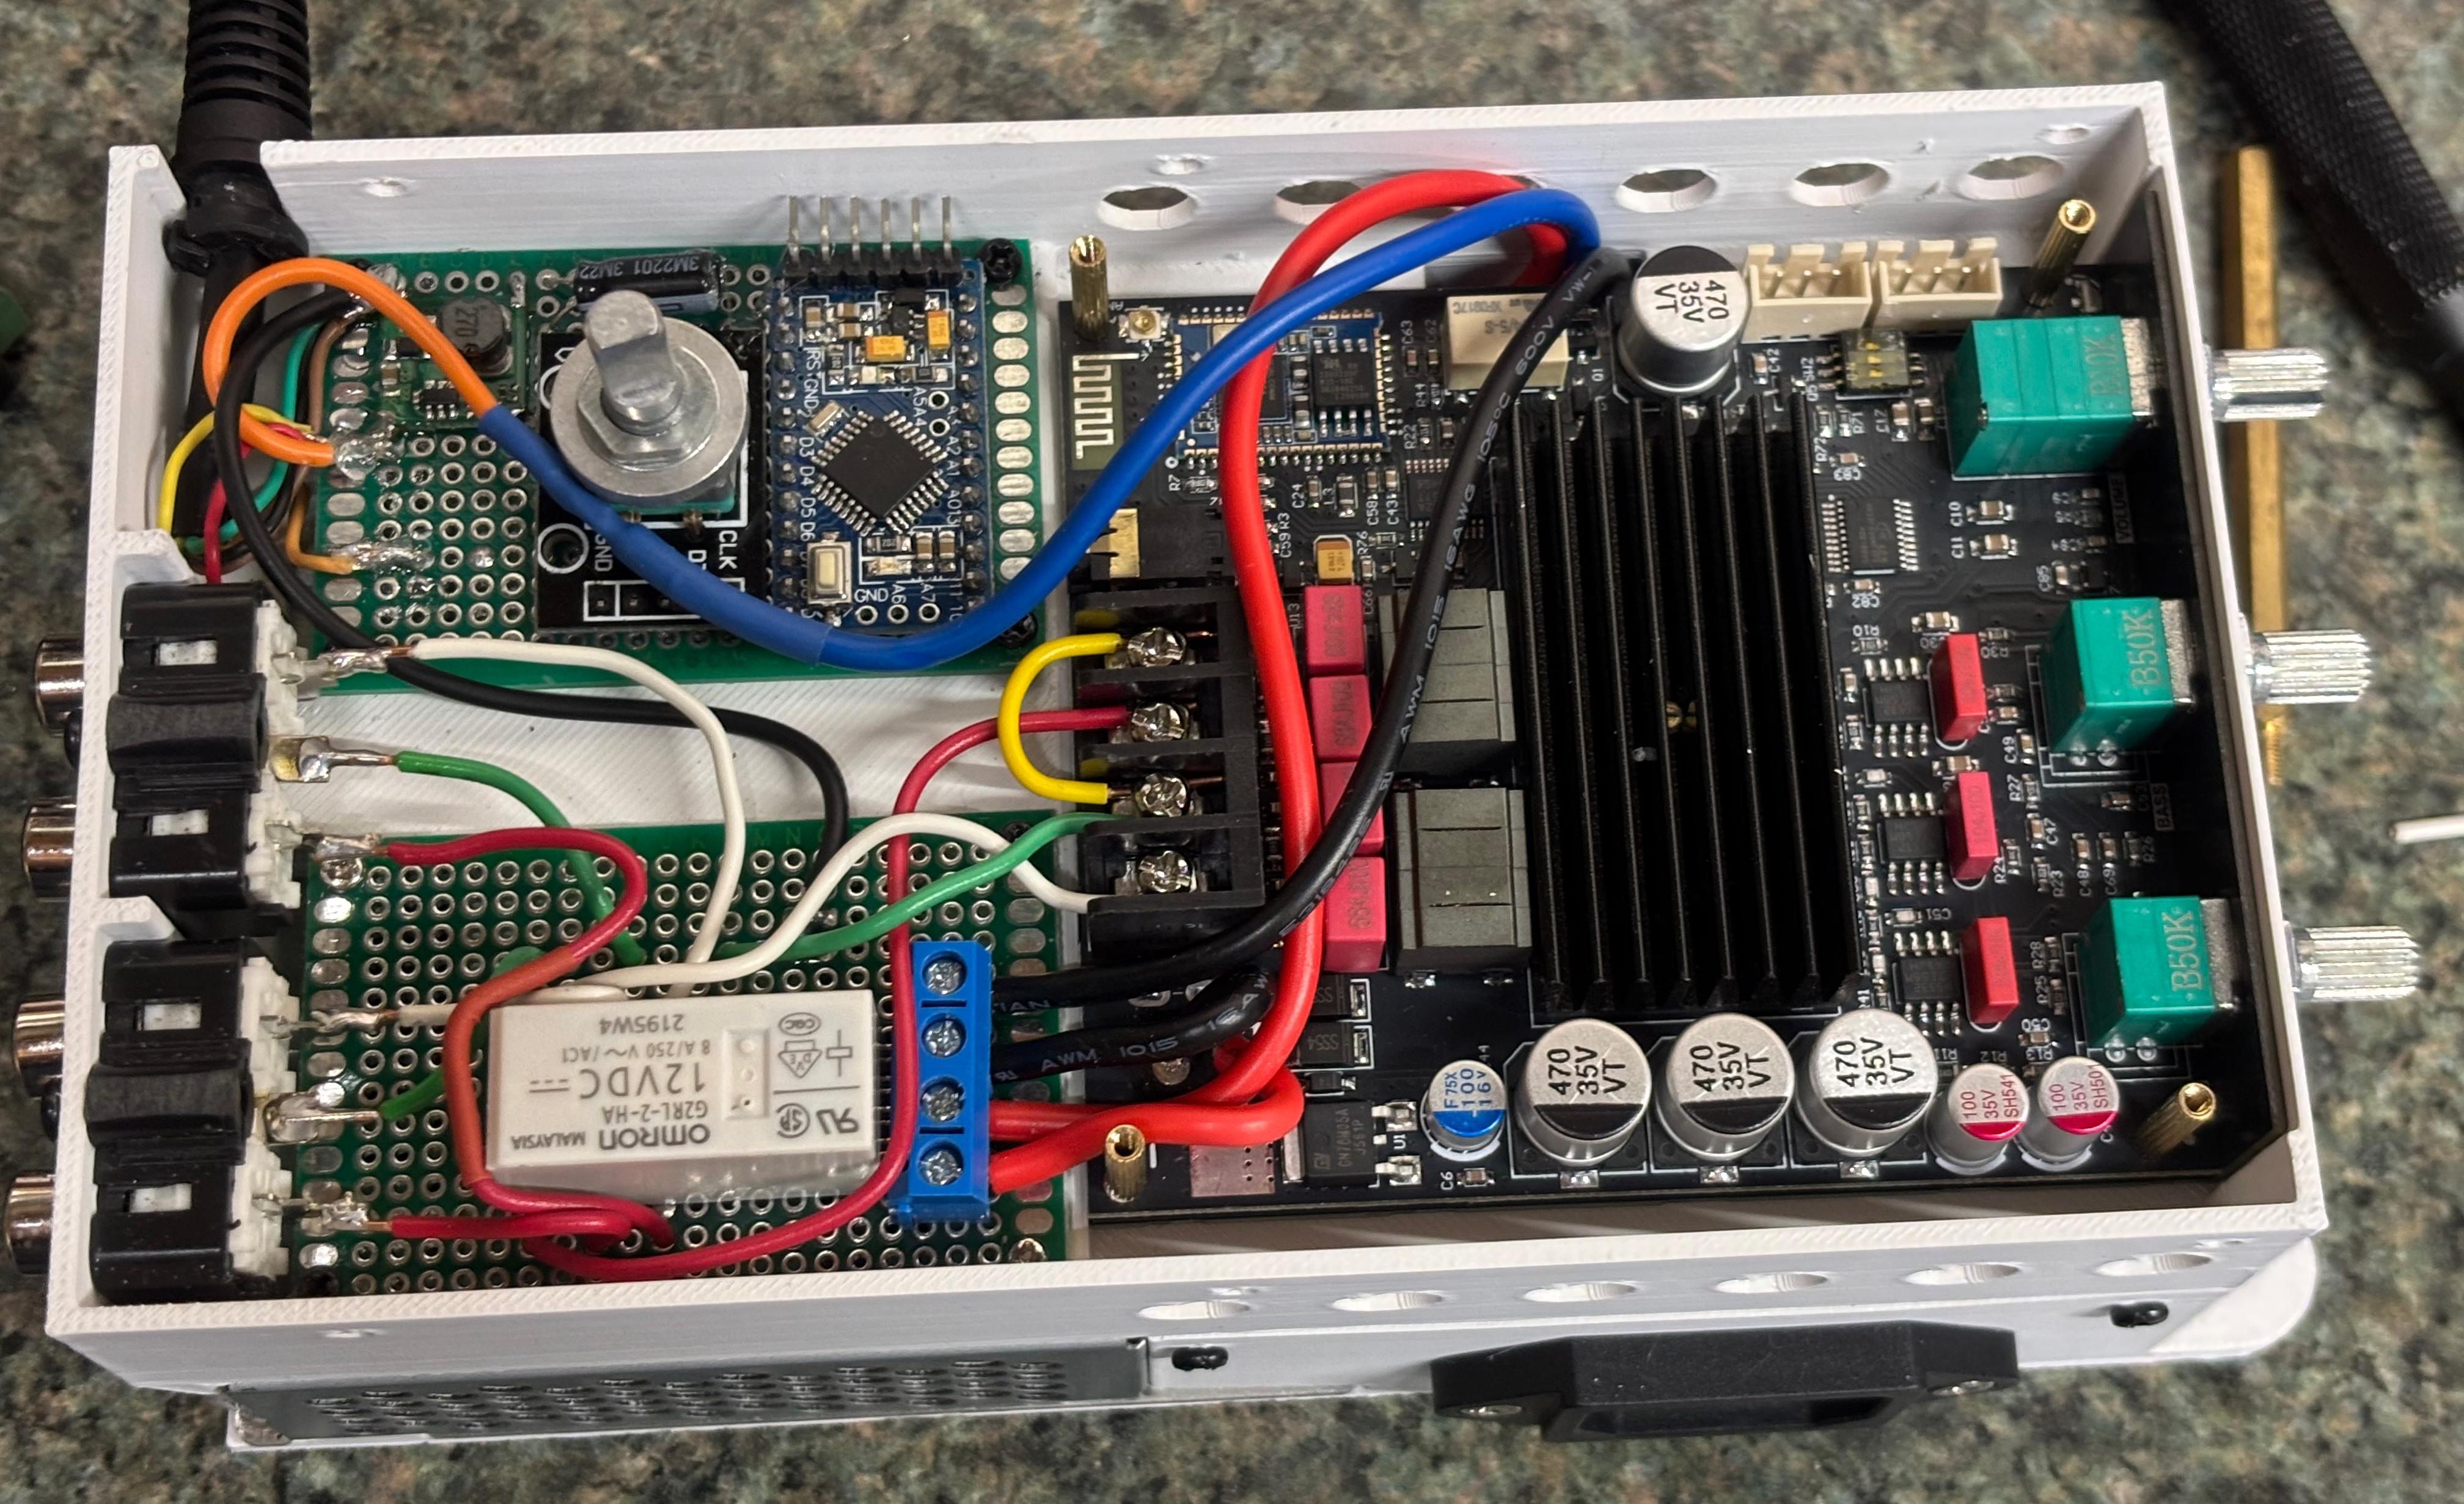 Audio amp, led driver, and audio switching
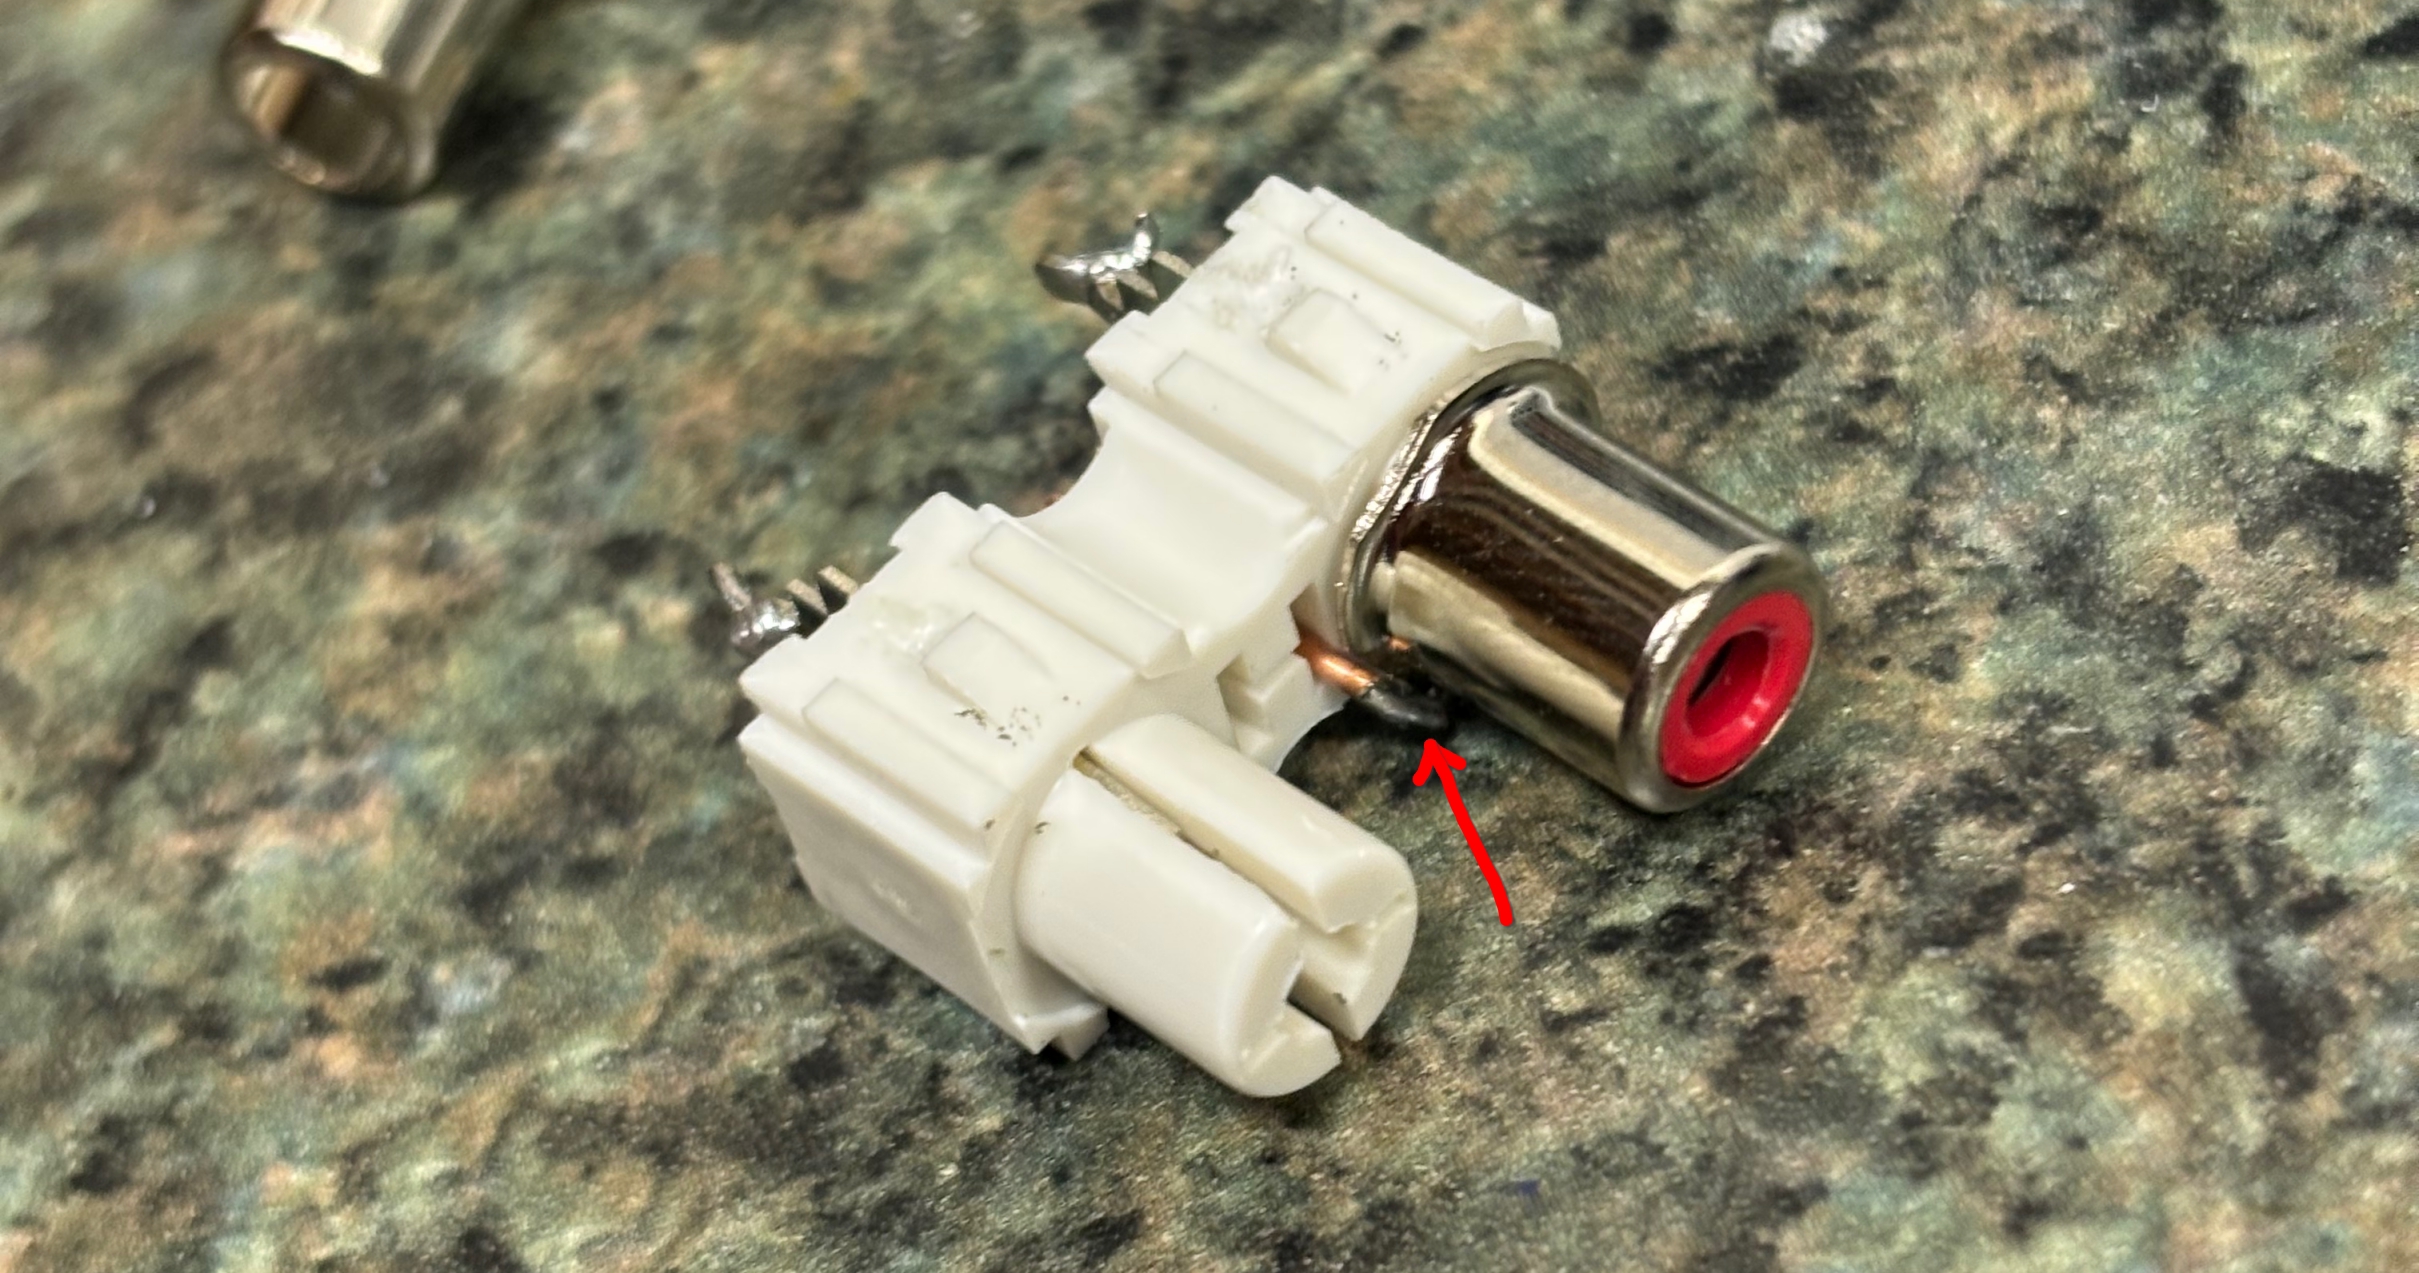
I then found out that the amplifier is a bridge-tied load design (it's a cheaper design) so I couldn't tie the grounds together when I'm audio switching. To fix this I had to add an additional relay that bridges the left and right channel grounds when it's in jukebox mode and unbridges them when it's in Bluetooth mode. I also had to modify the RCA plugs so that they could have separate grounds.
My Bluetooth module and power switching fits tight inside the 3D printed enclosure:
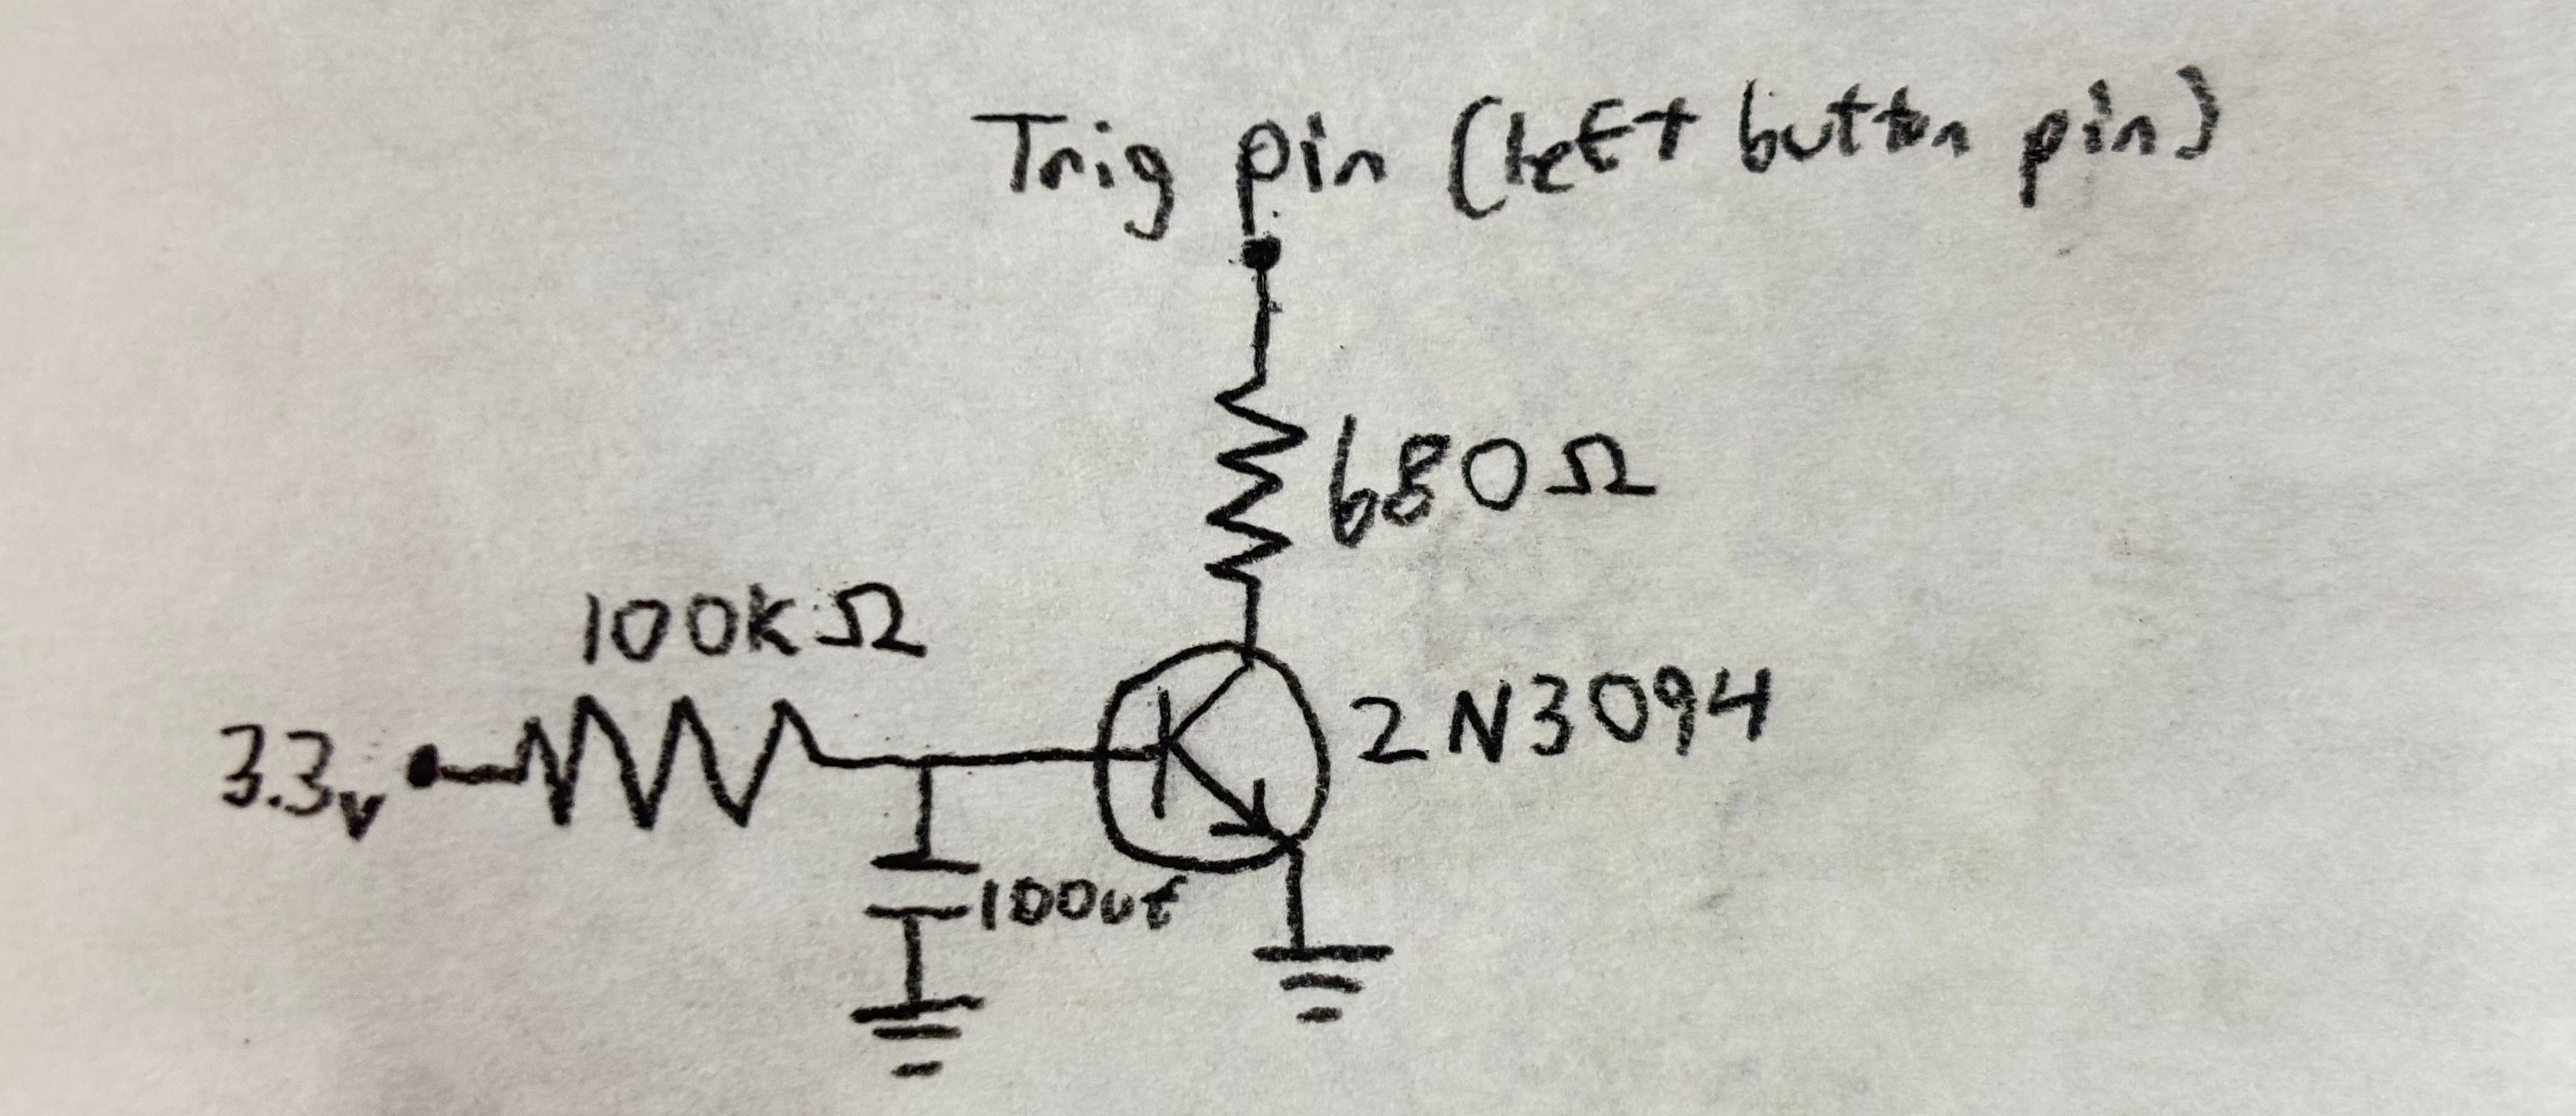
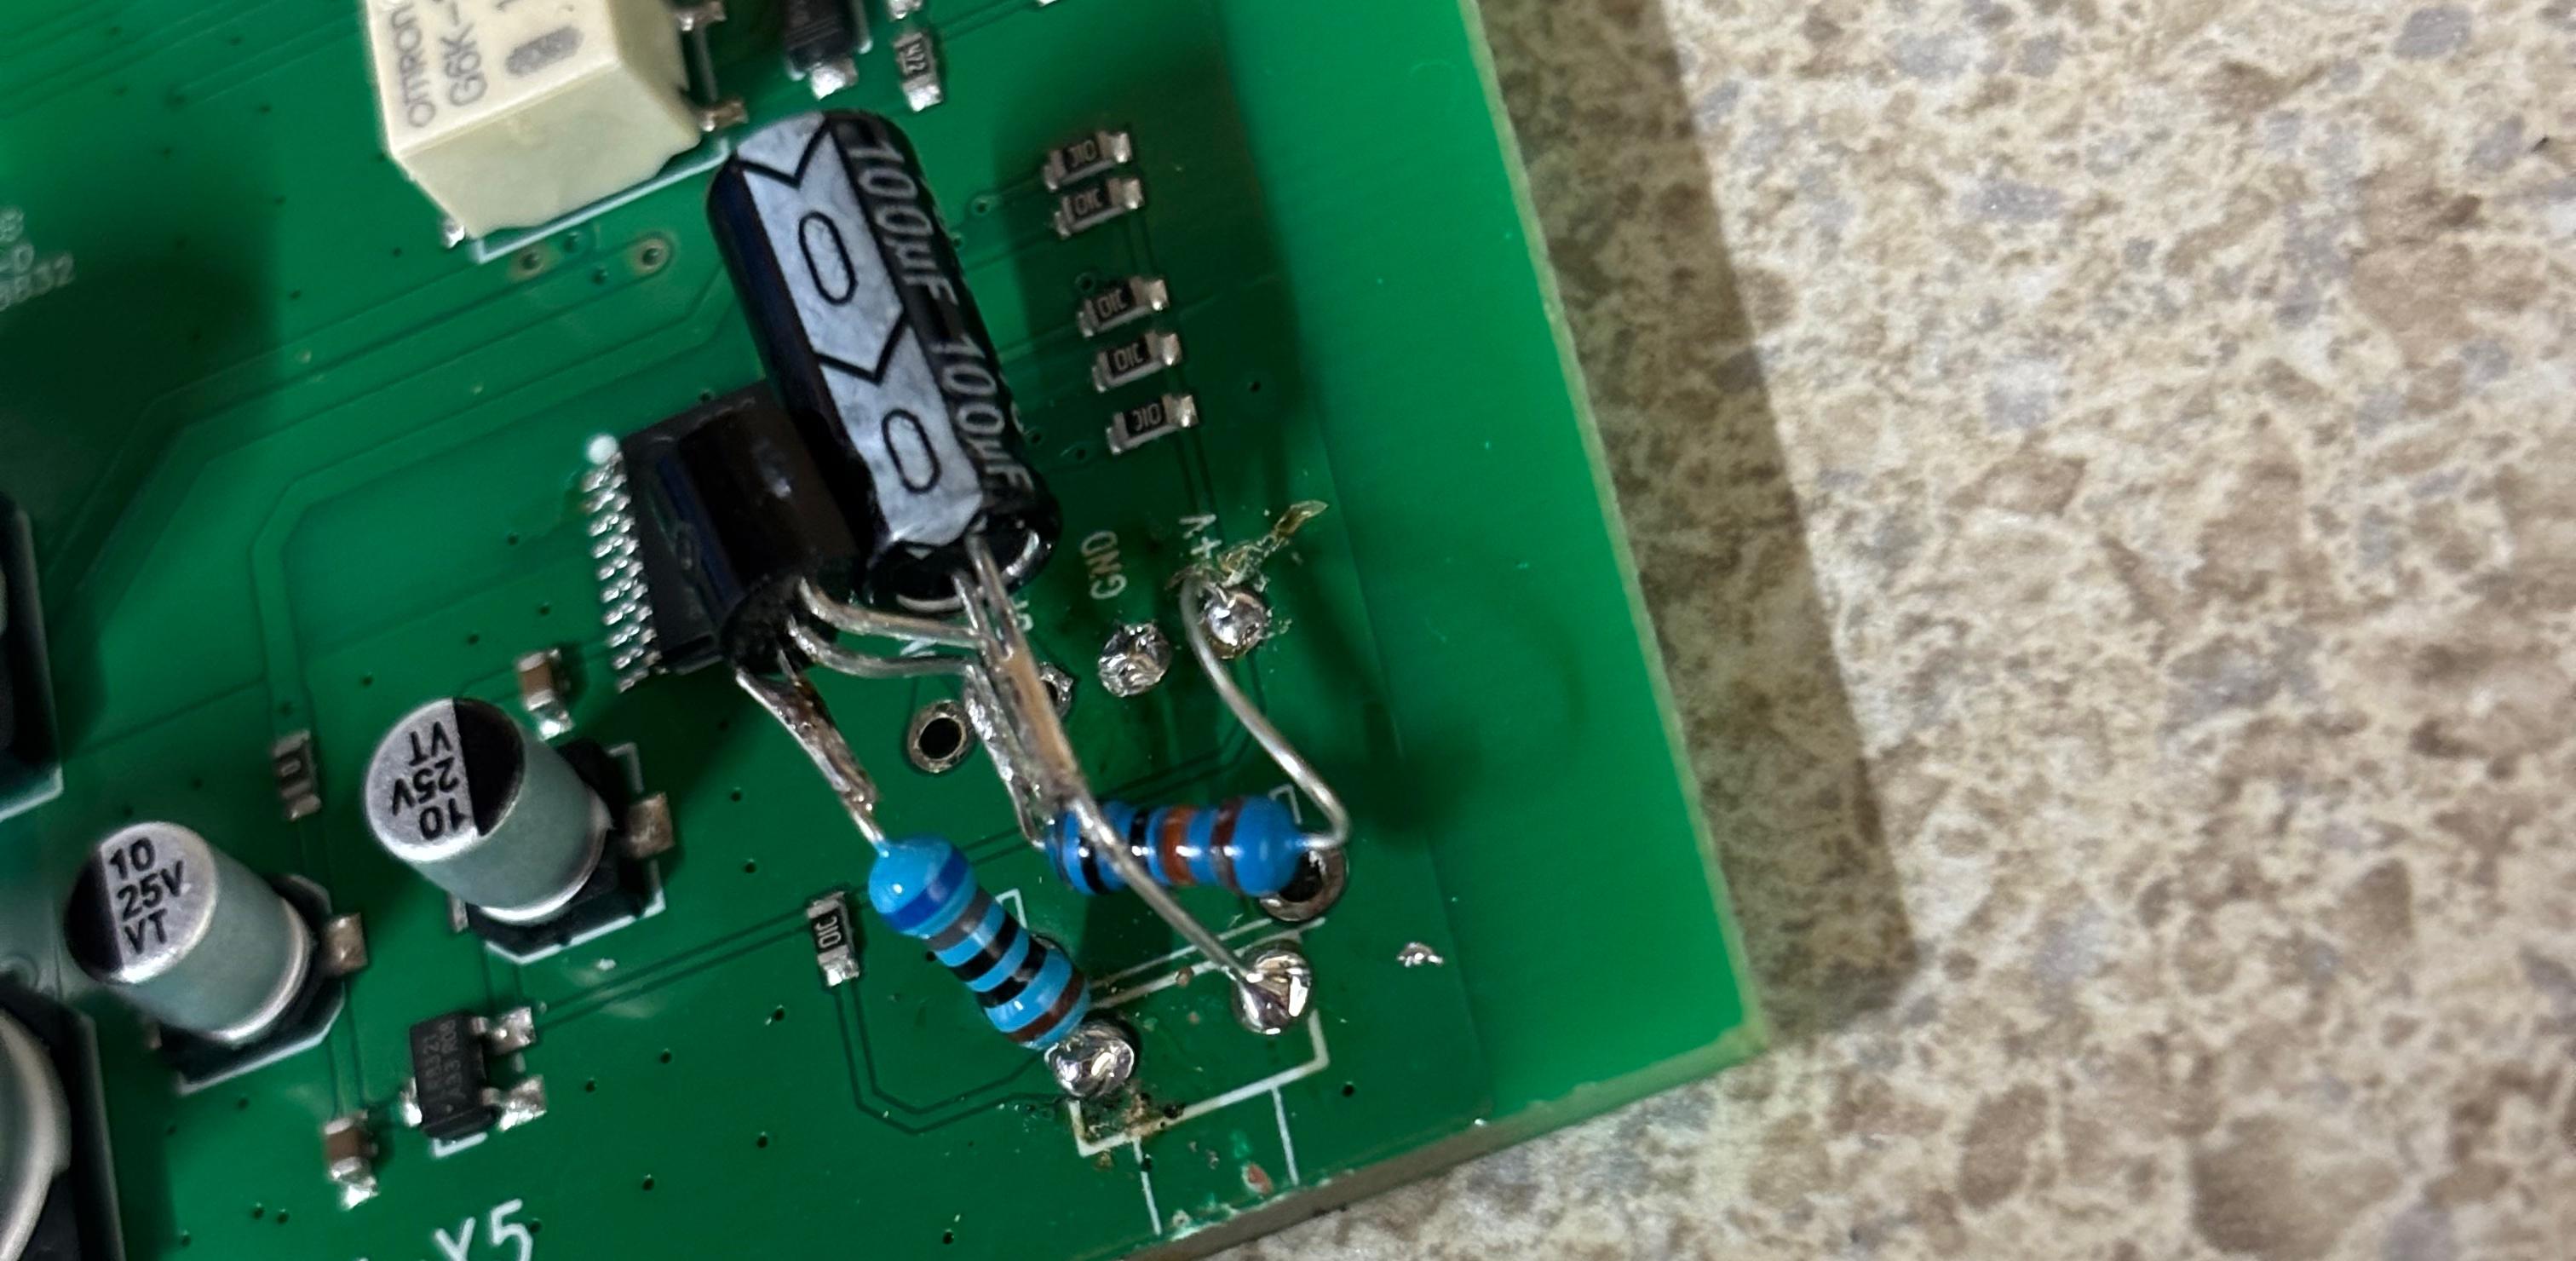
I also wanted to move away from the original Sonotone 8TA cartridge. I upgraded to the Audio-Technica AT-VM95e, but since this is a moving magnet cartridge, I had to add a phono preamp. I considered the Schiit Mani 2, but I went with the Fosi Box X5, since it's cheaper and was rated higher. The downside was that the Fosi did not have a power switch and instead had a button. So I had to build a circuit that would automatically power it on when power is connected. It uses an RC delay to turn on a transistor and bring the trigger pin low. I also added a diode to discharge the capacitor when the unit is powered off based on a fourm recommendation.
 Circut
 Inside
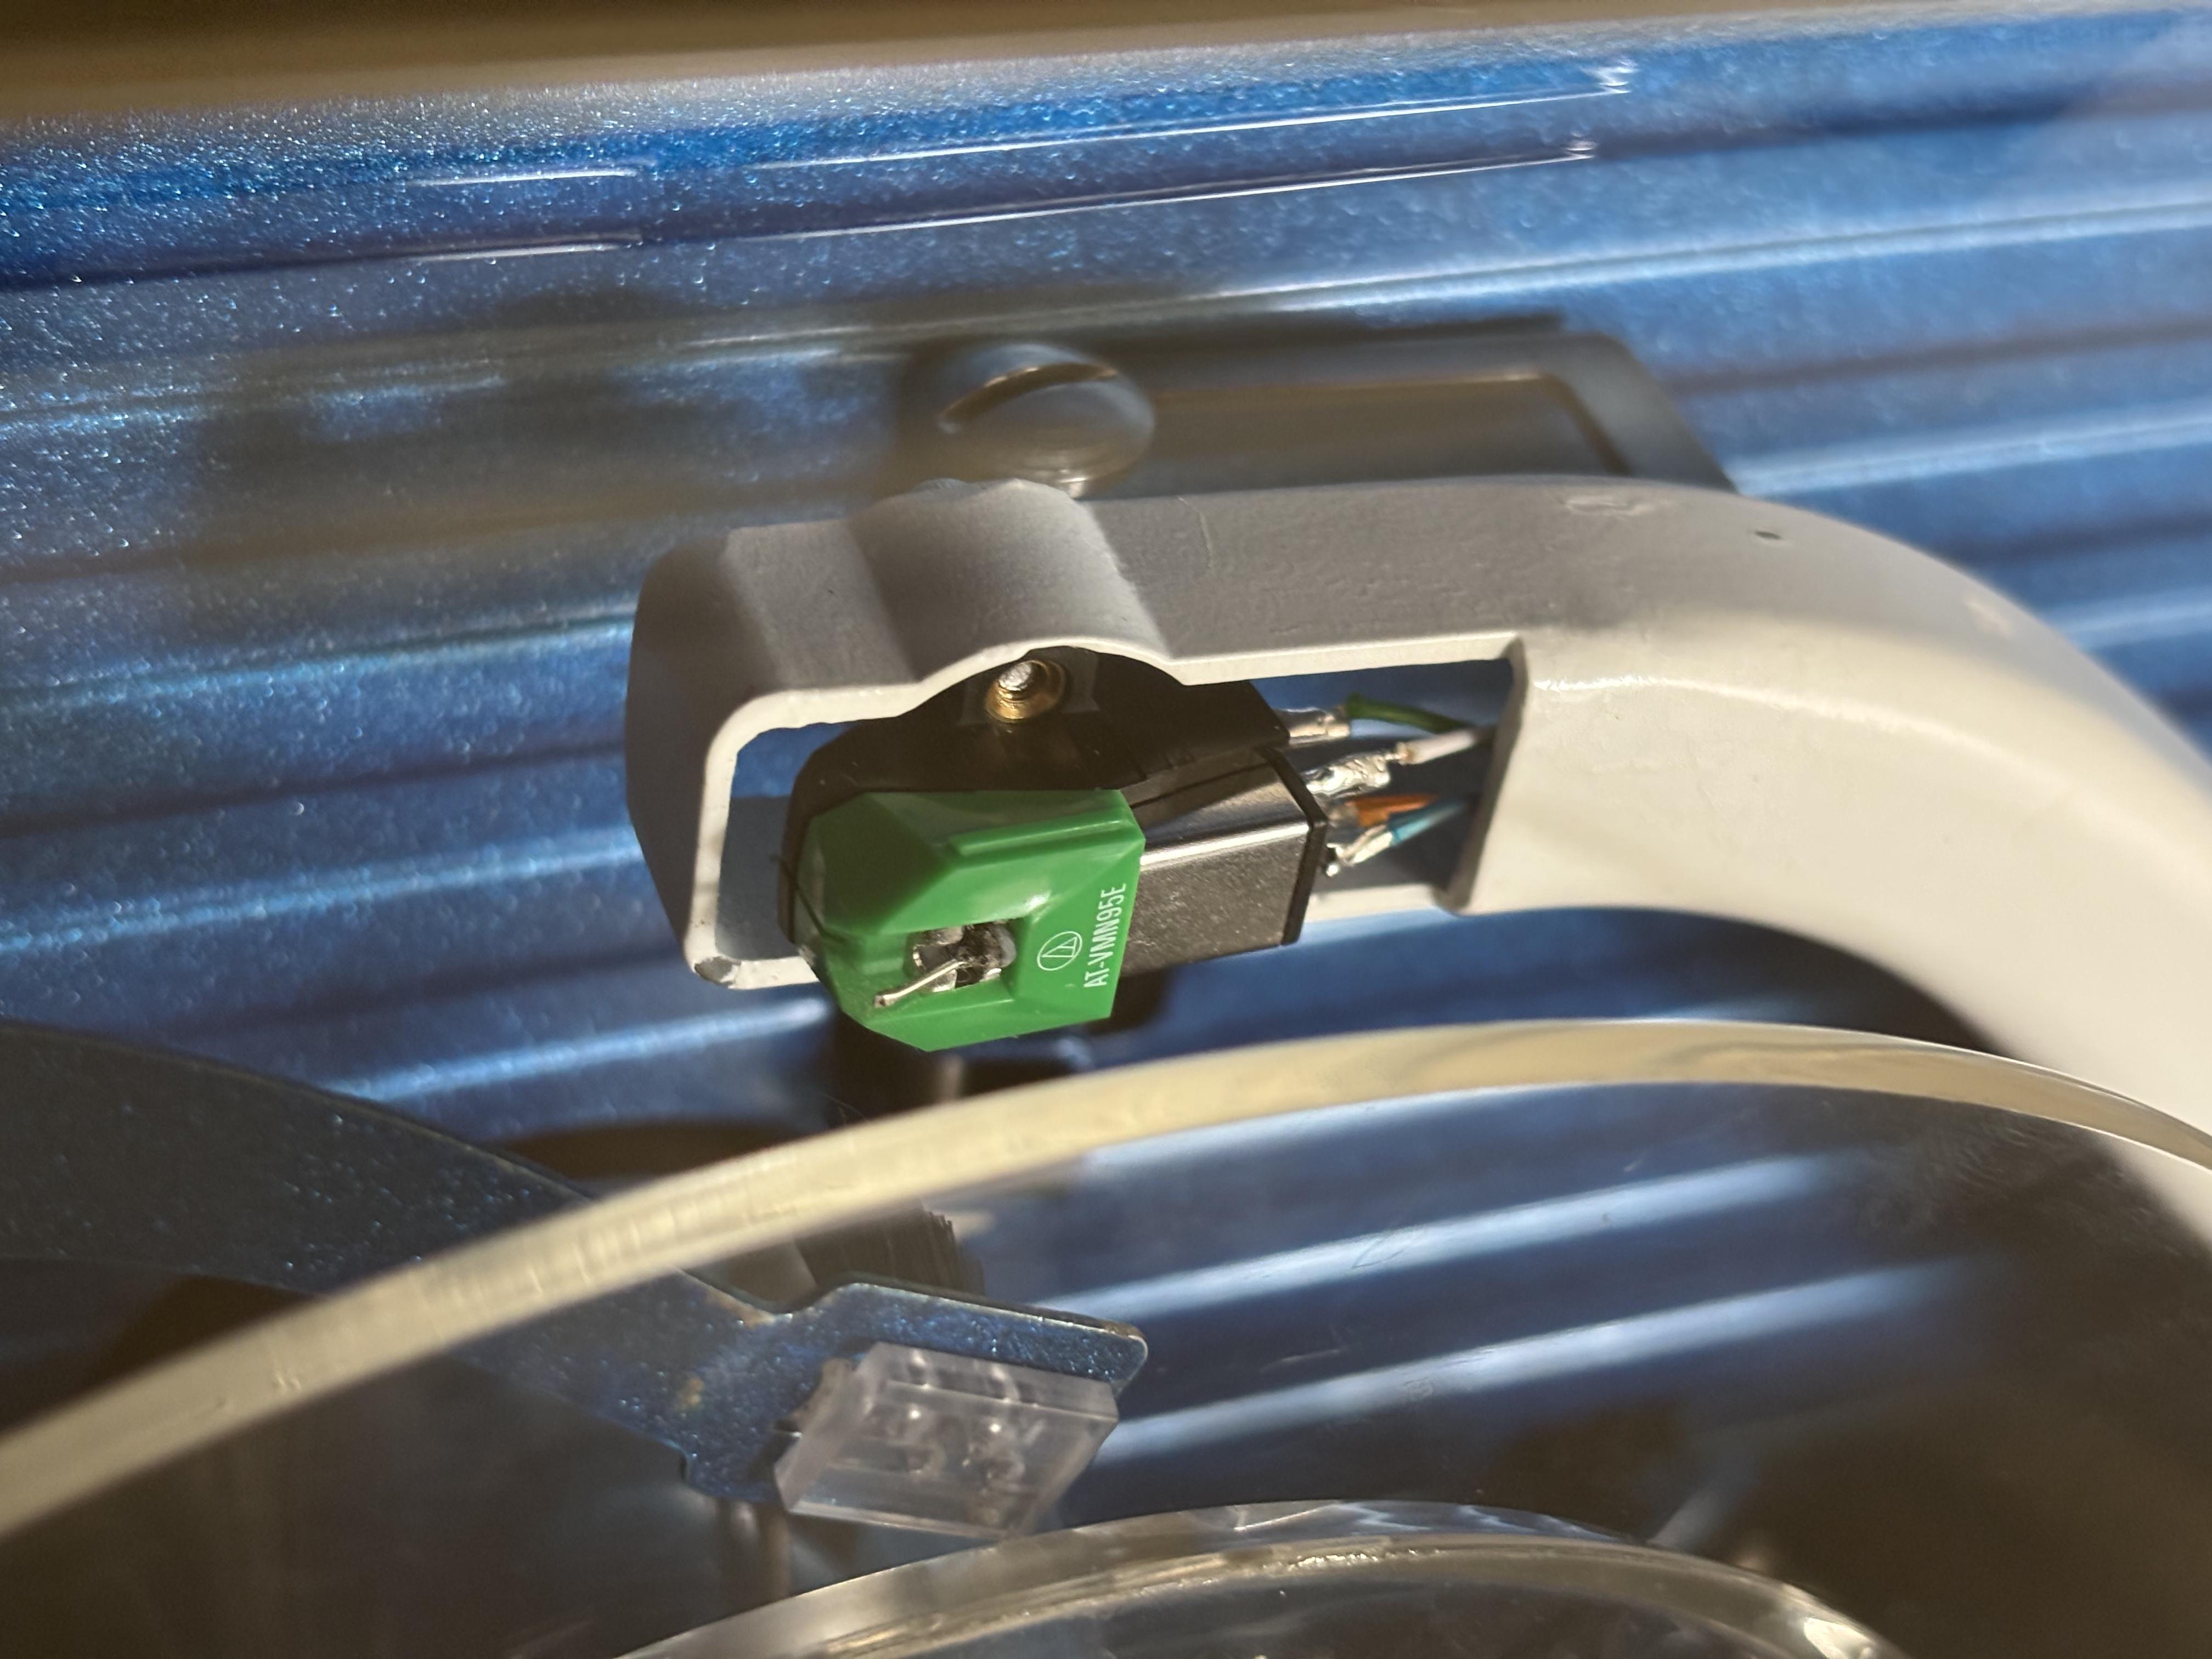 AT-VM95e
Then I installed my switching box inside the jukebox. With all these additional cables it is a very tight fit and significantly more messy than it was originally.
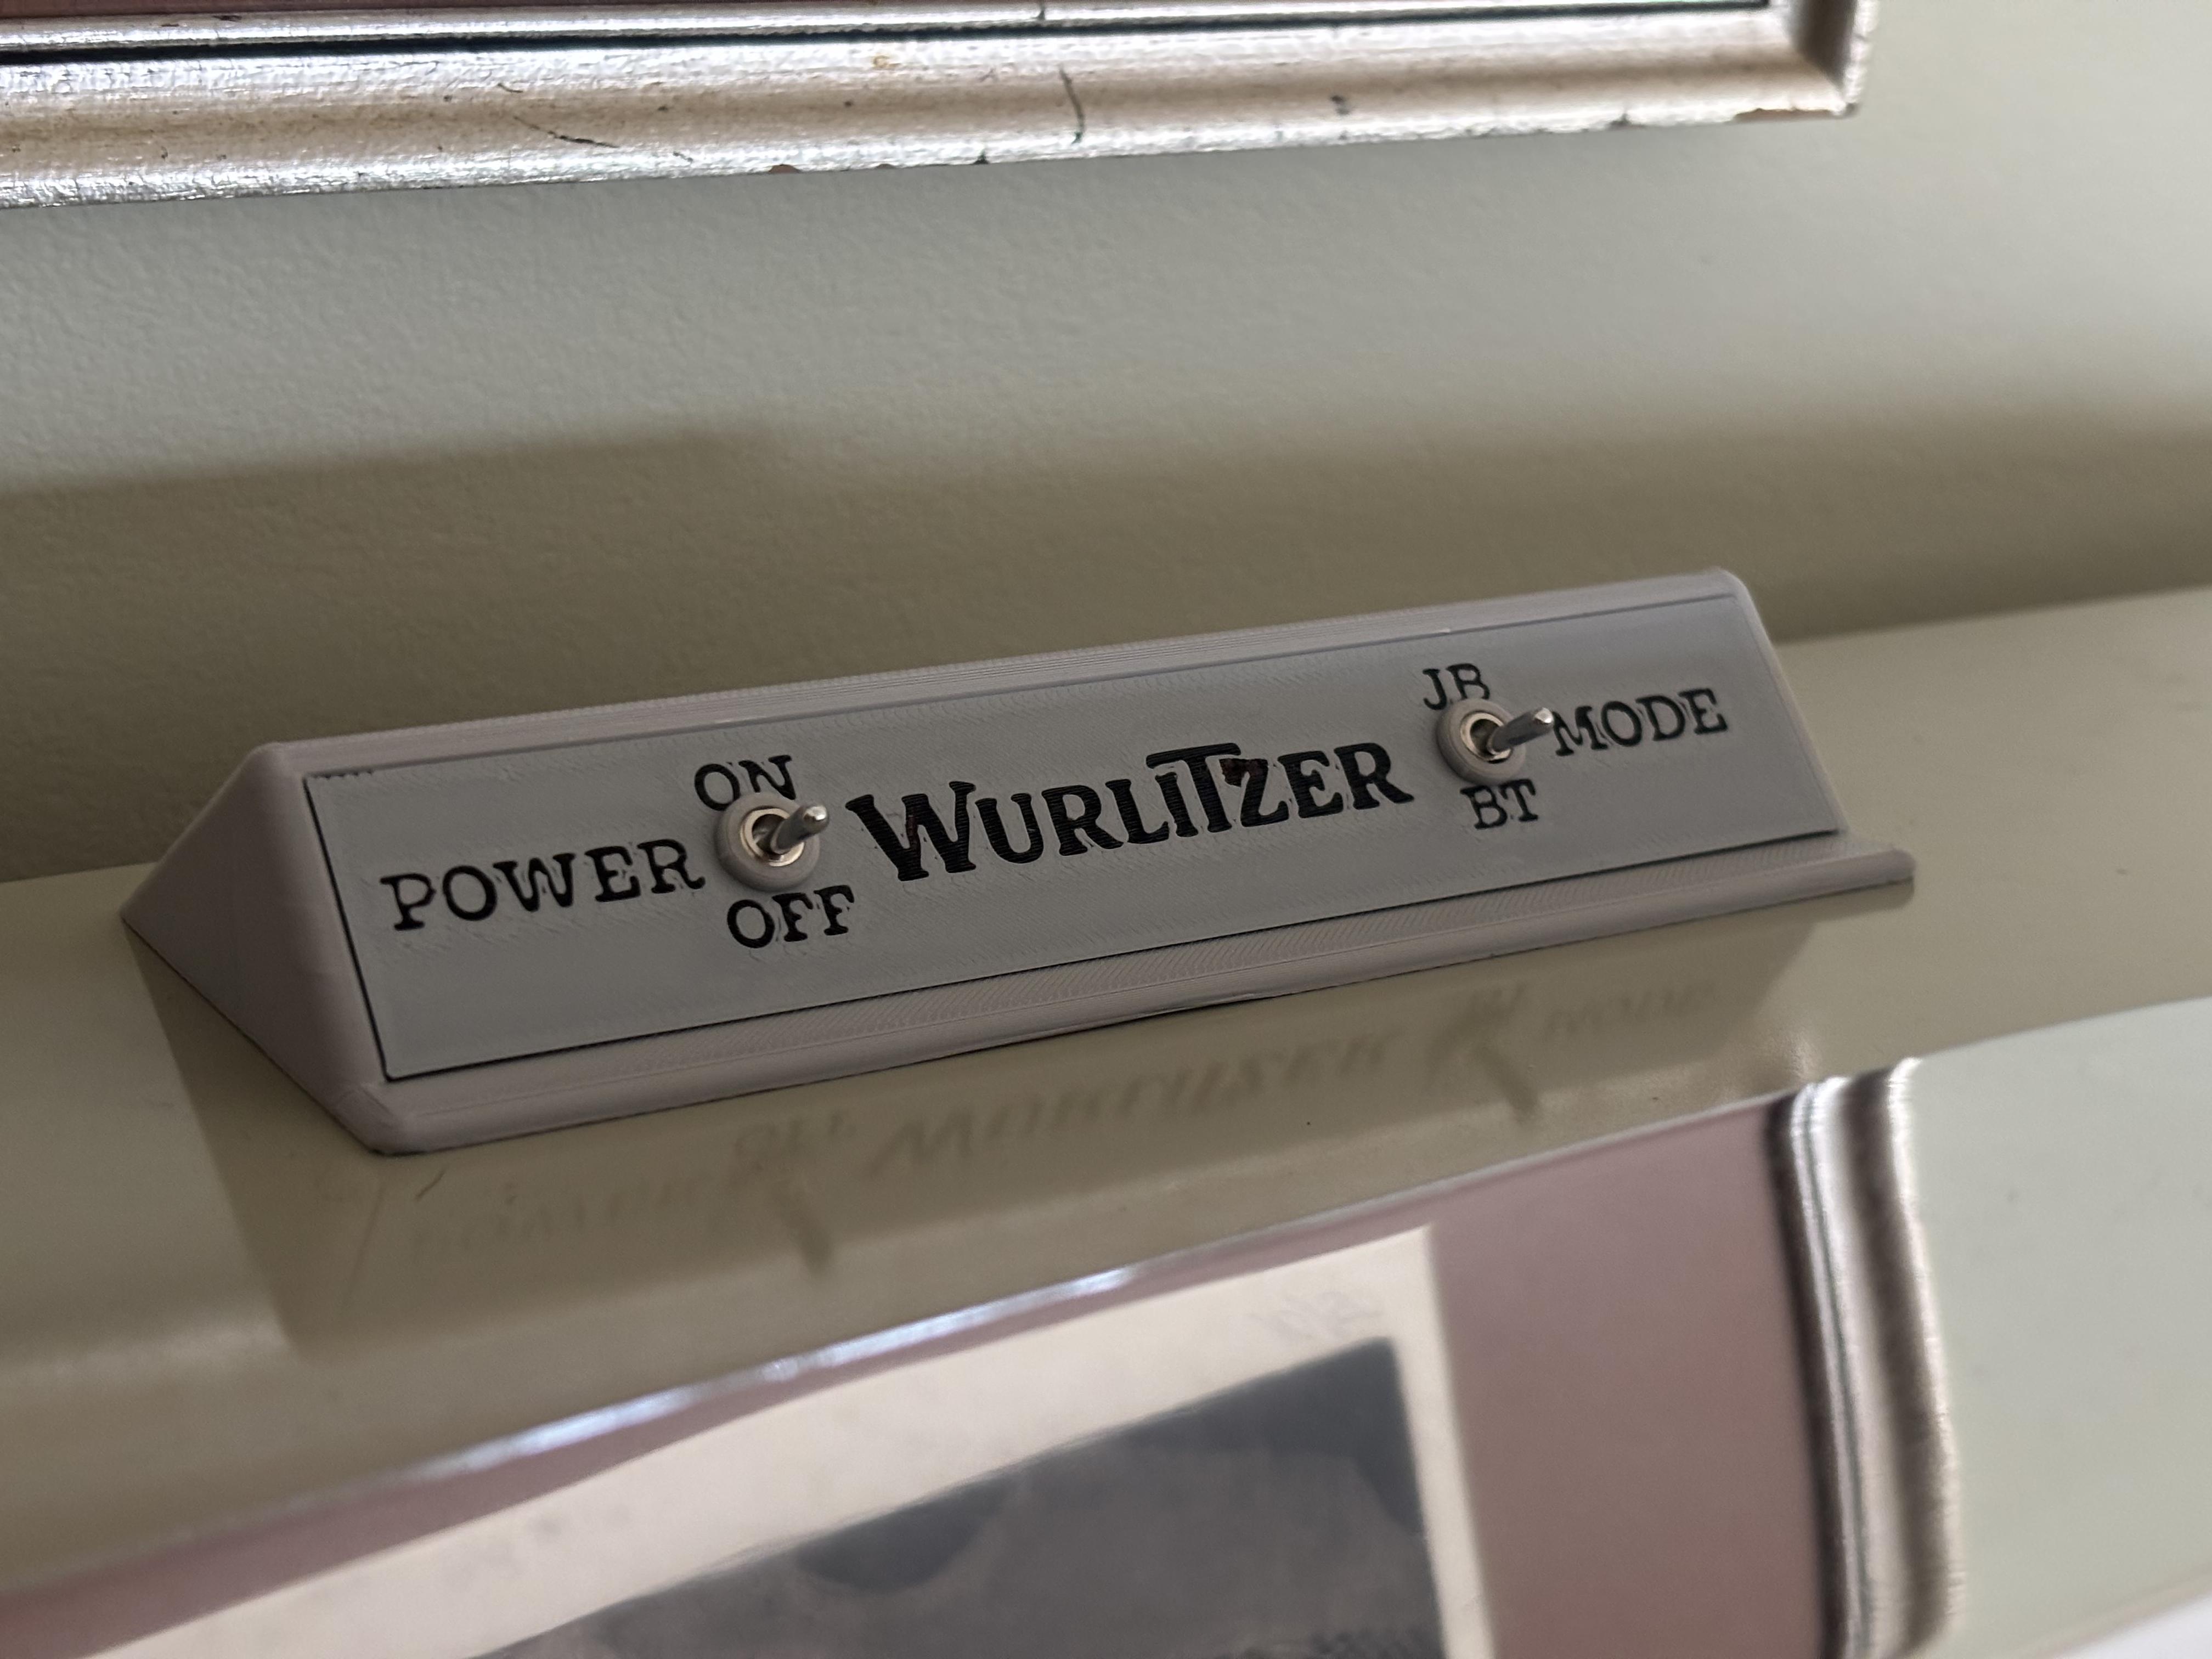
I also made a switcher on the top, so that I could switch between the different modes without having to reach below in the back.
And that marks the completion of this project! In this restoration (and all restorations) I make sure that any mods or upgrades that I do are fully reversible back to the original state of the machine. Here's some pictures of the completed jukebox:
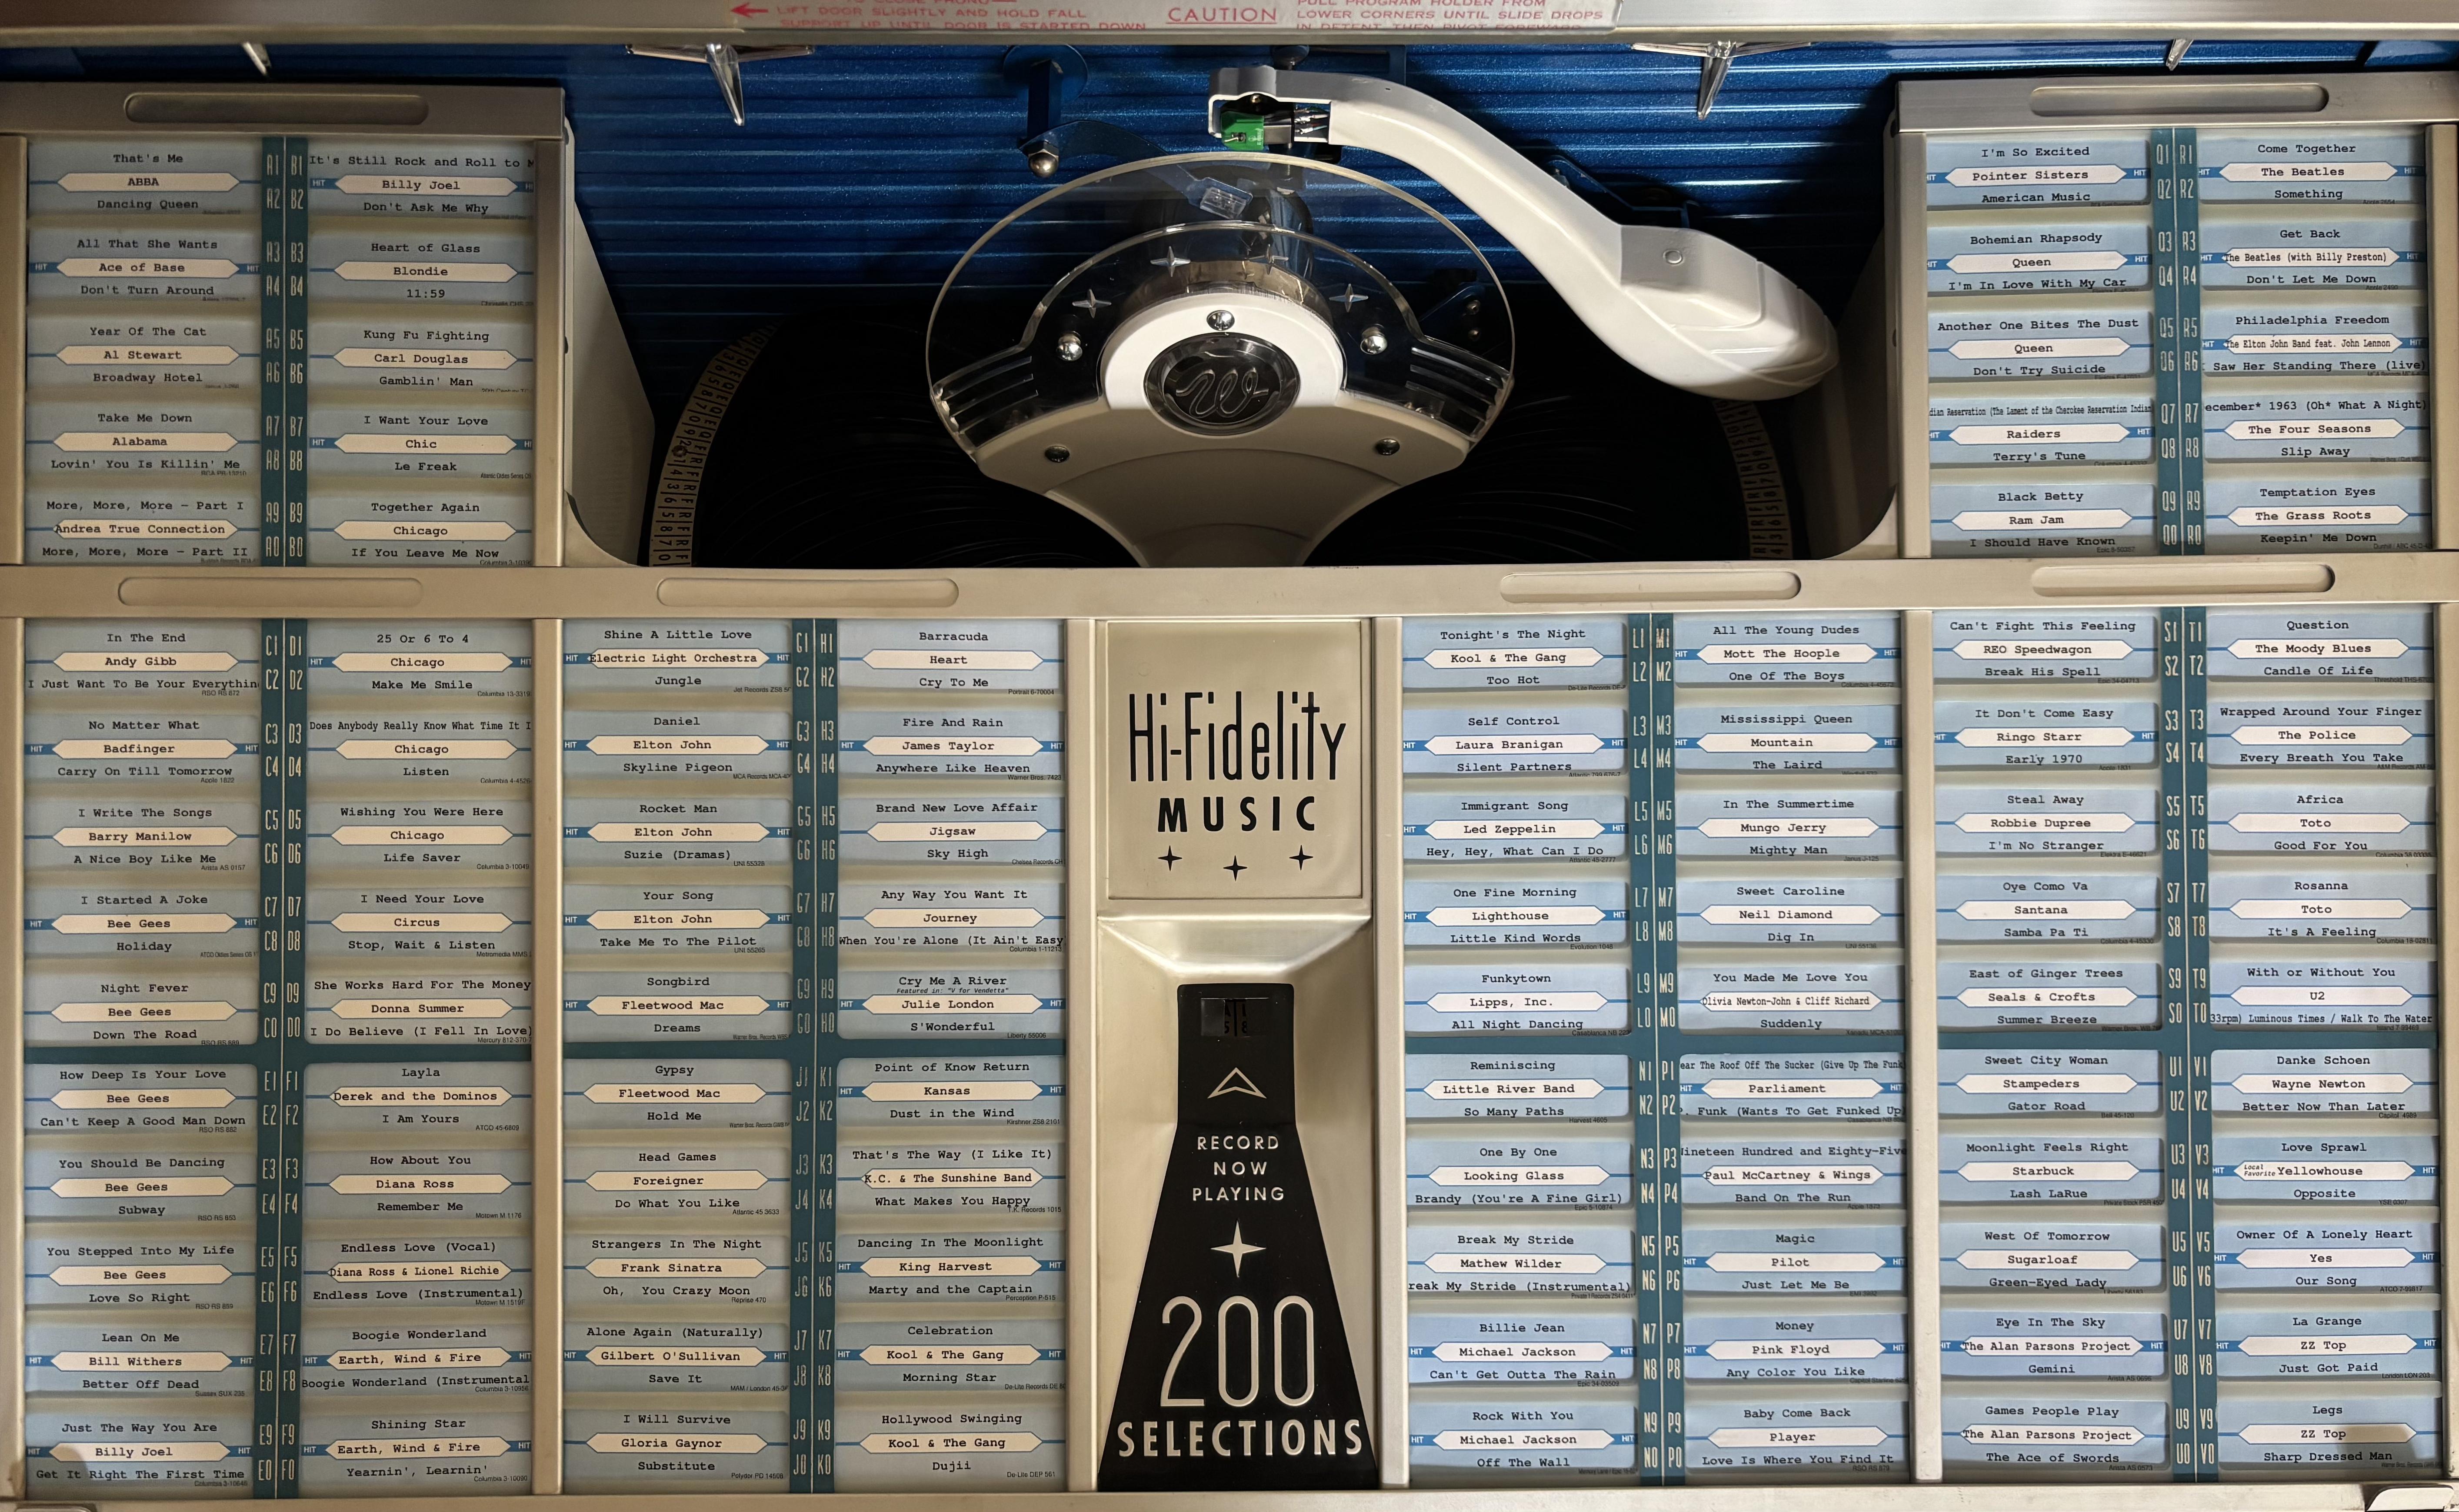 Current discography.
